
I based this pattern on the dimensions of common cedar fence pickets, which I knew to be cheap, readily available, and have a varied and interesting grain.
Because the panels would be displayed in various arrangements I wanted to be sure they were the right amounts of different and uniform.

Counts and distribution of each orientation. 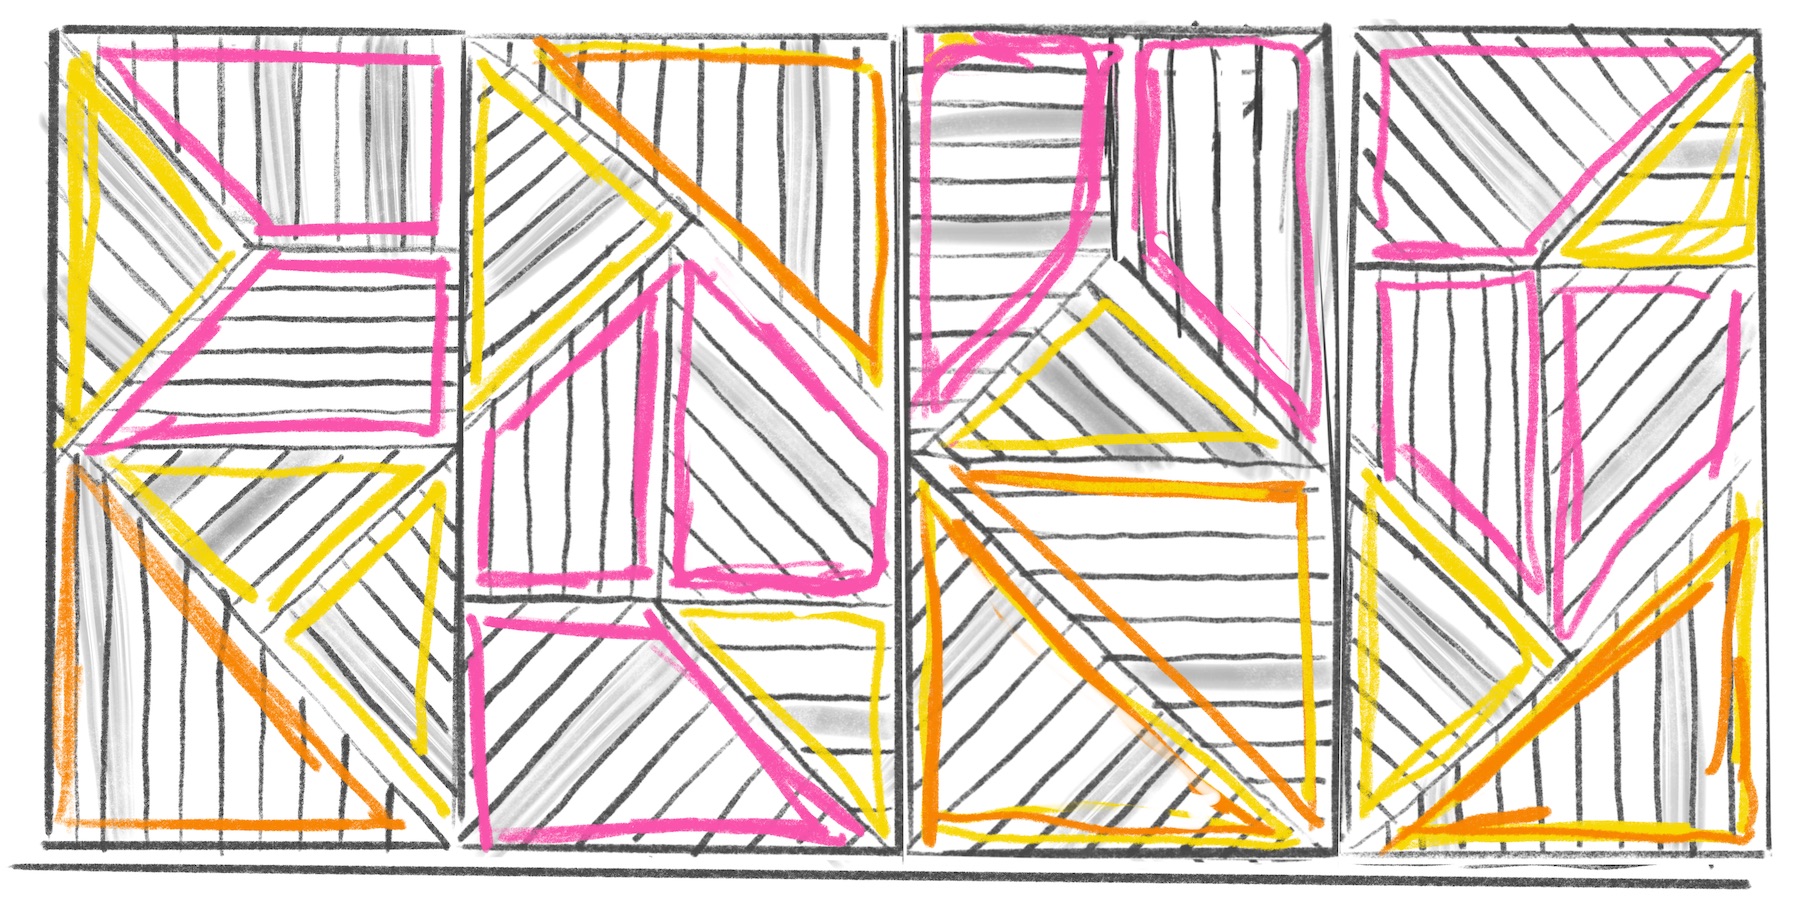
Yellow equilateral triangles, Magenta right trapezoids.
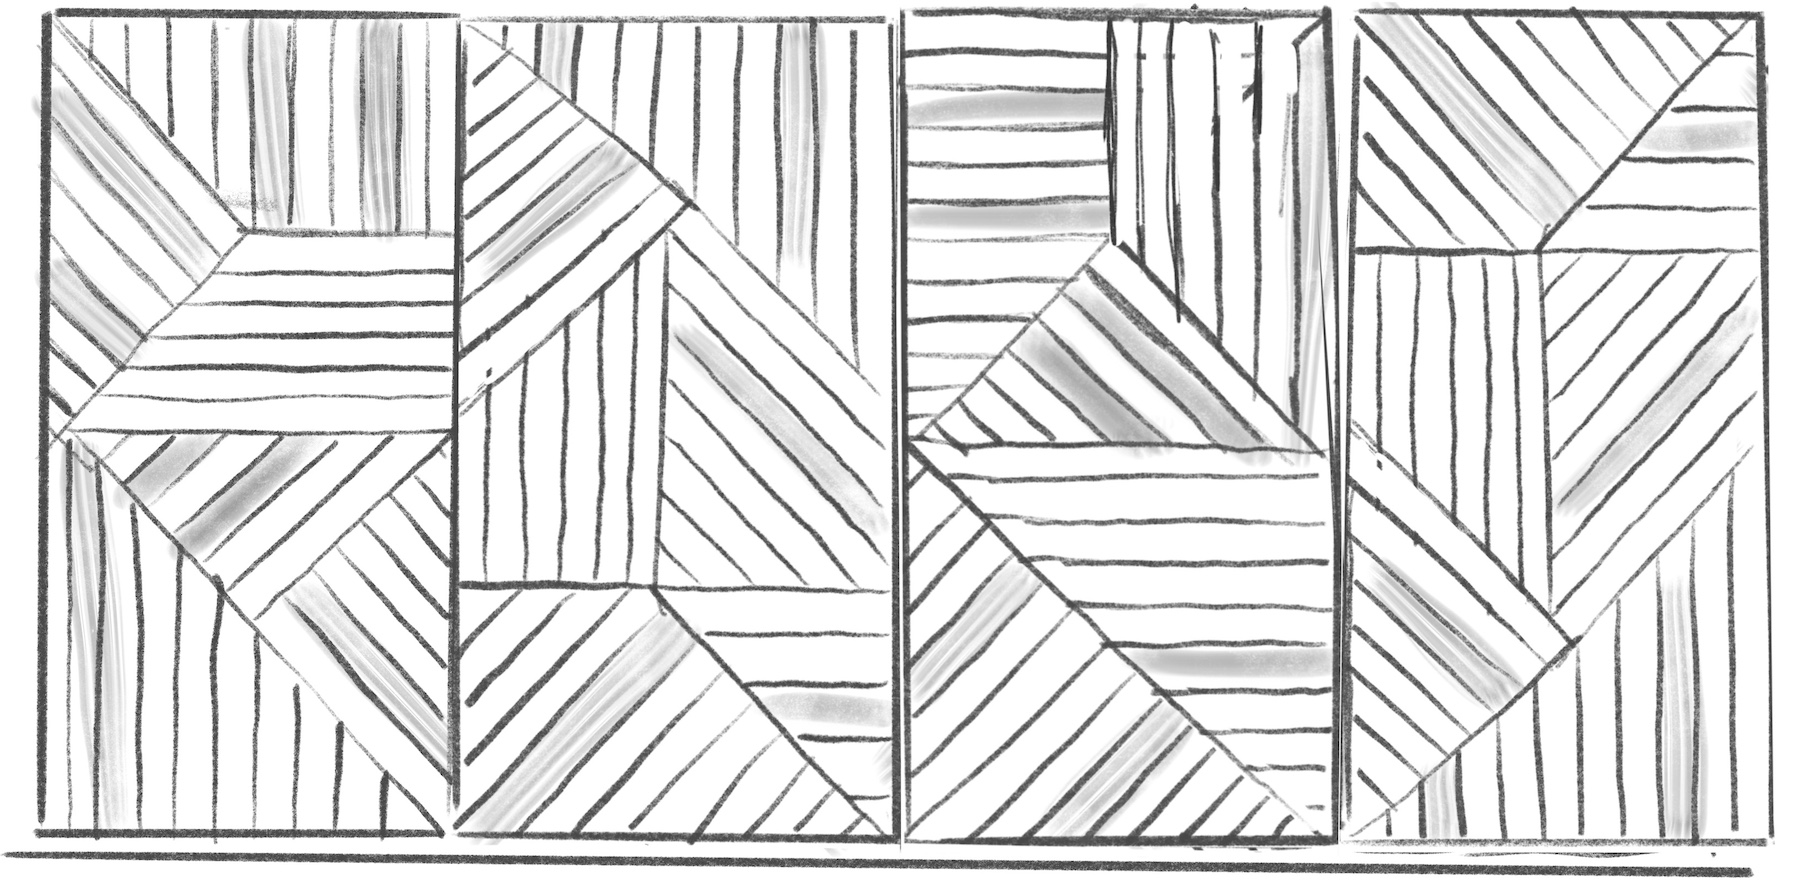
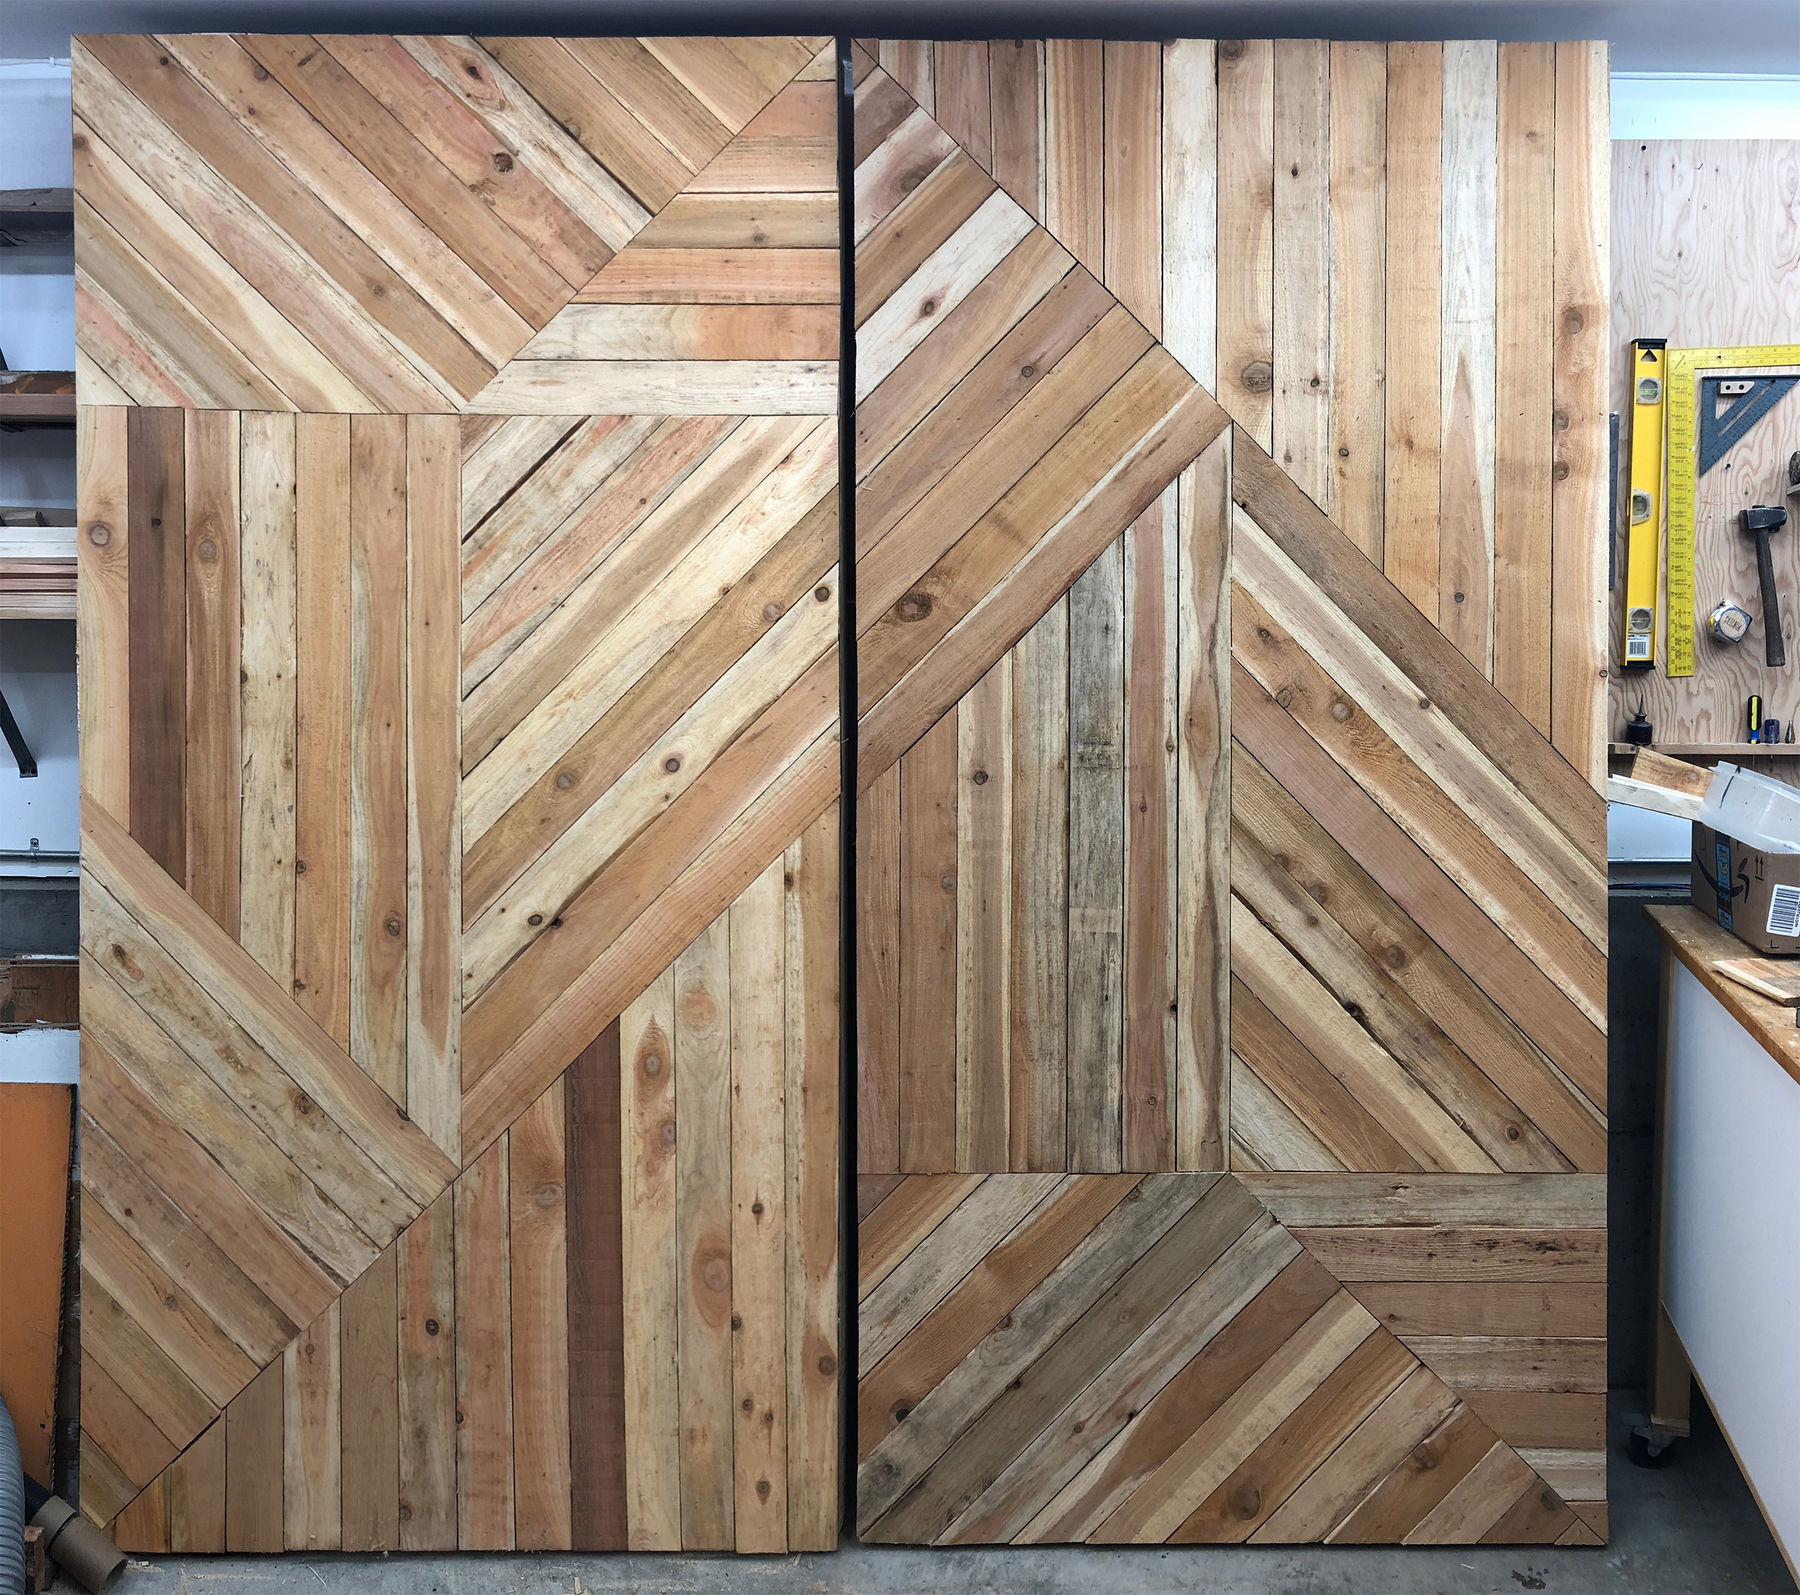
I sketched things out with colors to indicate plank direction and shapes as a way to see and balance the pattern.
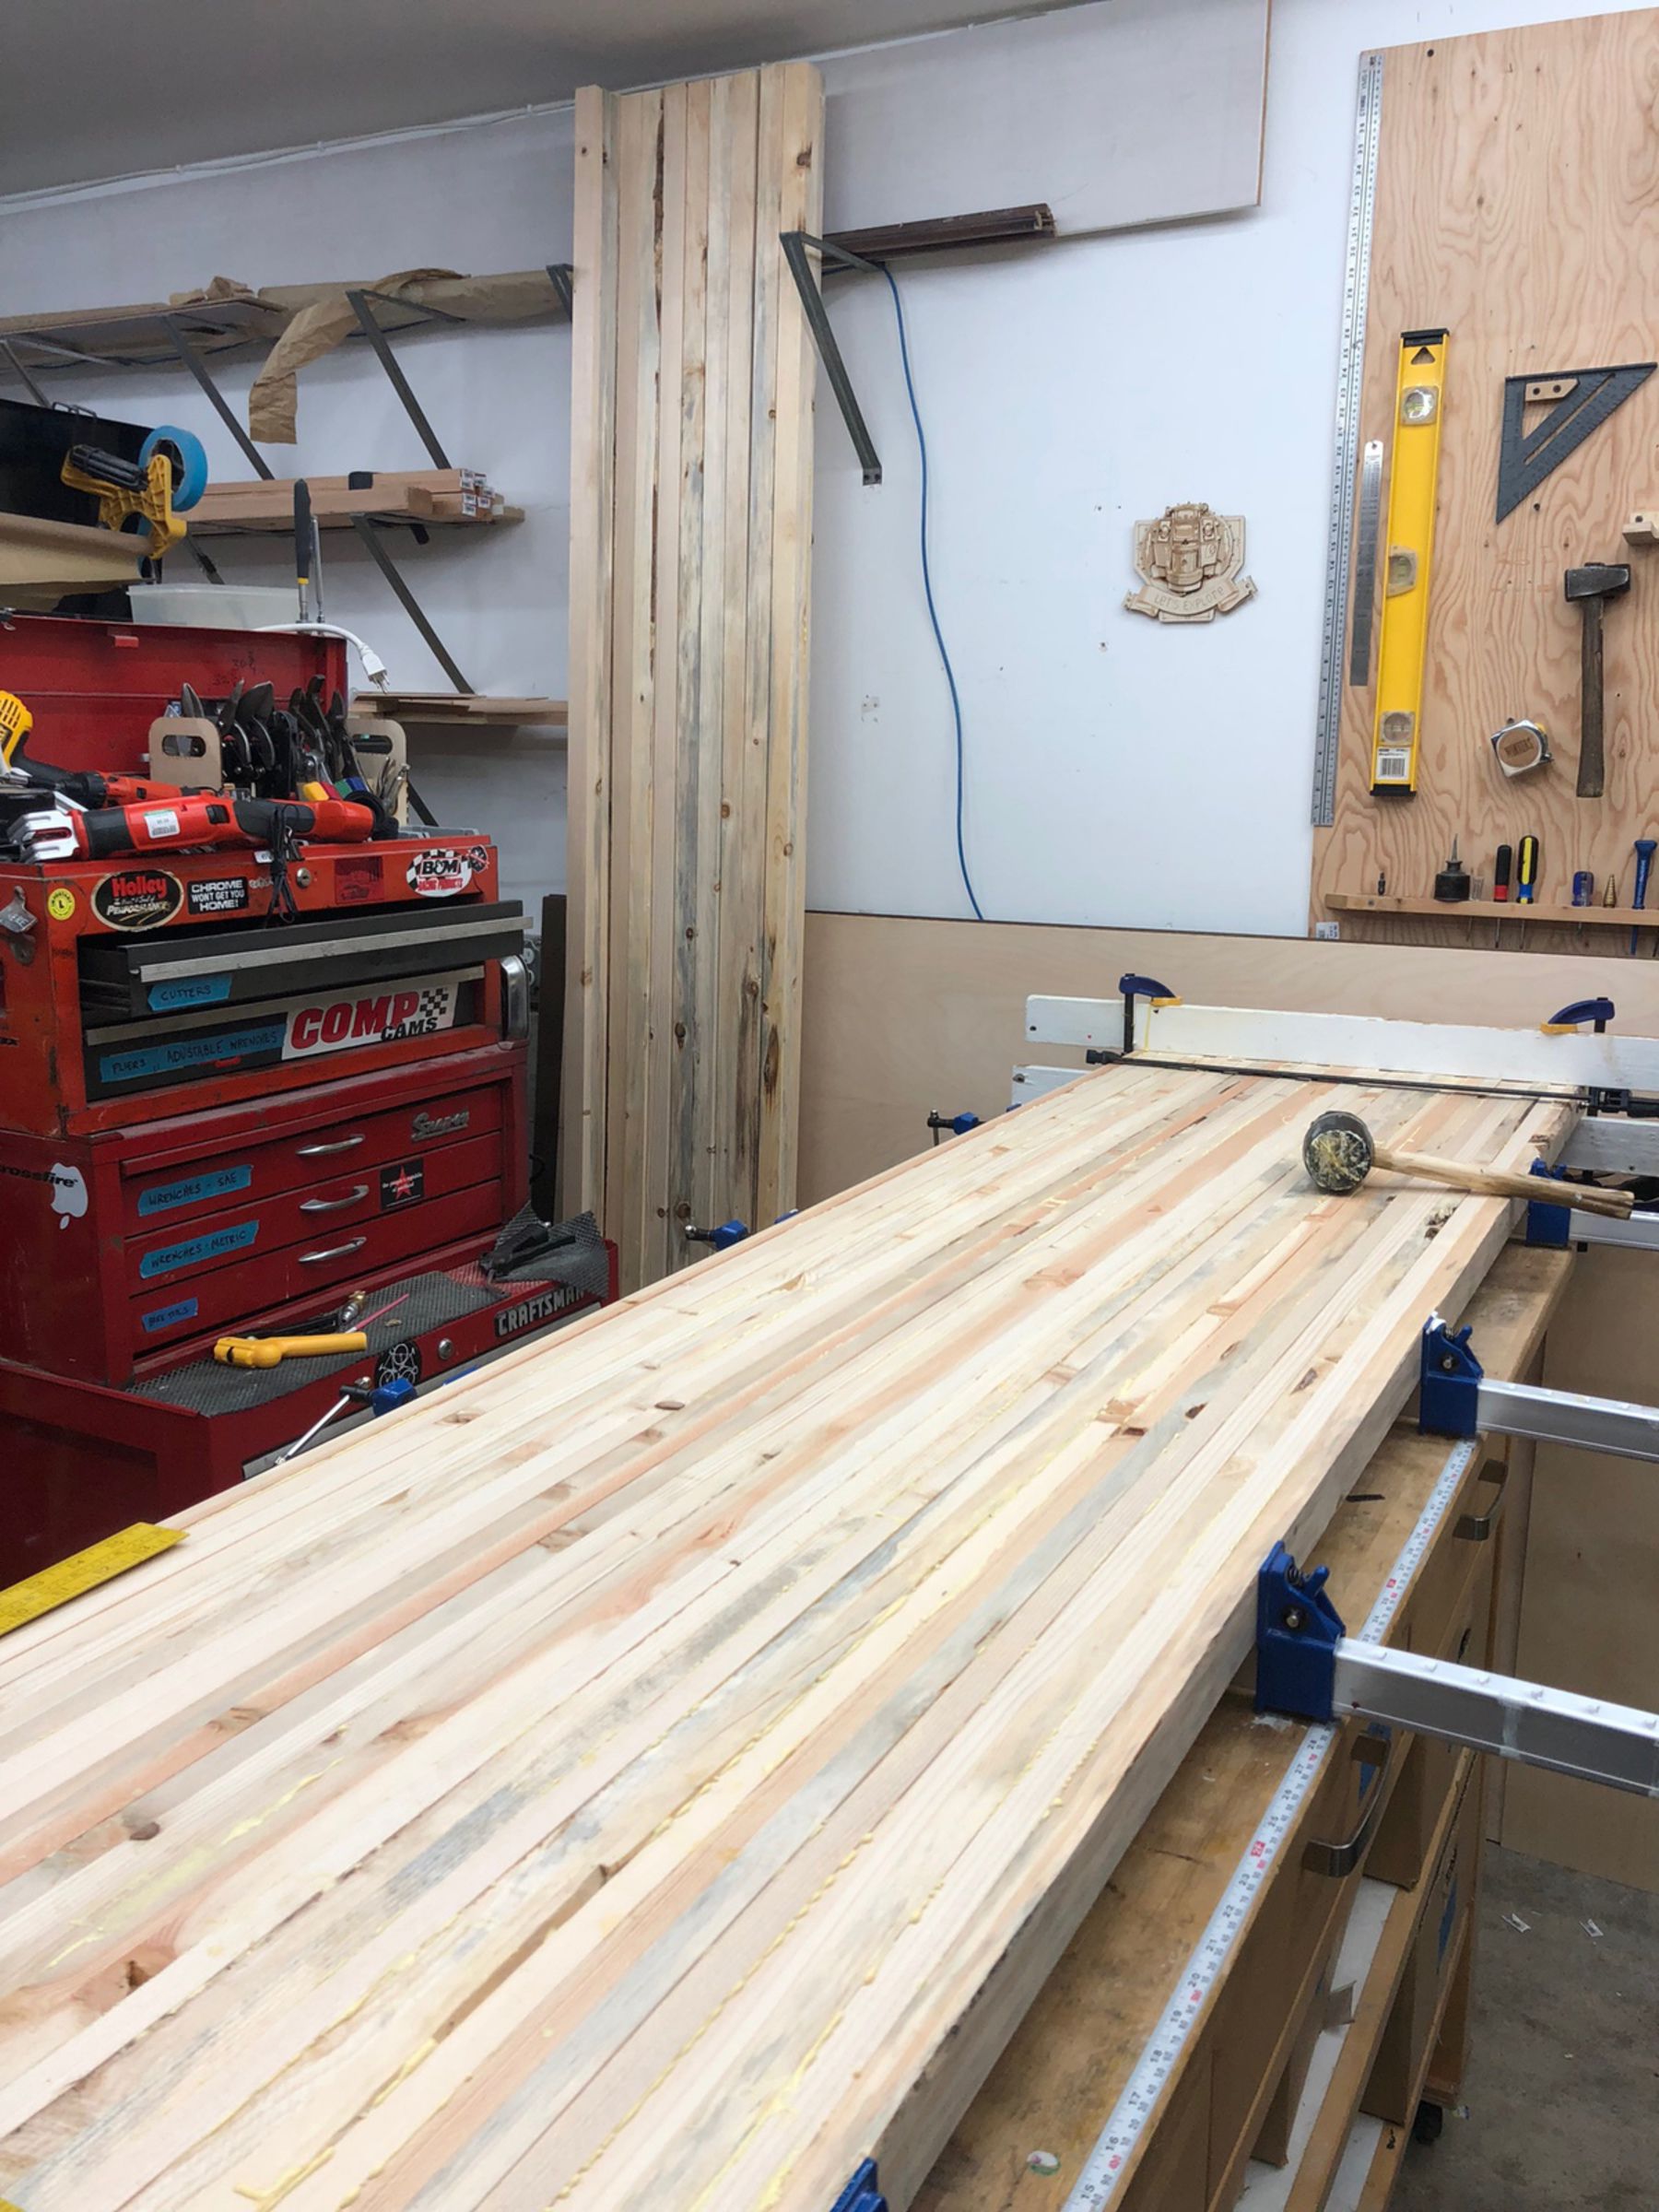
Panel Assembly

Panel Reverse. 
Where appropriate, I like to include discrete plaques with my client’s name and logo and a small maker’s mark. 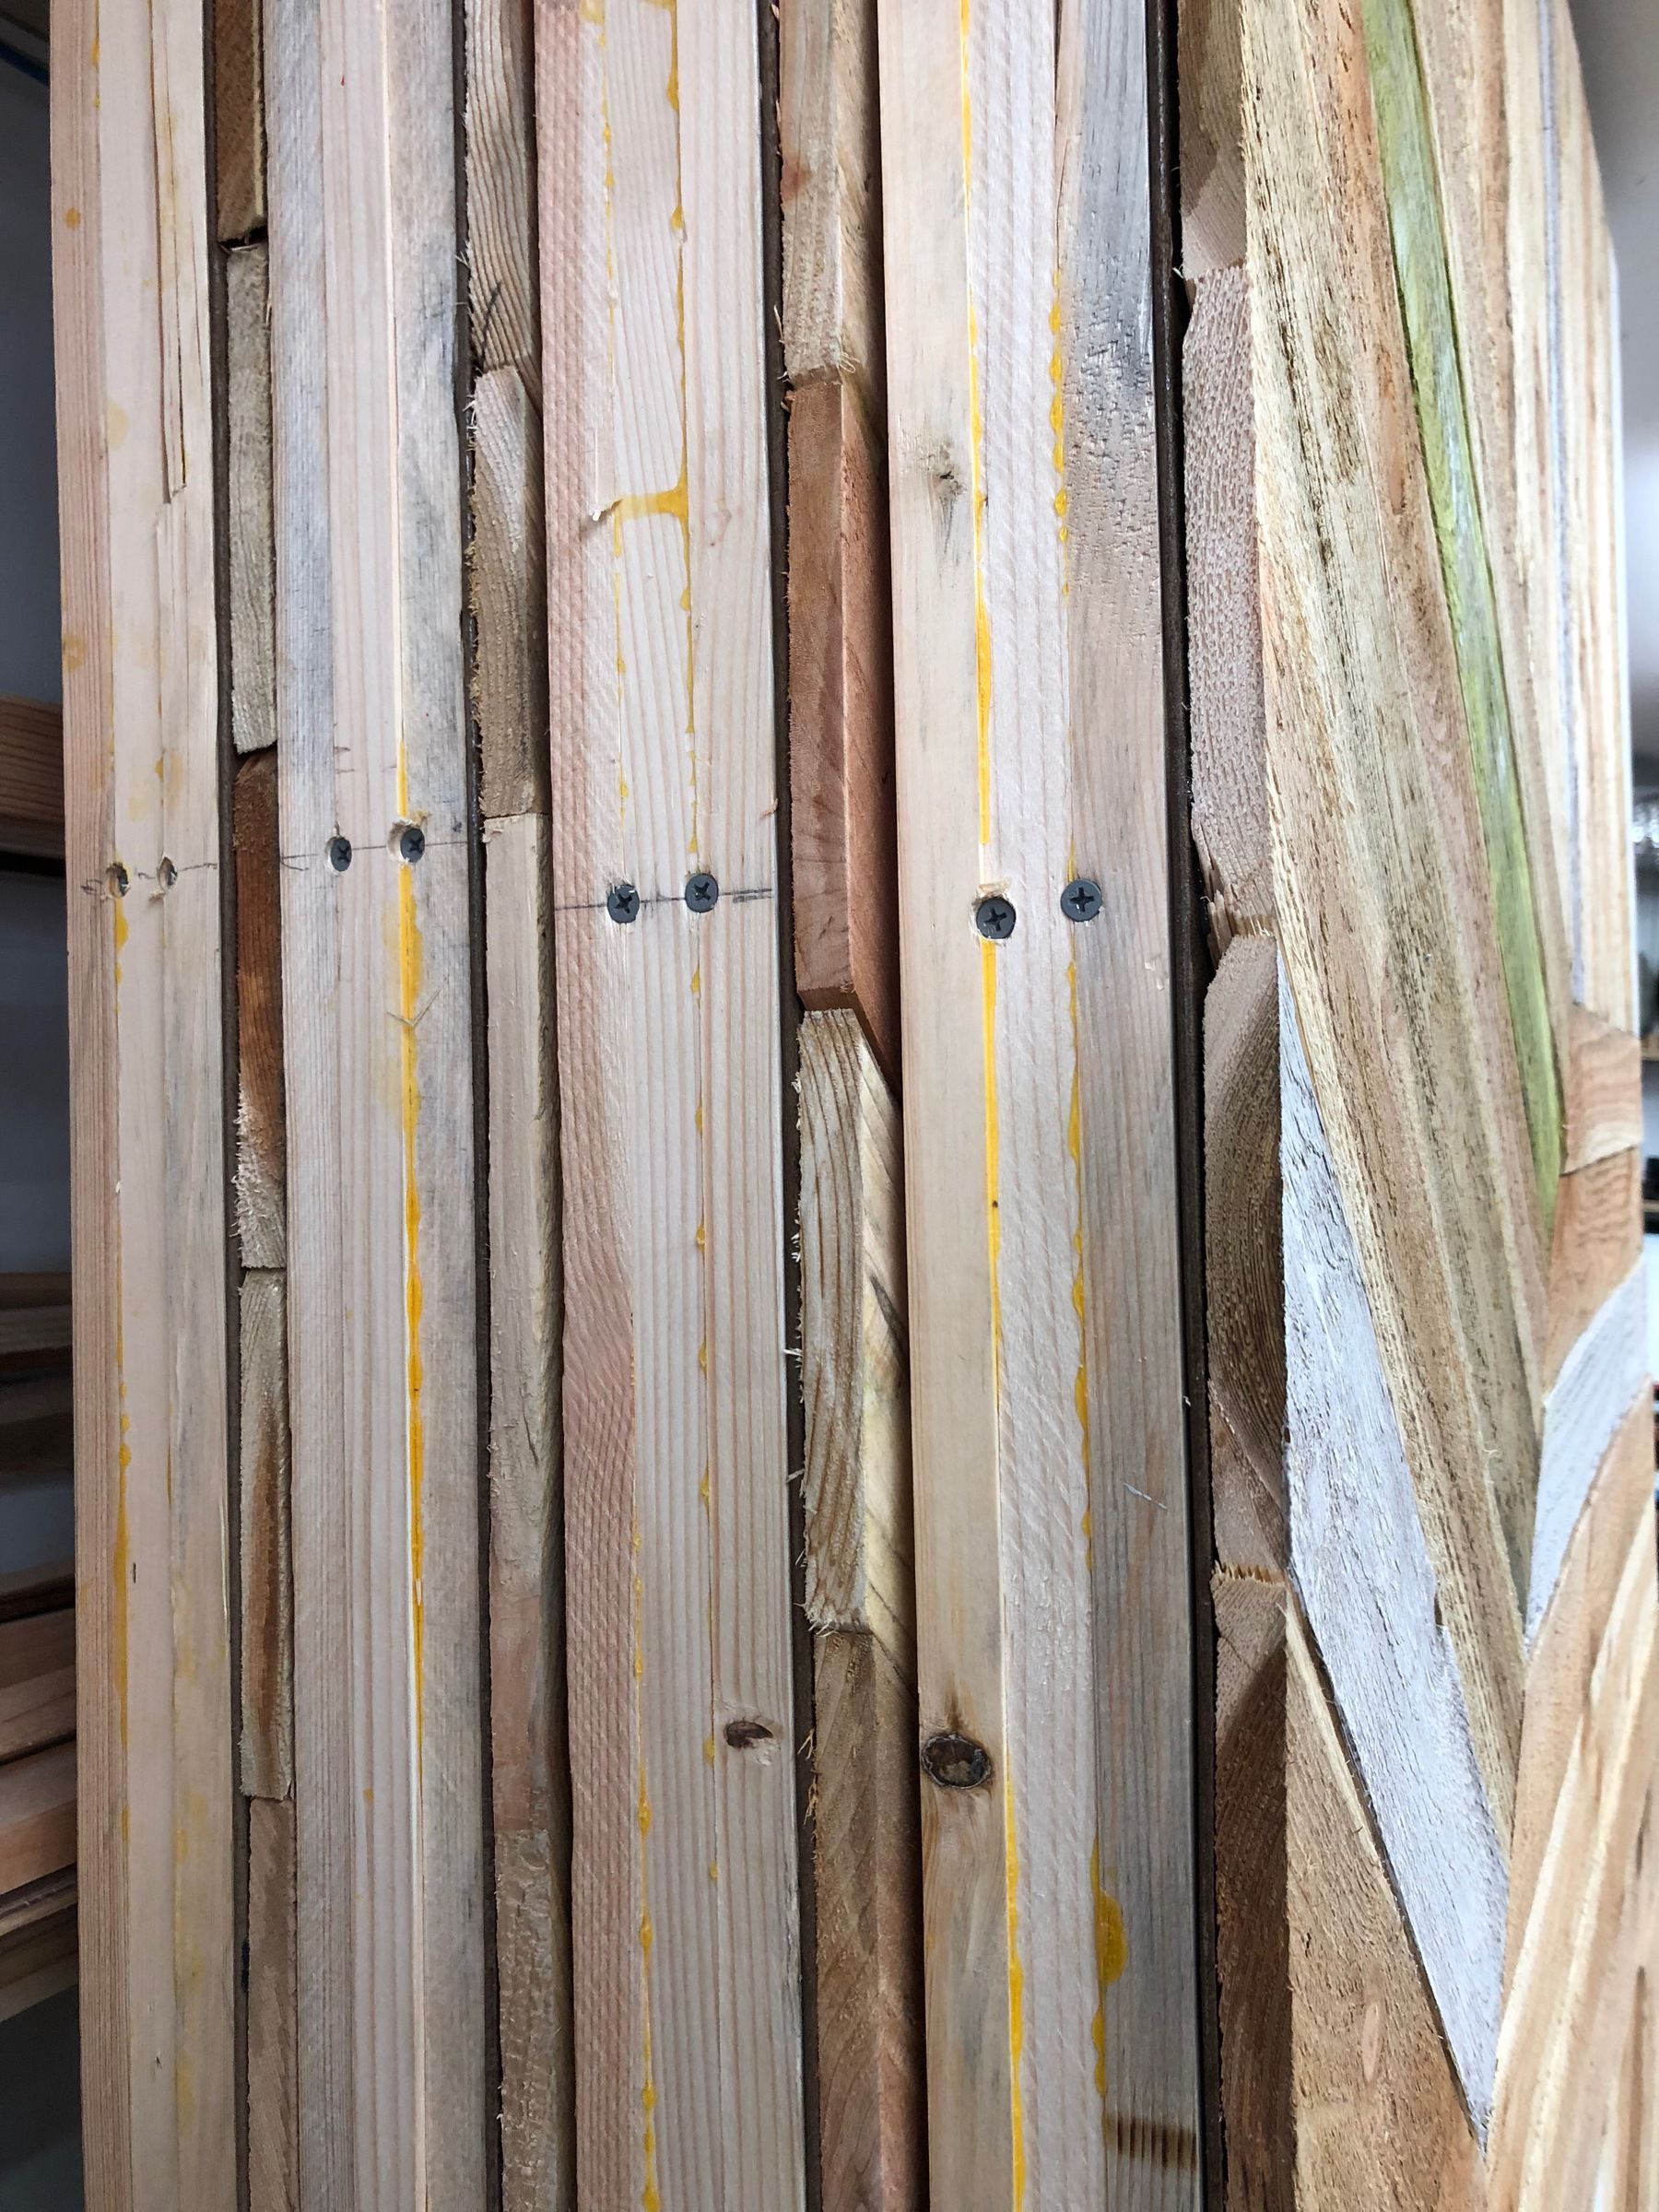
I used laminated strips to form the members of the frames, and a simple hardboard sheet to skin them. I made small, skid-style feet to ensure the weight of the panels won’t sit right on the planks at the bottom edge.
Surface Finishing

I sketched out the pattern for each panel with chalk and a large drywall square. I wanted to be sure to keep the the midpoint intersections the vertical edges aligned from panel to panel.
Each plank was cut to fit, and I worked from the outside of the pattern in. I picked from the pile to choose pieces that kept the pattern uniform-but-varied. In several places on each panel I used a small hand plane to shave off a high spot to keep the joints tight. To avoid needing any awkward skinny planks to fill in the pattern, I narrowed several planks by a small amount with my bandsaw.
I attached the planks with adhesive and ¼″ crown 18 gauge staples. Keeping the adhesive and the fastener only along the centerline of the planks leaves them free to expand and contact as planks be wanting to do.
Once the pattern was complete, I applied a vinegar and steel wool solution to grey out and weather the cedar. In testing, I learned a very dilute solution provides pretty realistic results. With a strong solution the cedar comes out somewhere between color-burned and black.
I mapped out which colors I intended to put where and marked the places with bits of different types of tape. Then I set about masking off and painting in each color by turn.
In some places I did a Bob Ross Dry Brush technique. Others I painted in fully and then scraped or sanded.

Painting the White Planks. You can also see the bits of tape I mentioned. 
Painting and sanding the colorful planks. 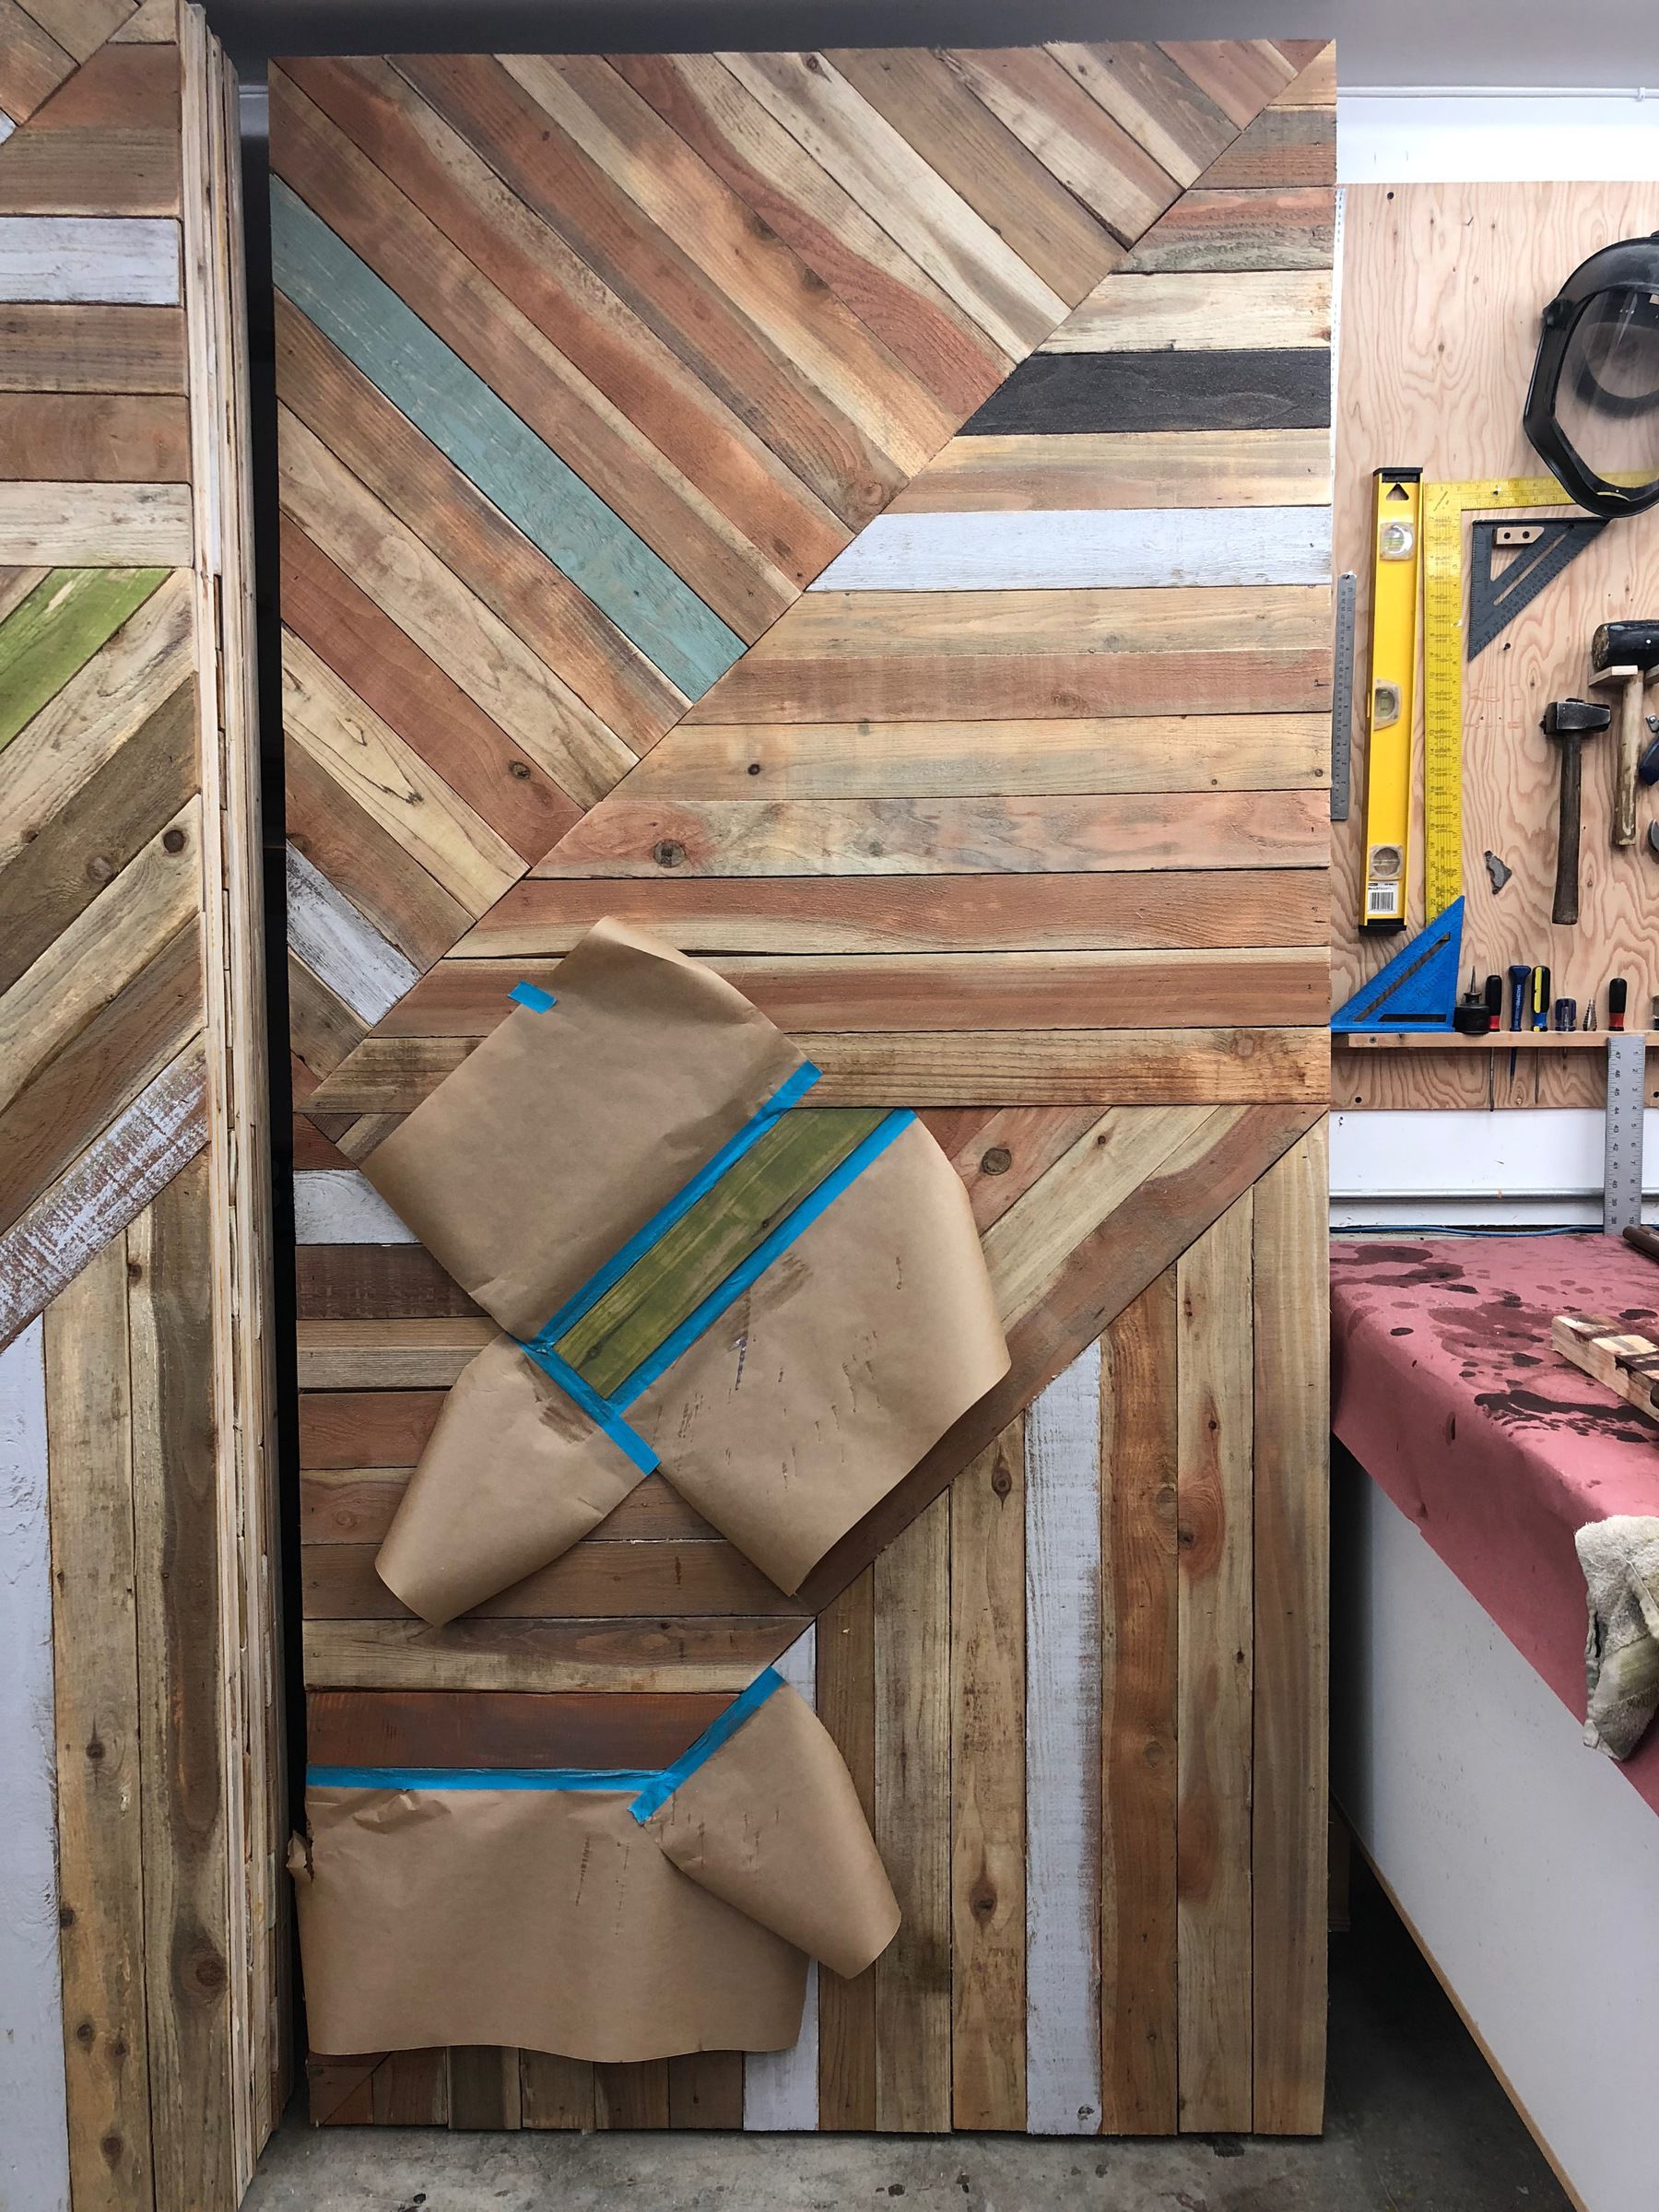
Adding a dirty wash to the painted areas.
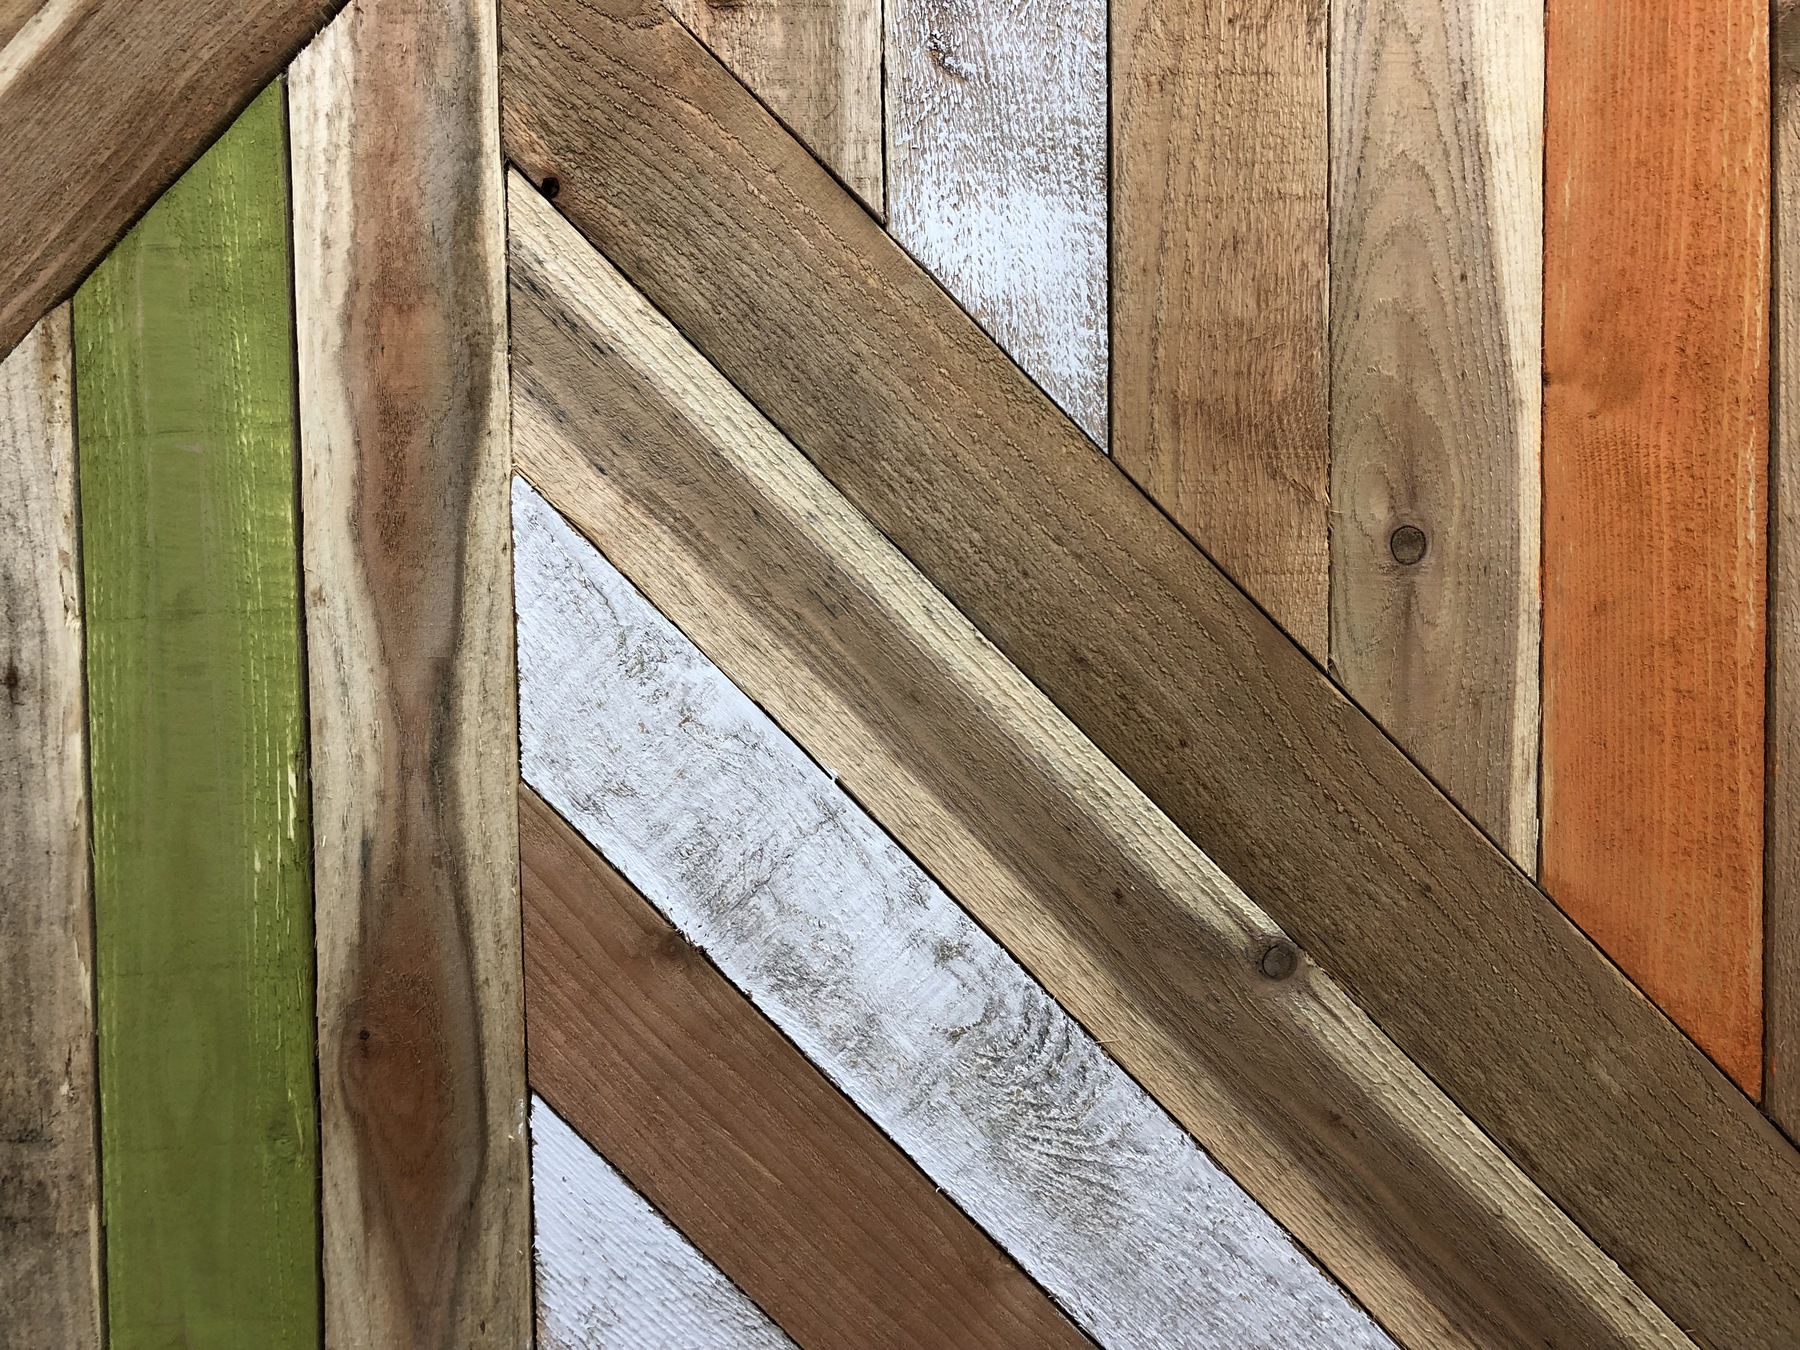
A couple close-up shots of surface texture on the completed panels.
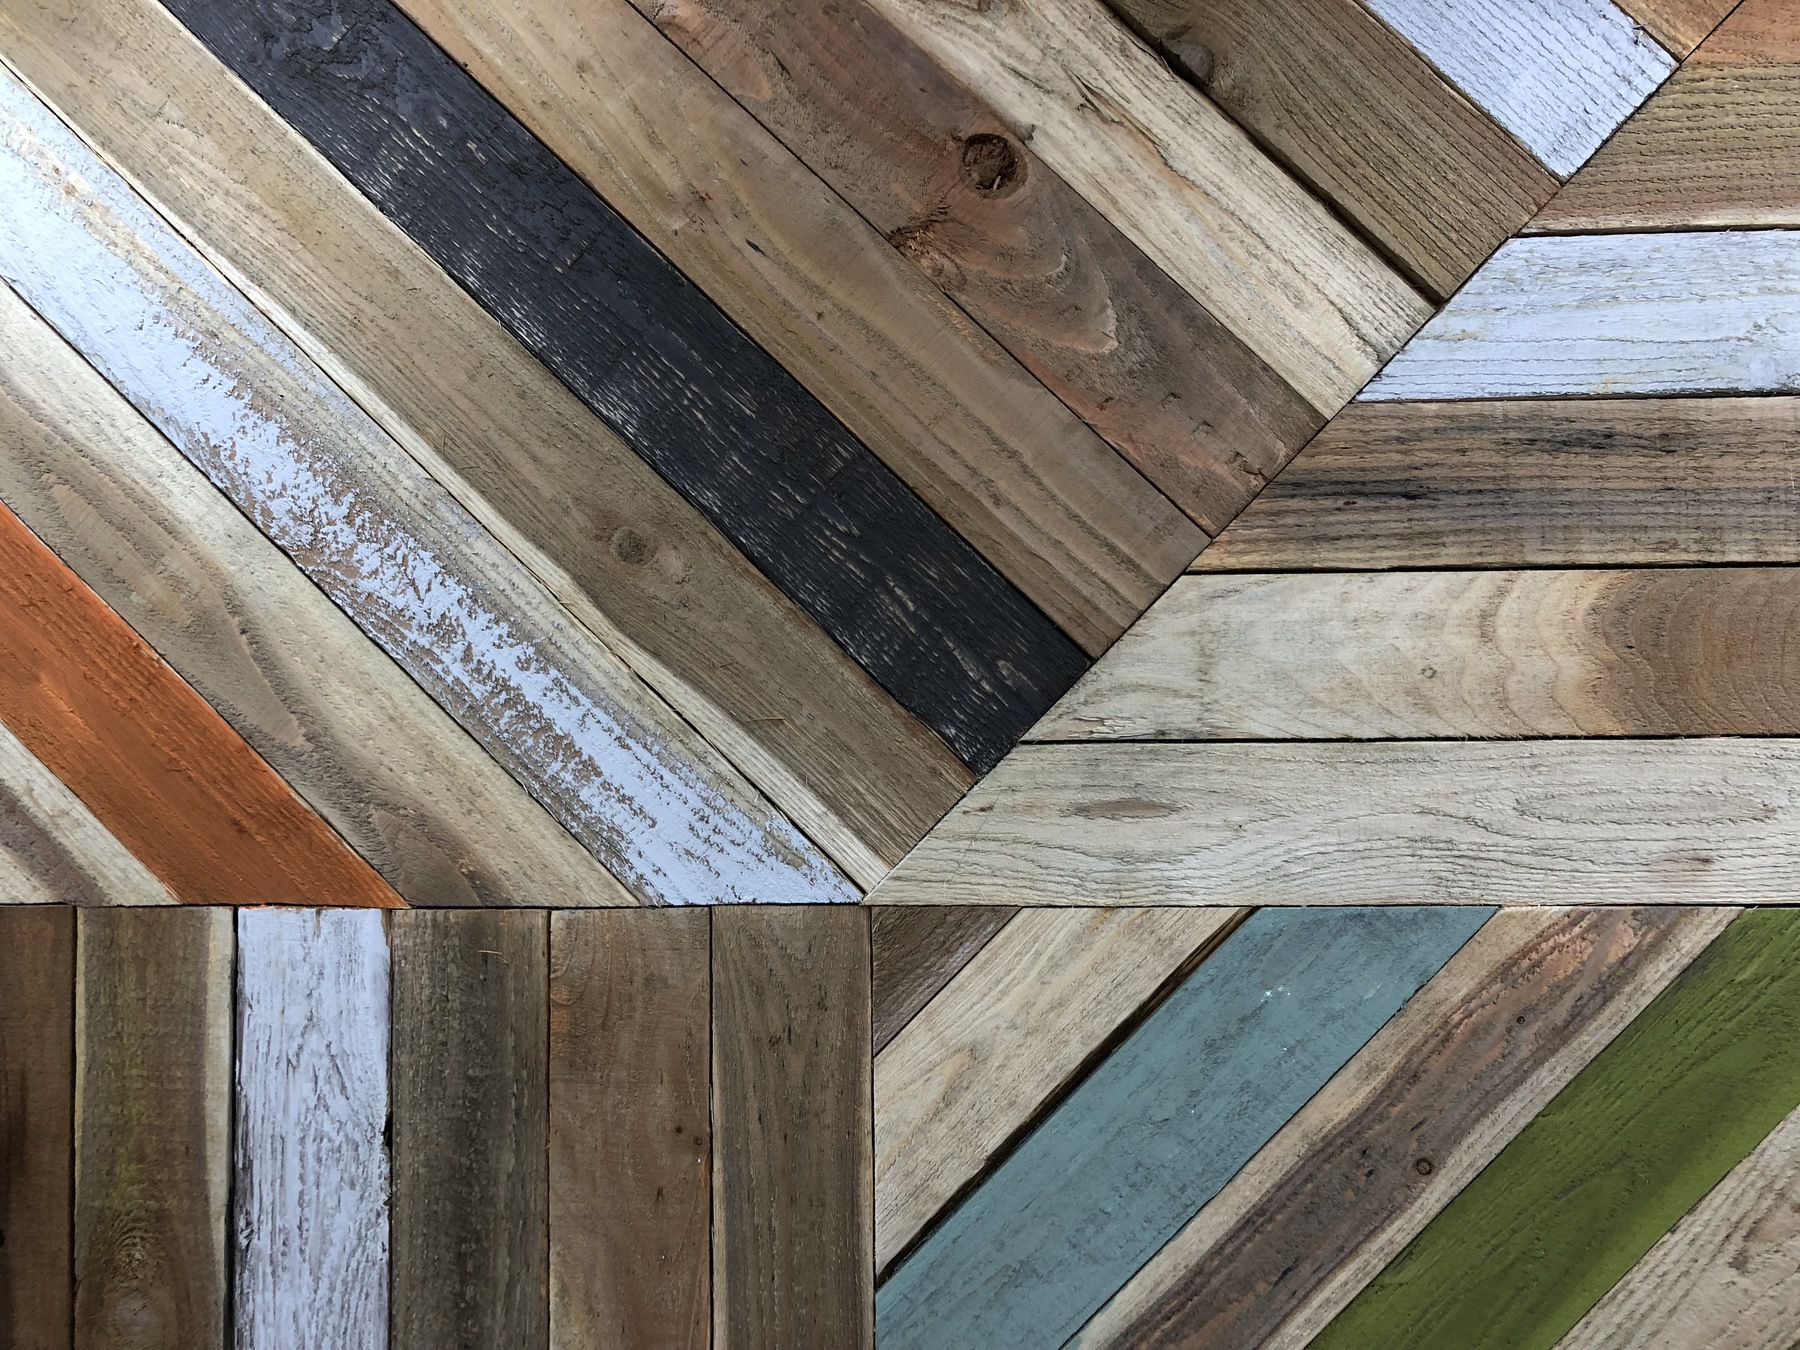
This one makes a pretty nice desktop wallpaper.