

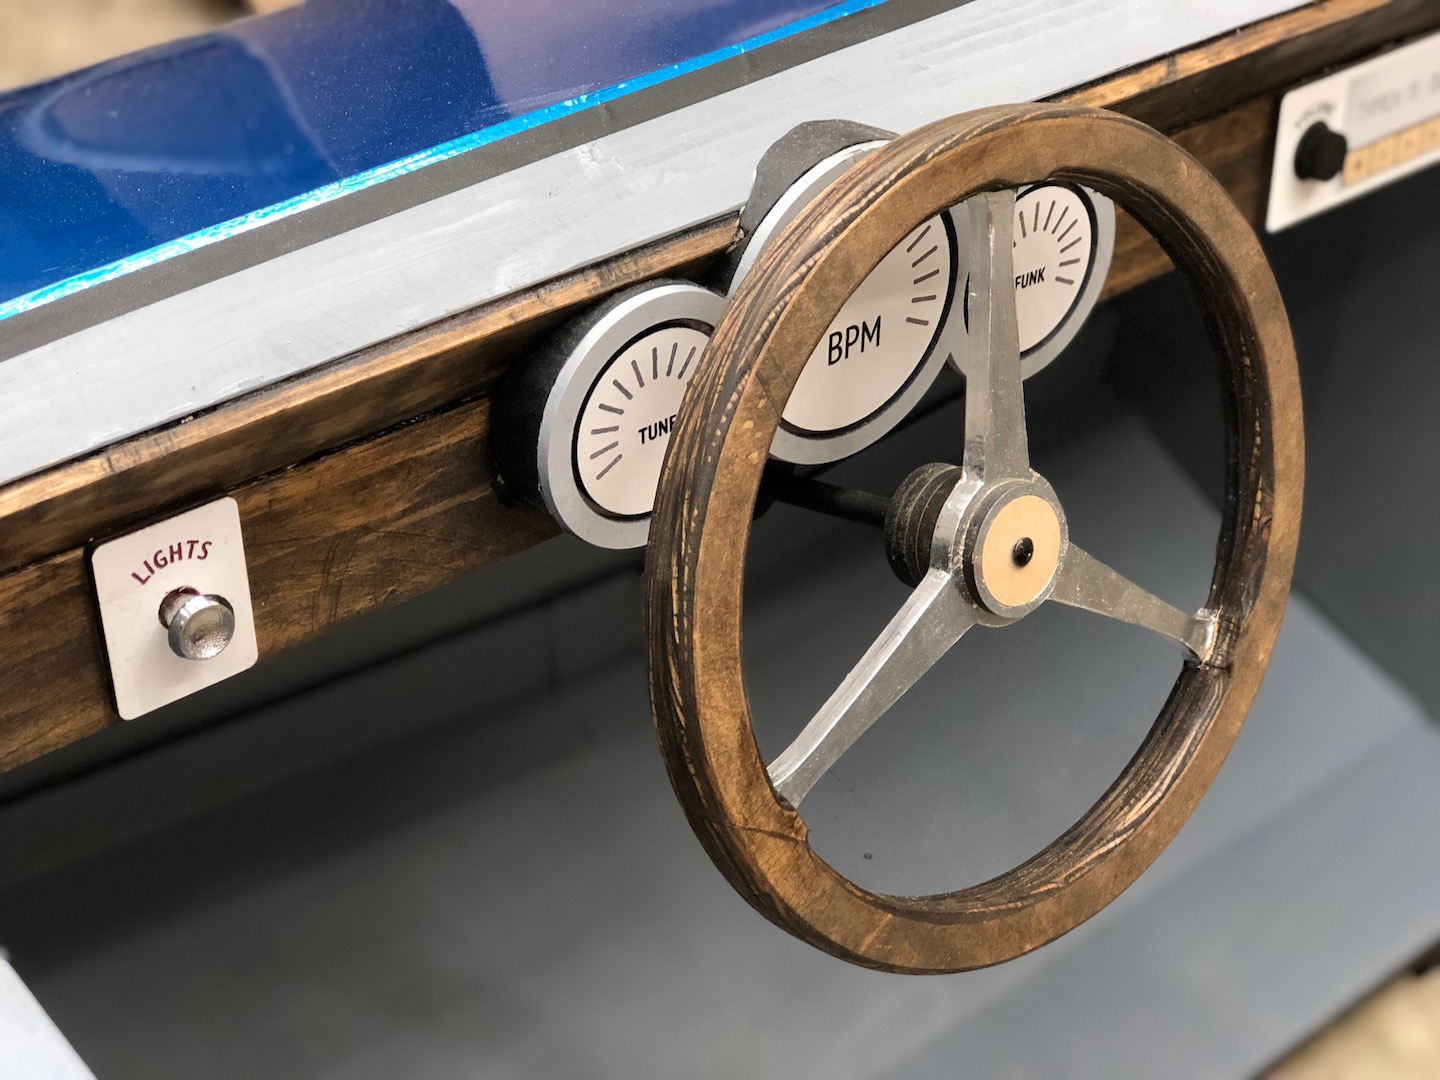
Dashboard
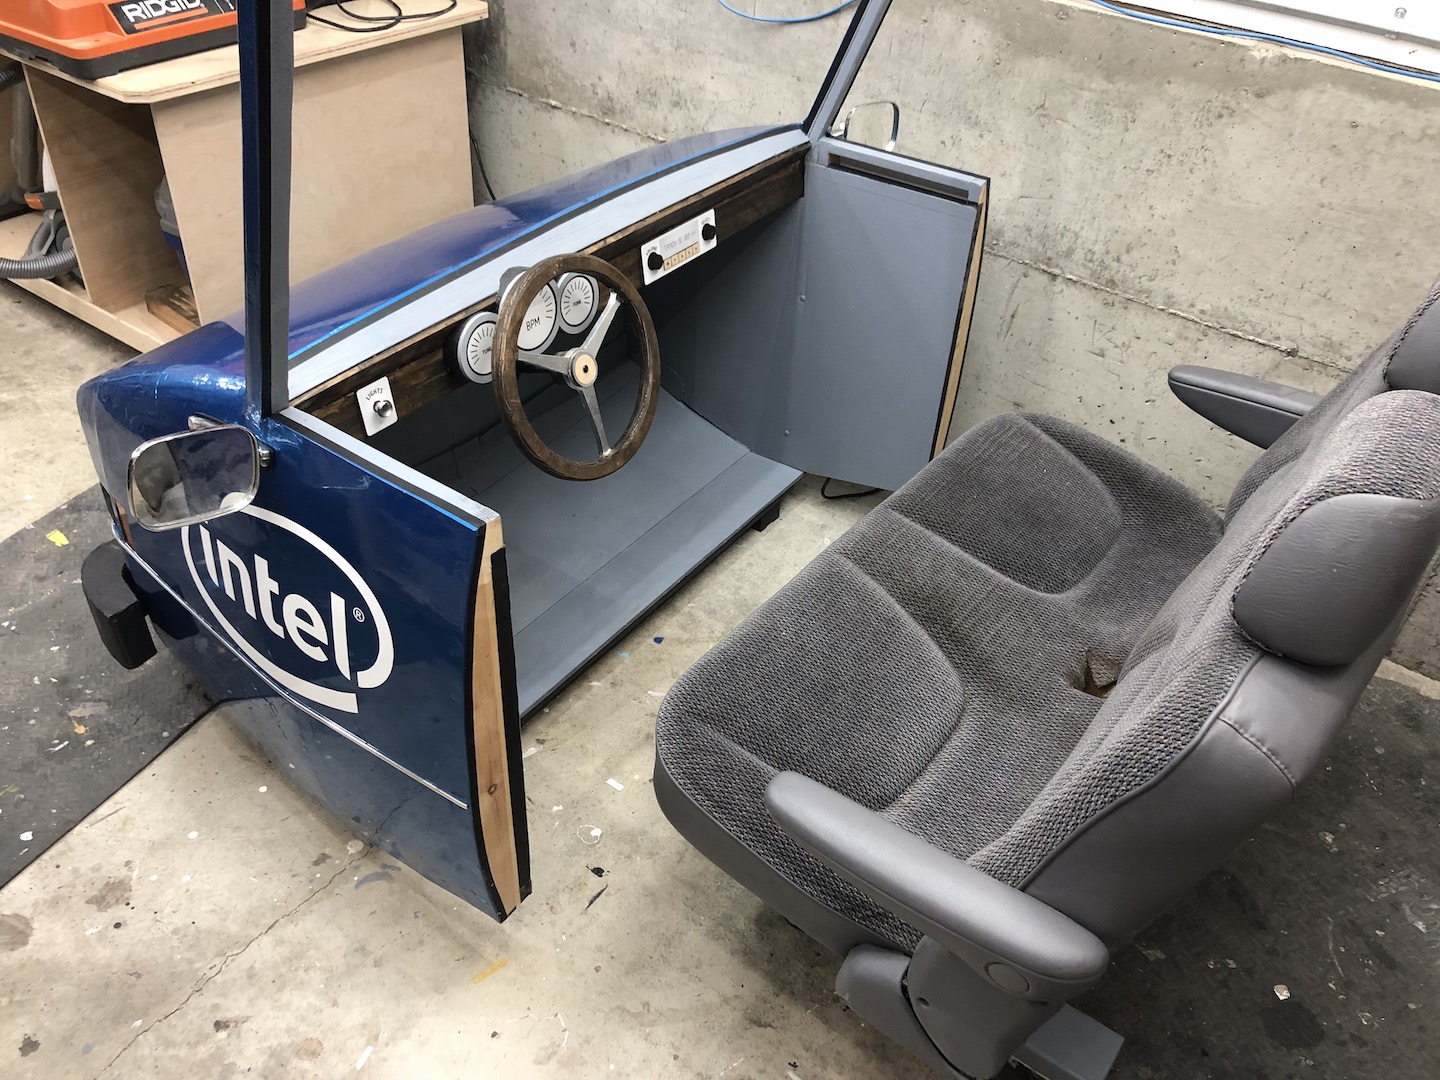
For the dashboard I made a simple three-gauge pod with pretend dials for BPM, Tune, and Funk. I drew up a simple bezel for the light switch and a face plate for the stereo. I cut these from thin MDF on the laser cutter and painted them white. The steering wheel consists of a laser-cut hub sandwiched between plywood rings I cut on the bandsaw.

Headlight Lenses
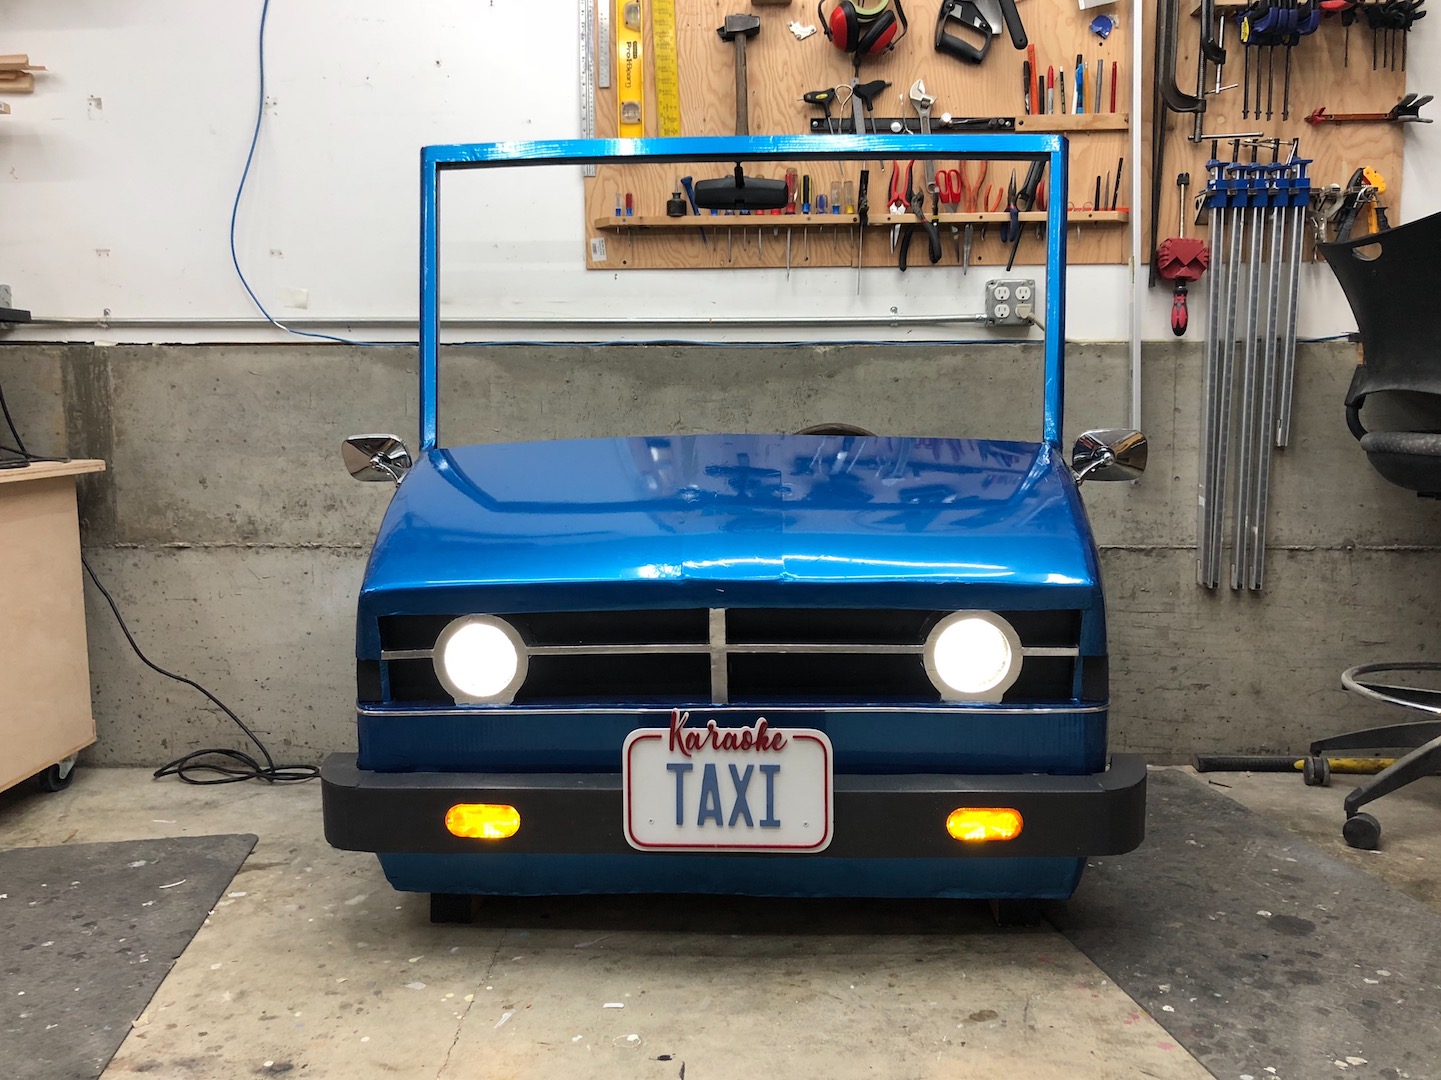
I engraved the distinctive pattern of a glass headlight lens into some discs of frosted acrylic. I painted the engraved areas flat white and mounted them shiny side out. They look just like the real lenses, even with the lights on.


Project Brief
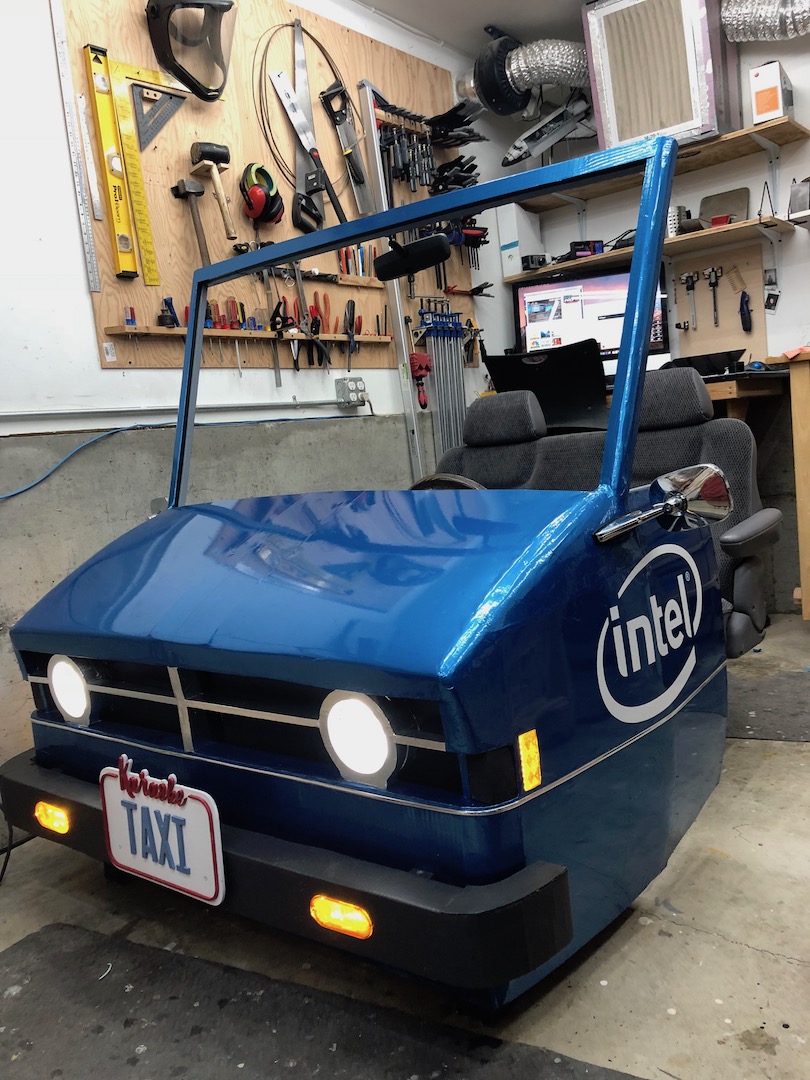
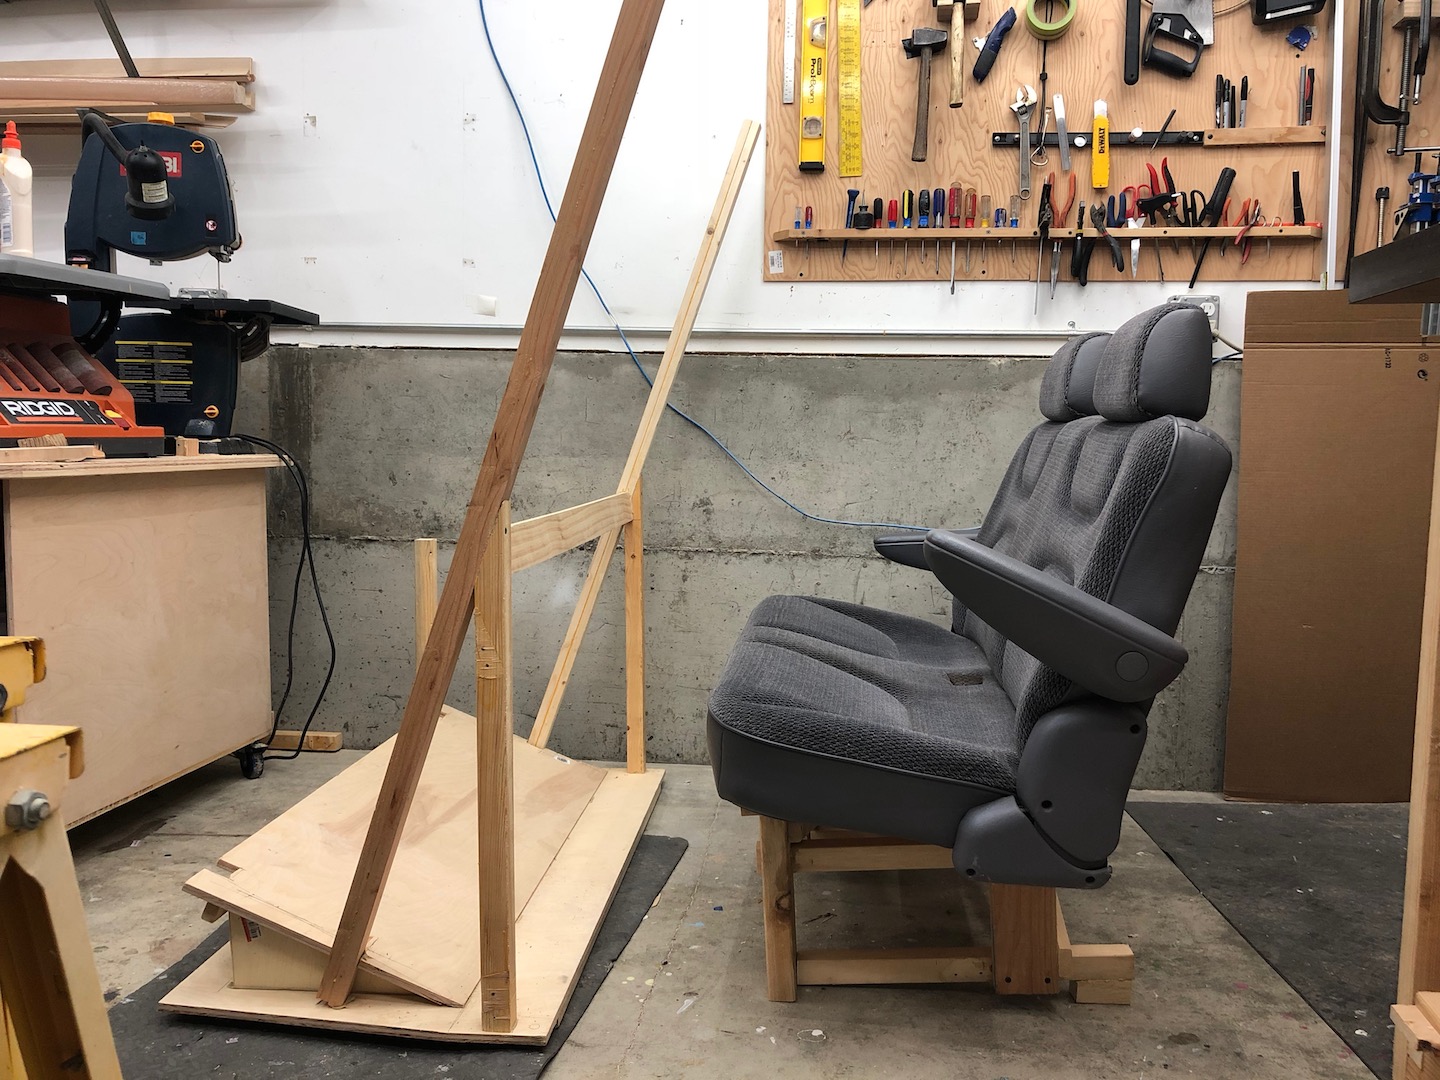
The client wanted a lightweight stage prop behind which presenters could sit and sing a song Carpool Karaoke style. The prop would therefore need to look good and be detailed from all angles. Specified features were working lights, mirrors, and space to accommodate two adults on a real bench seat from a minivan 3rd row.
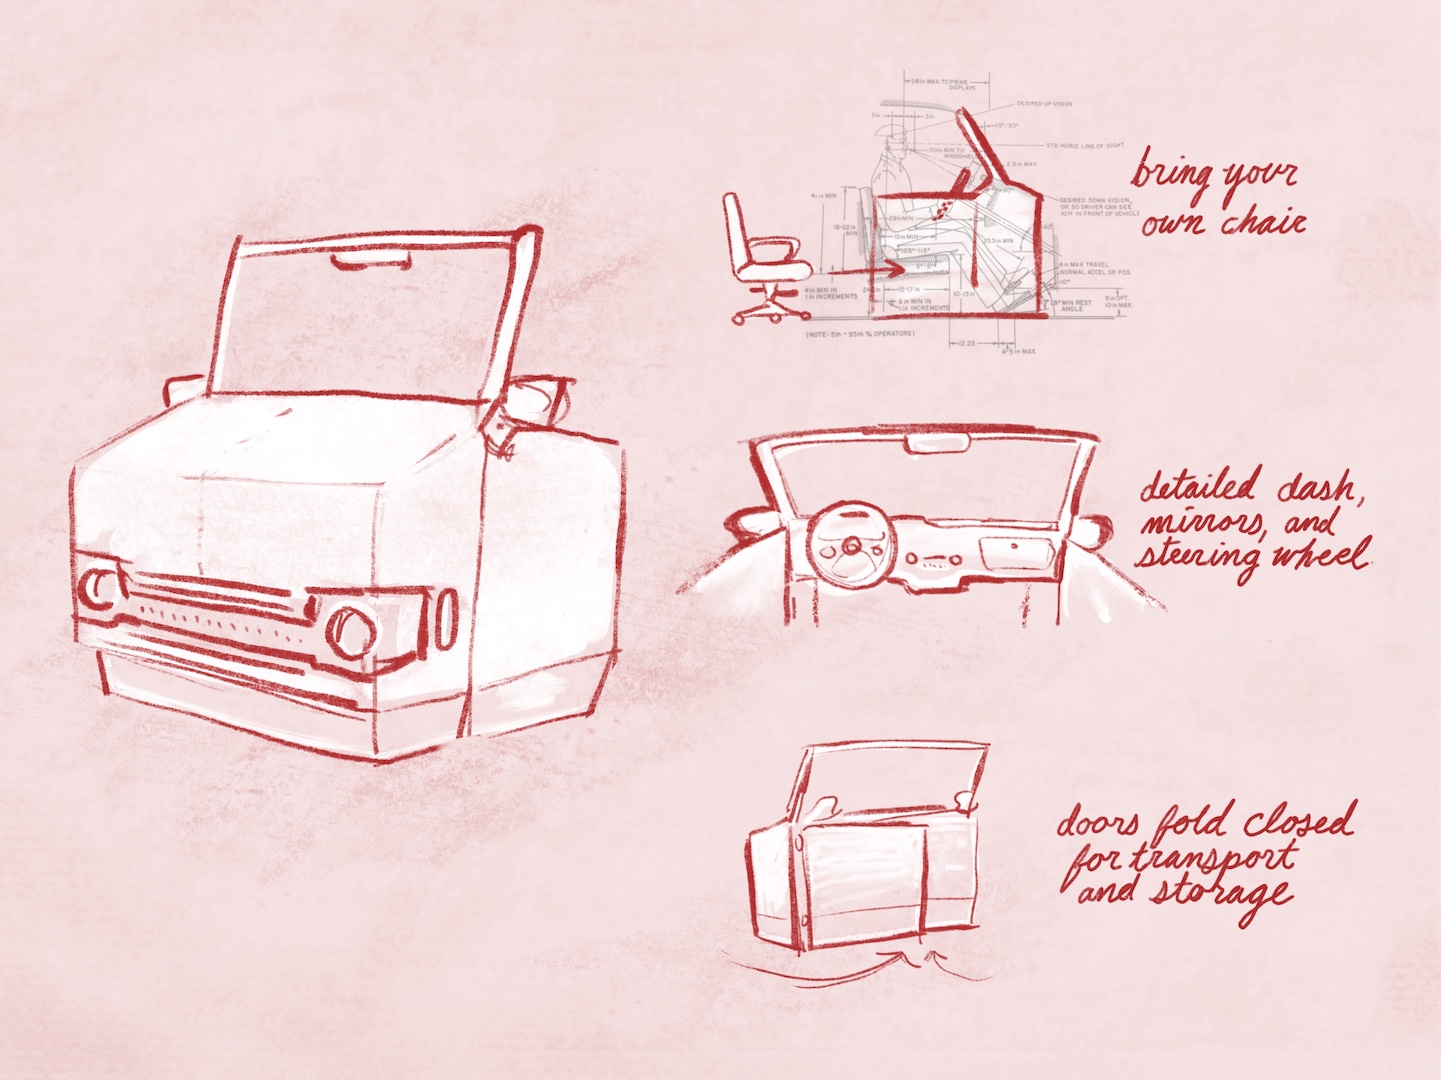
The client worried my first idea might look a little boxy. 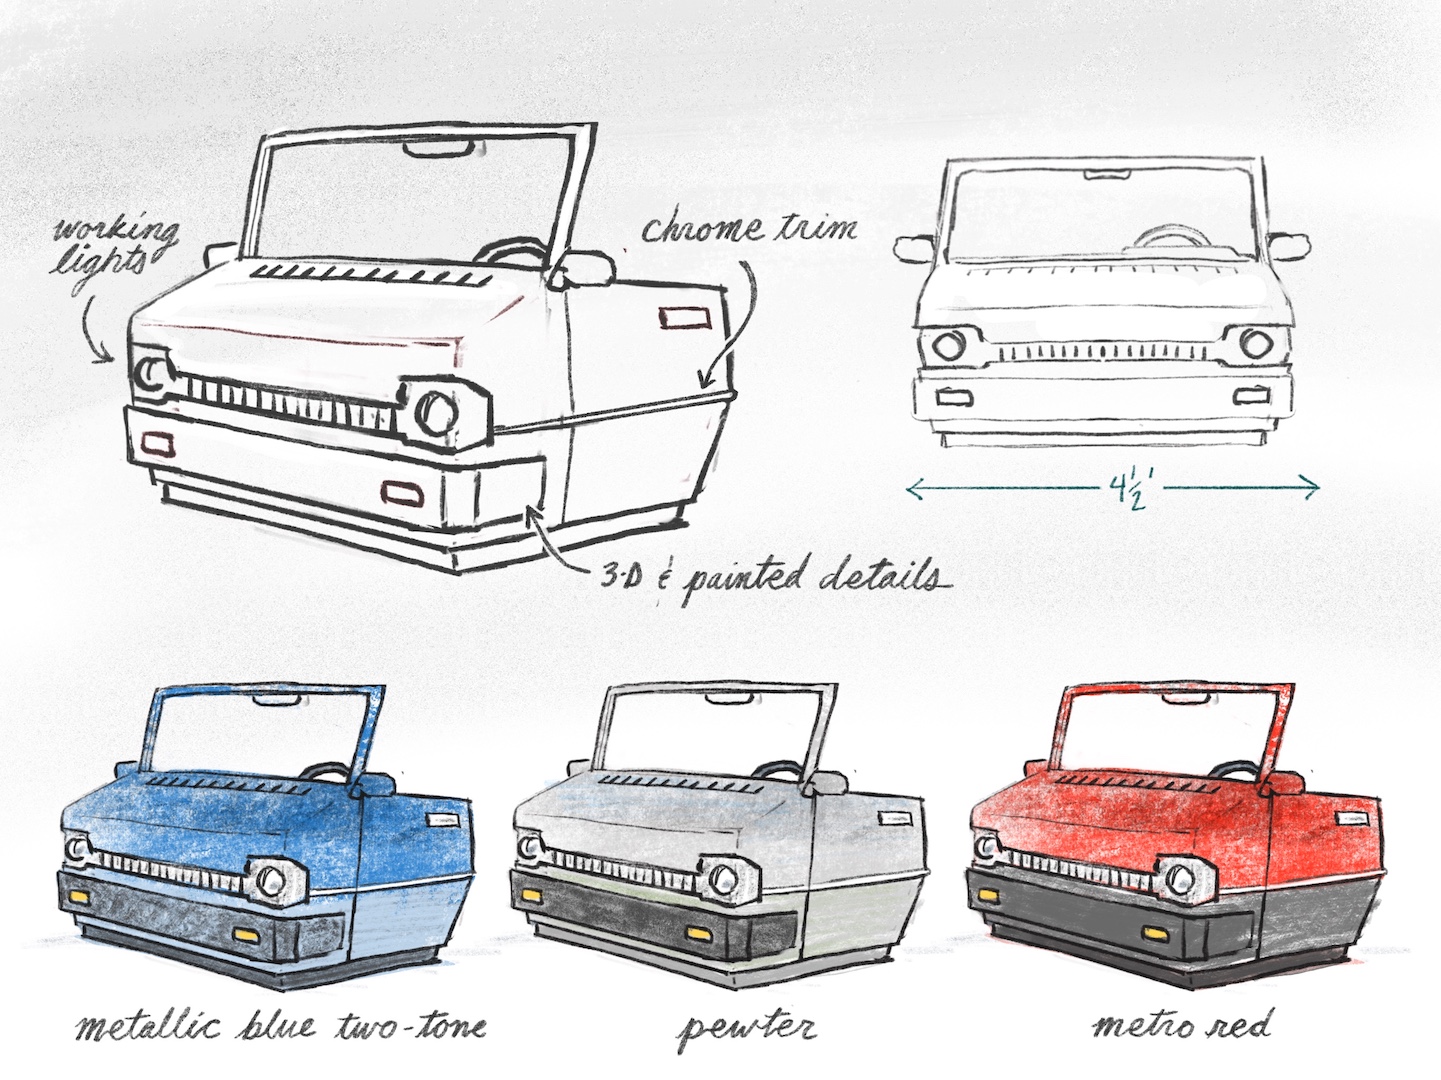
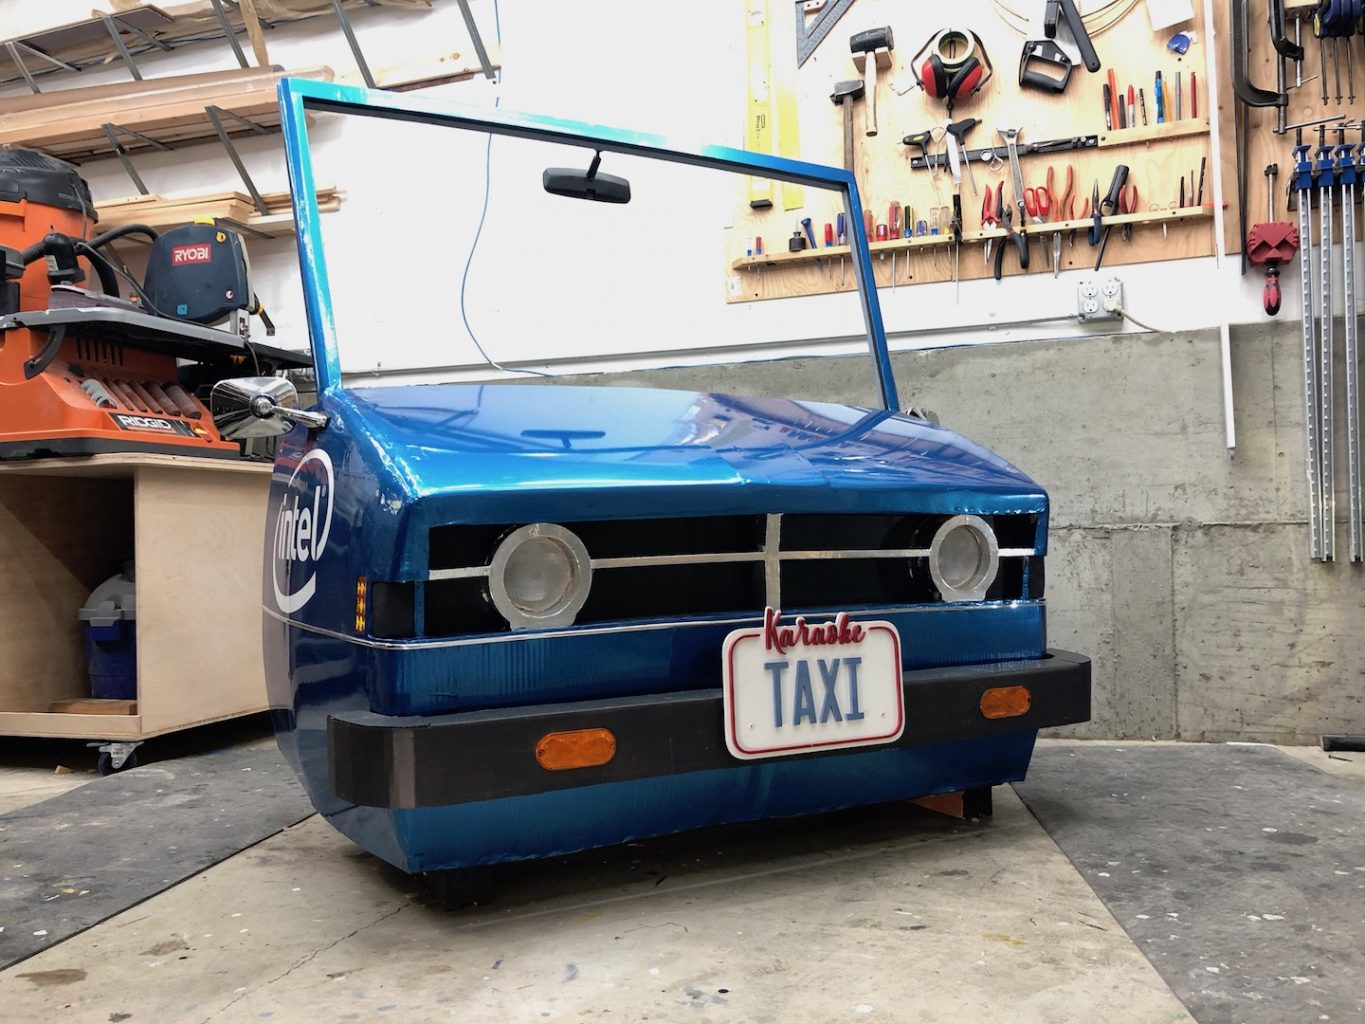
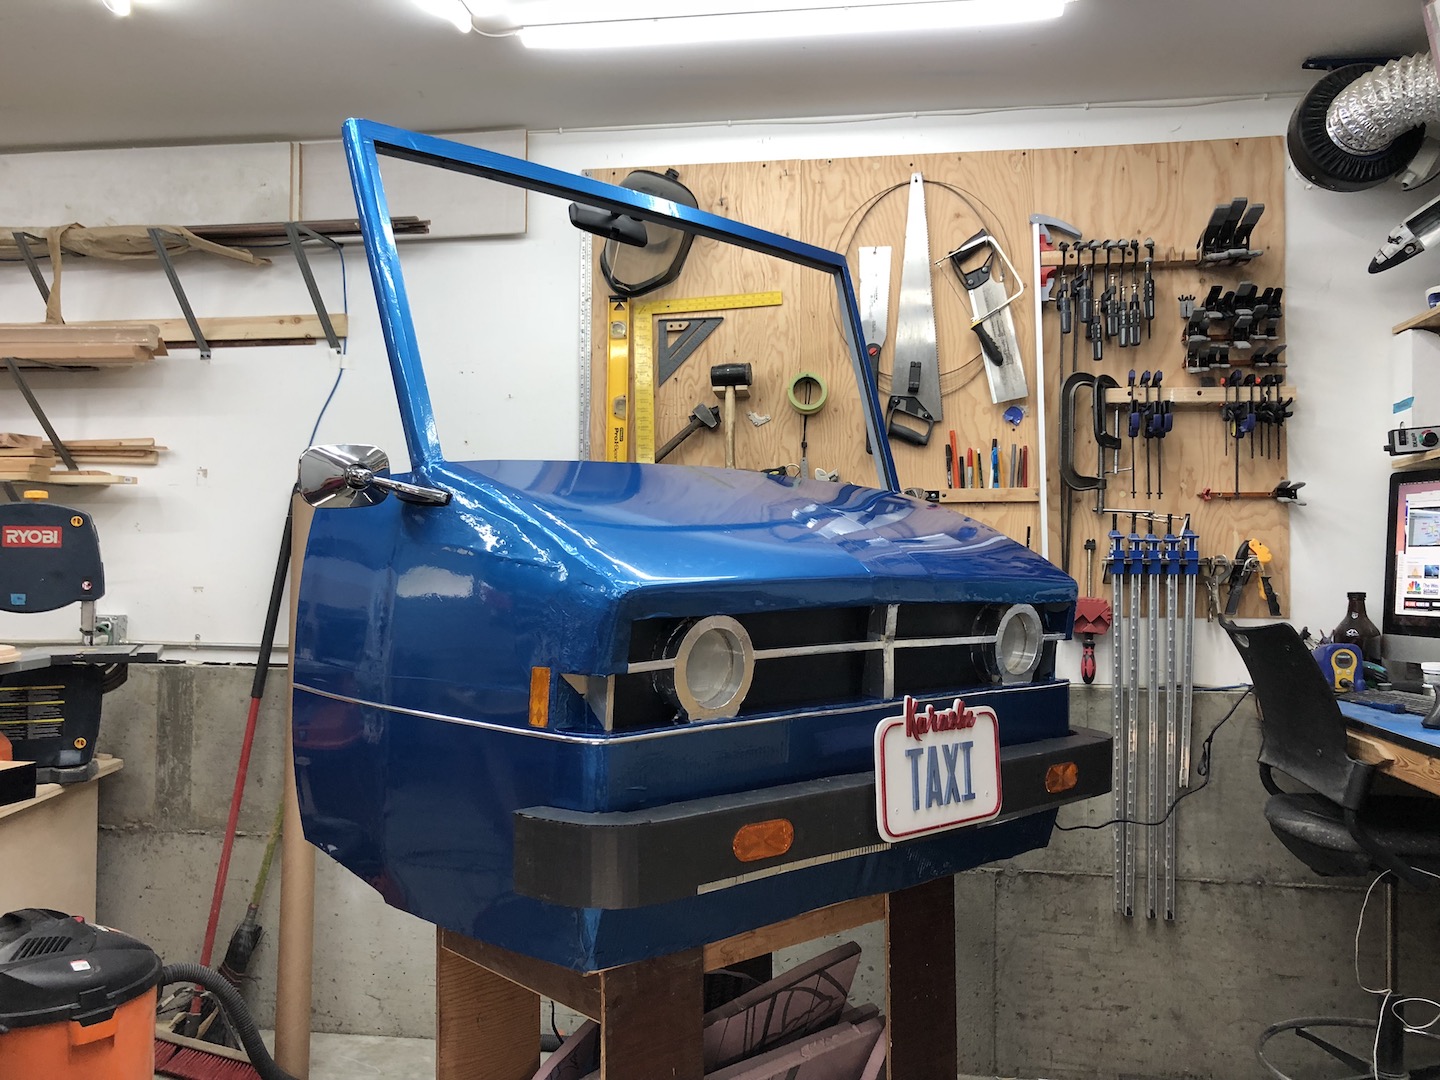
This version is rounder and I added a bumper and more realistic details.
Setting the Scale when Scratchbuilding
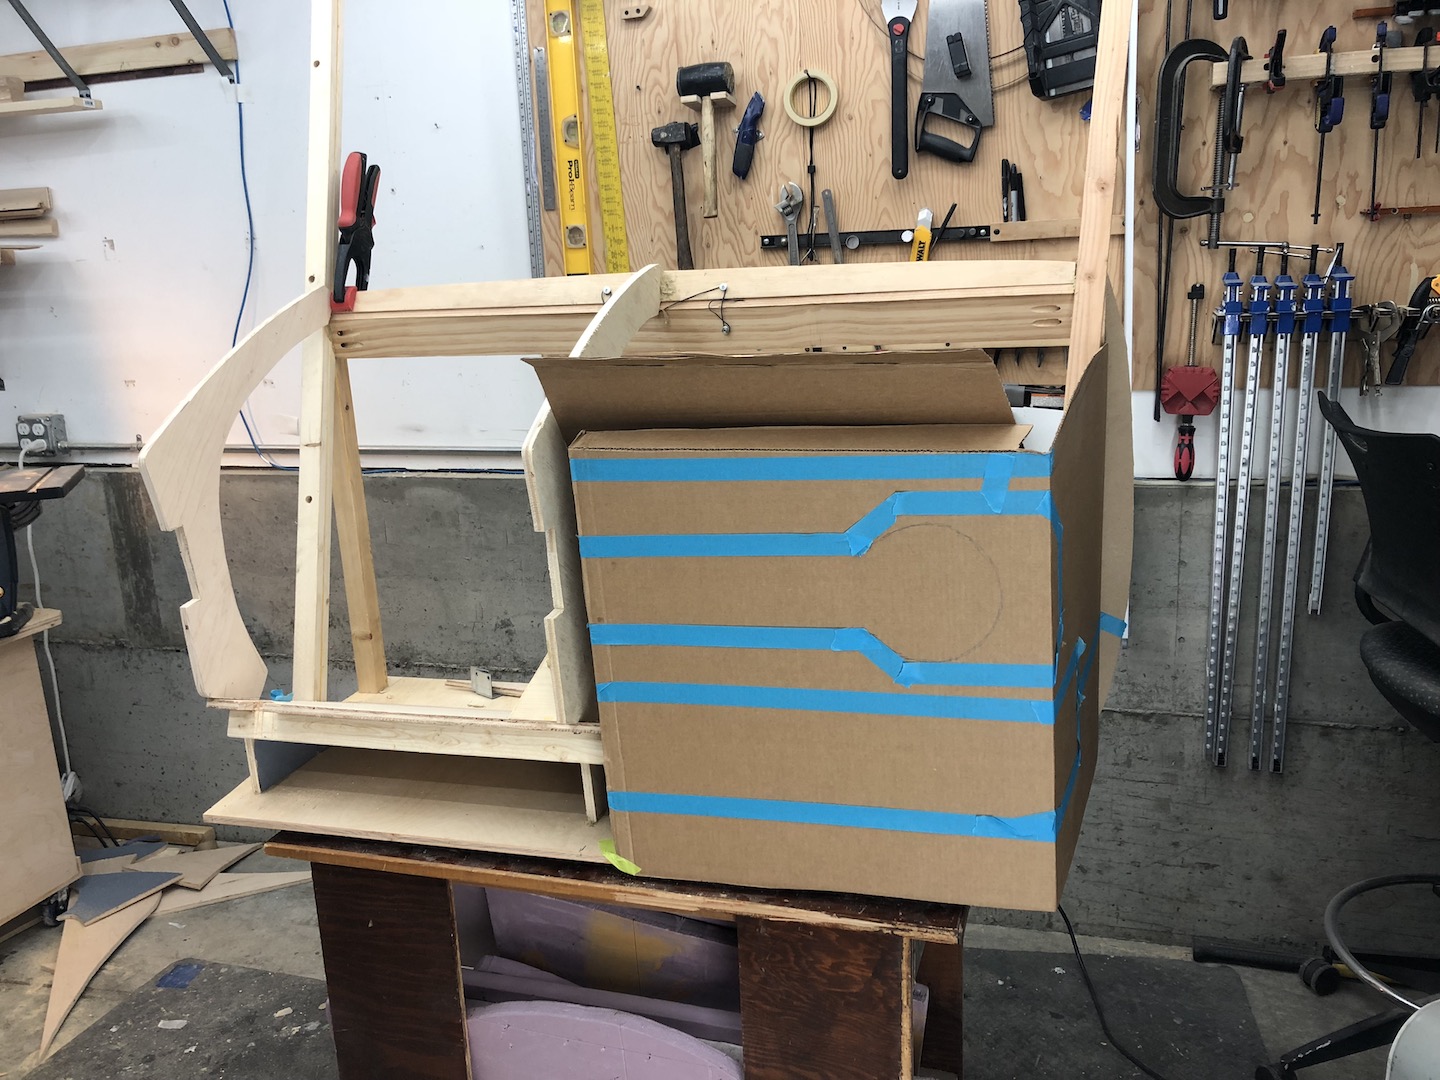
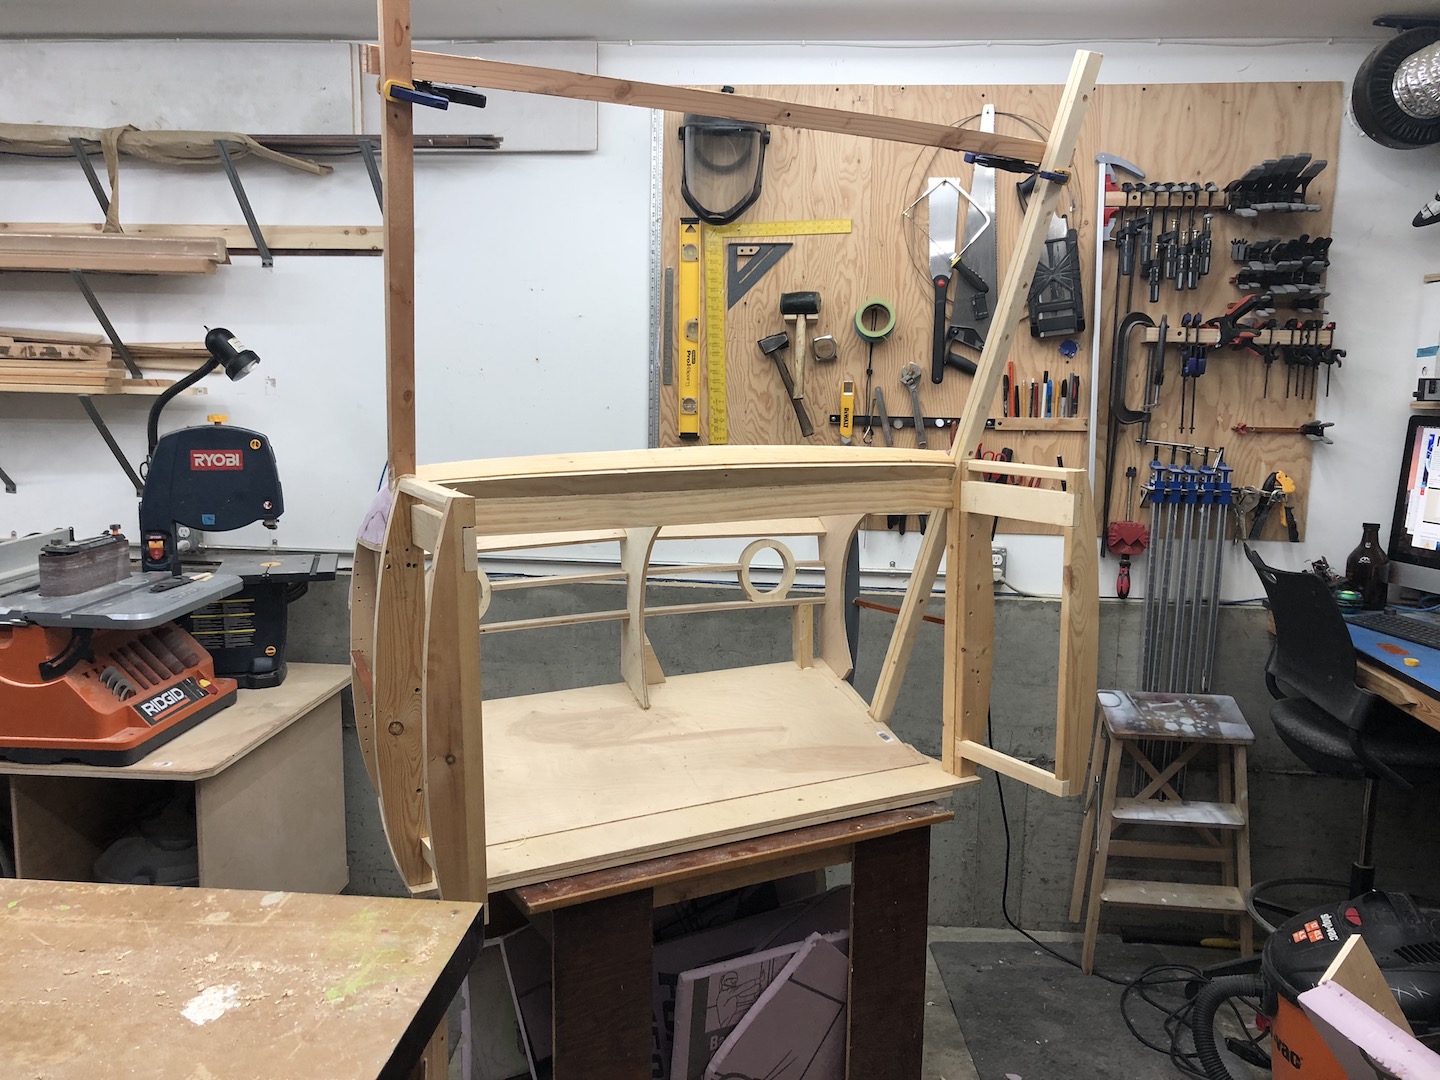
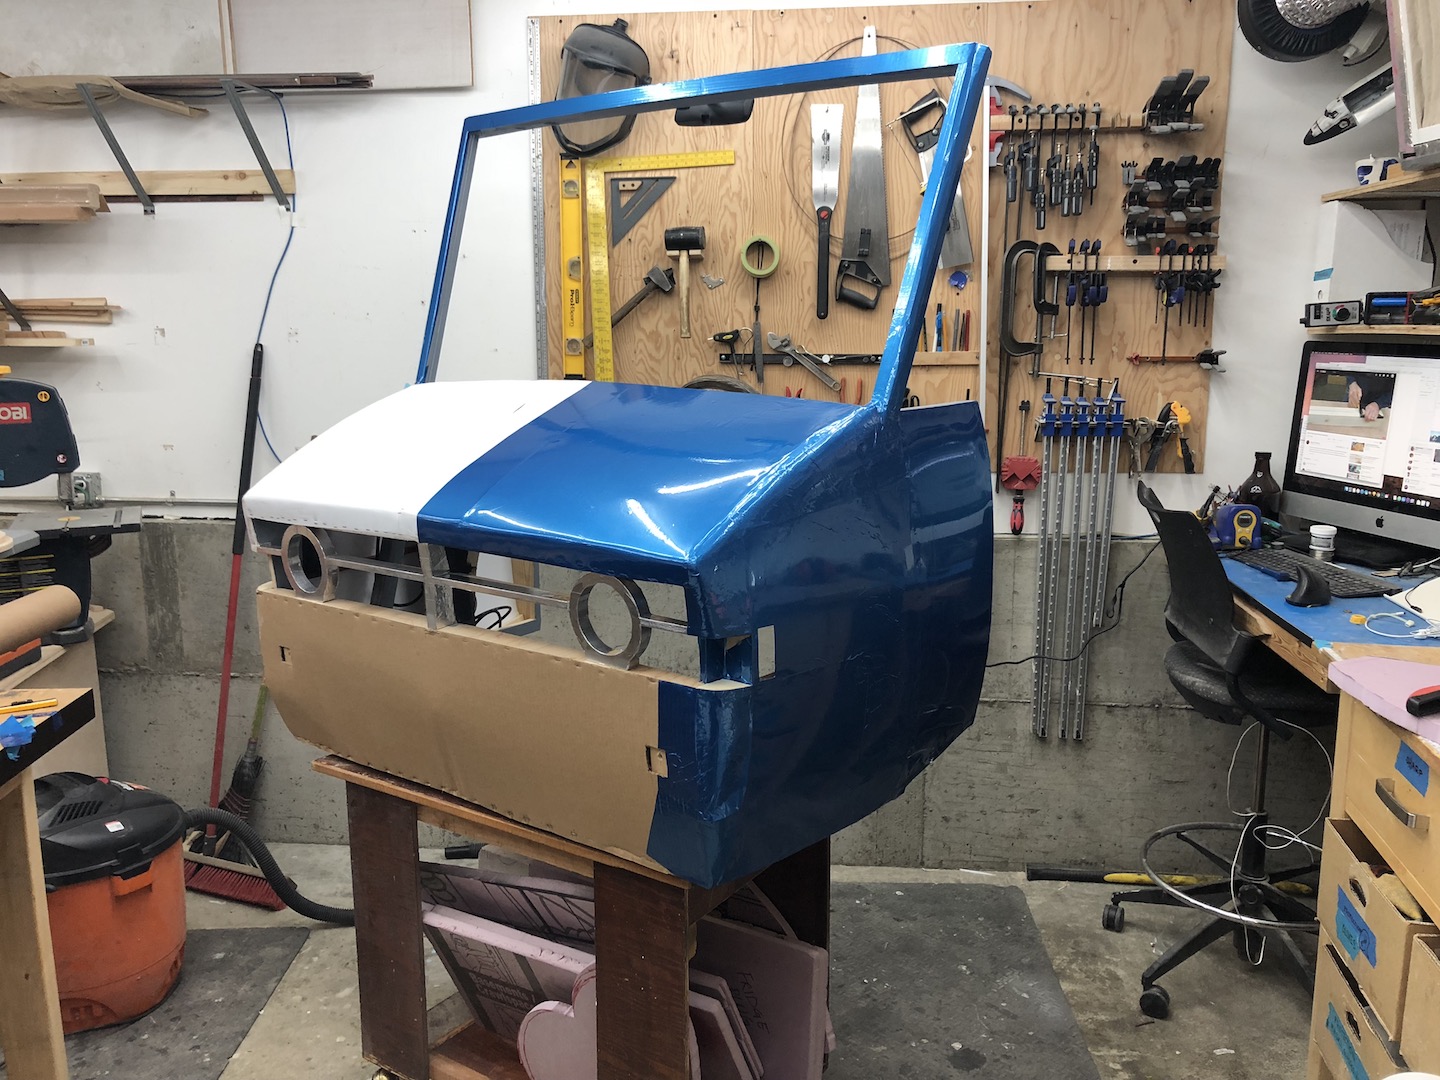
The whole project needed to be scaled to suit the bench seat provided by the client. Once I received the seat, I built a base for it that places it at a comfortable height, which I used to set scale of the rest of the car. My priorities were to make sure the width would accommodate the seat, put the dash at just over knee high, and keep the top of the windshield from blocking the view—both out for the presenters and in for the audience.
Once I knew how high it should be, I cut three shapes to estimate the front profile of the car and wrapped the structure in cardboard. Then I used masking tape to get a feel for the proportions and decide exactly how big various features would be.
It’s not uncommon for me to snap a photo of a project in progress and sketch over it to plan features or work out relationships based on what I’ve done so far.
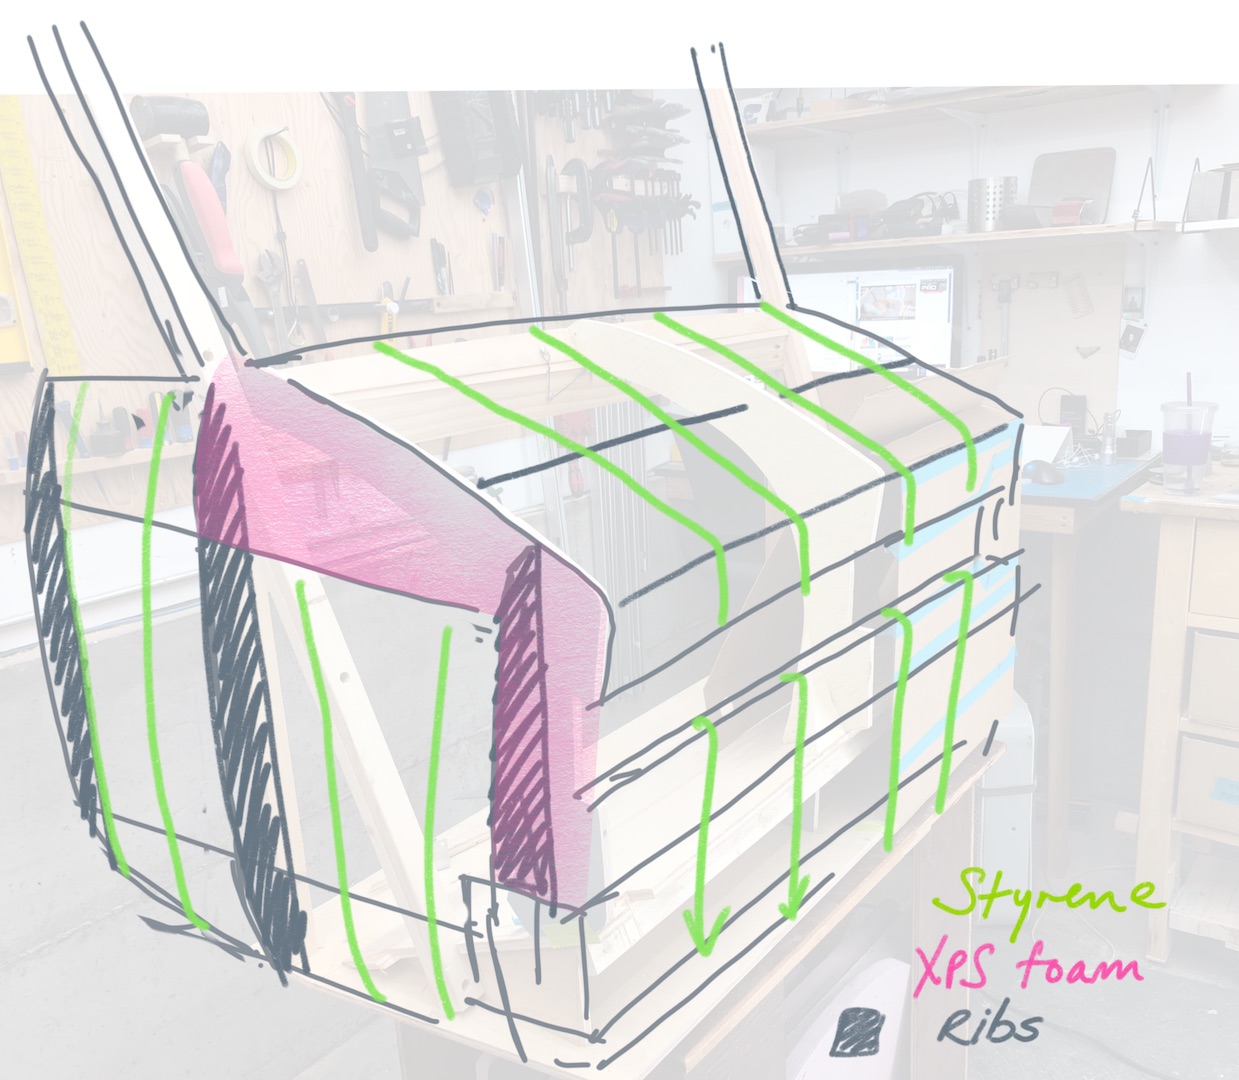
In the drawing above, I planned the main bending axis for the skin in green. The pink spots are curves I planned to carve with XPS foam. The dark filled arcs are ribs to be cut from plywood.
Fabrication
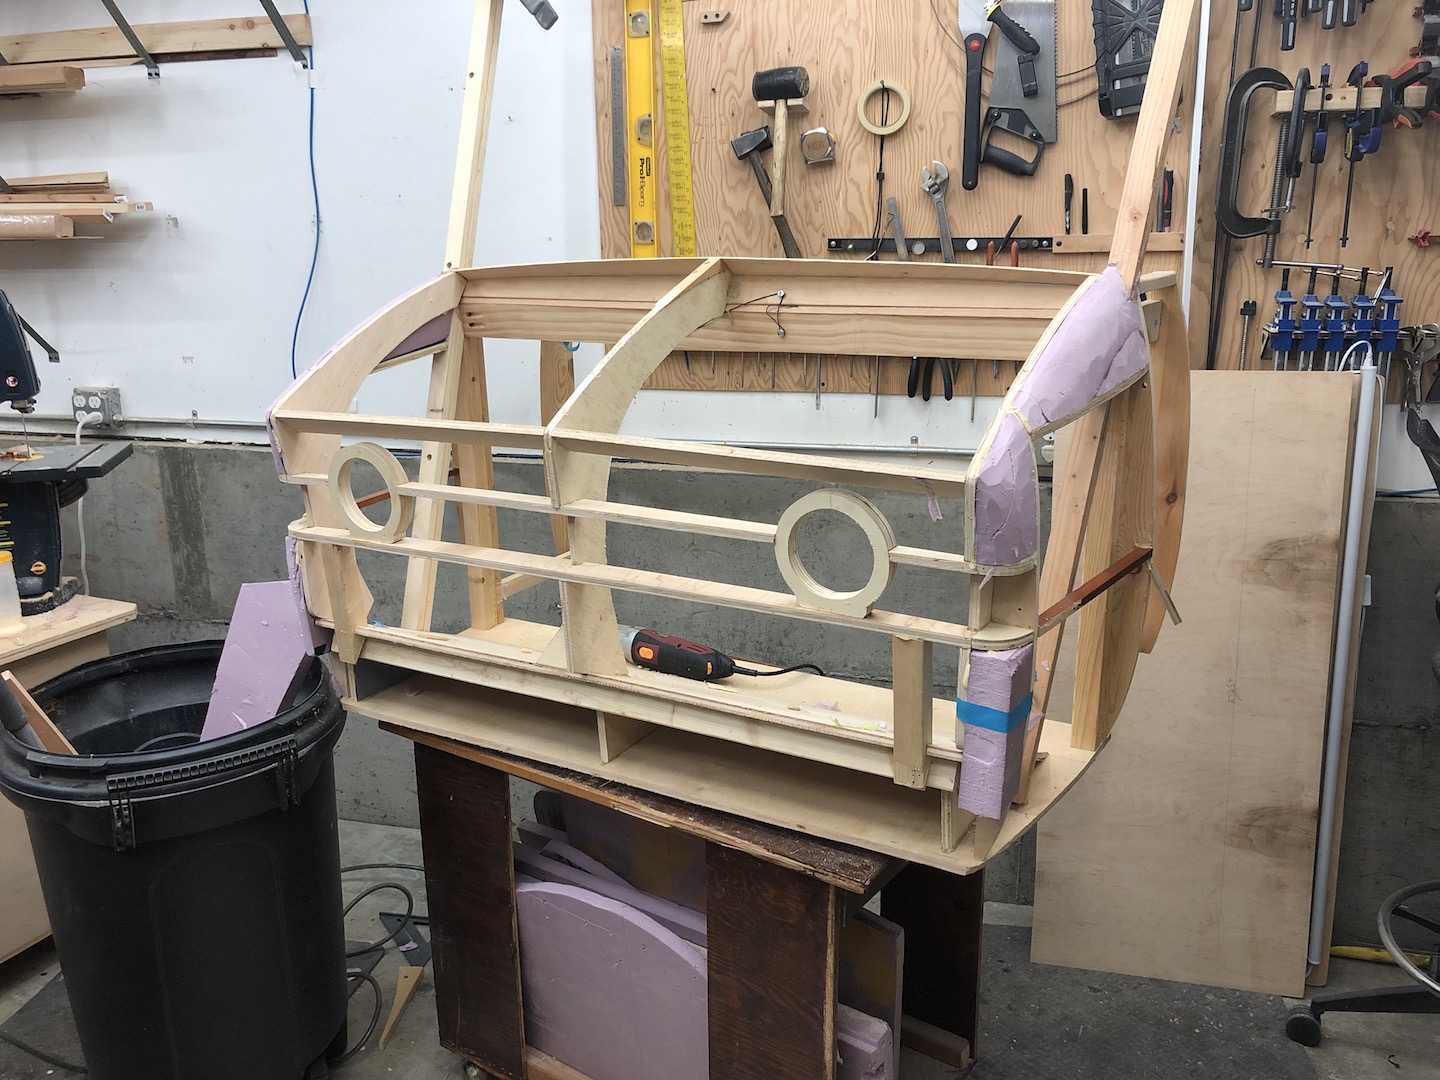
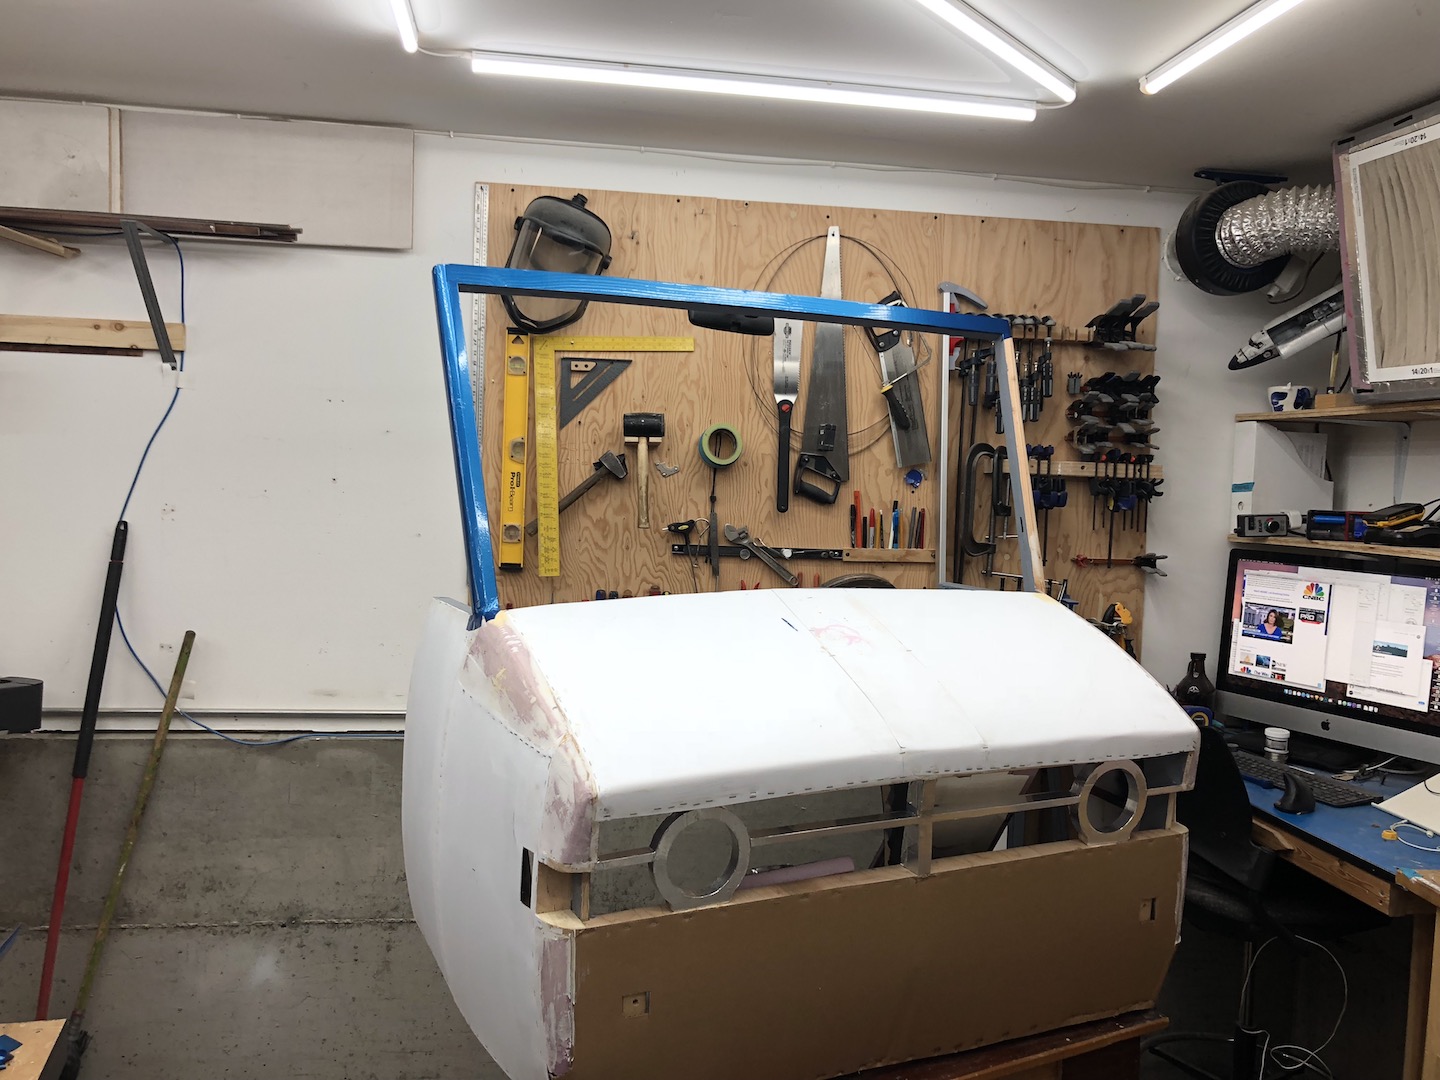
With the scale established and a something like a plan to work with, the car took shape quickly.
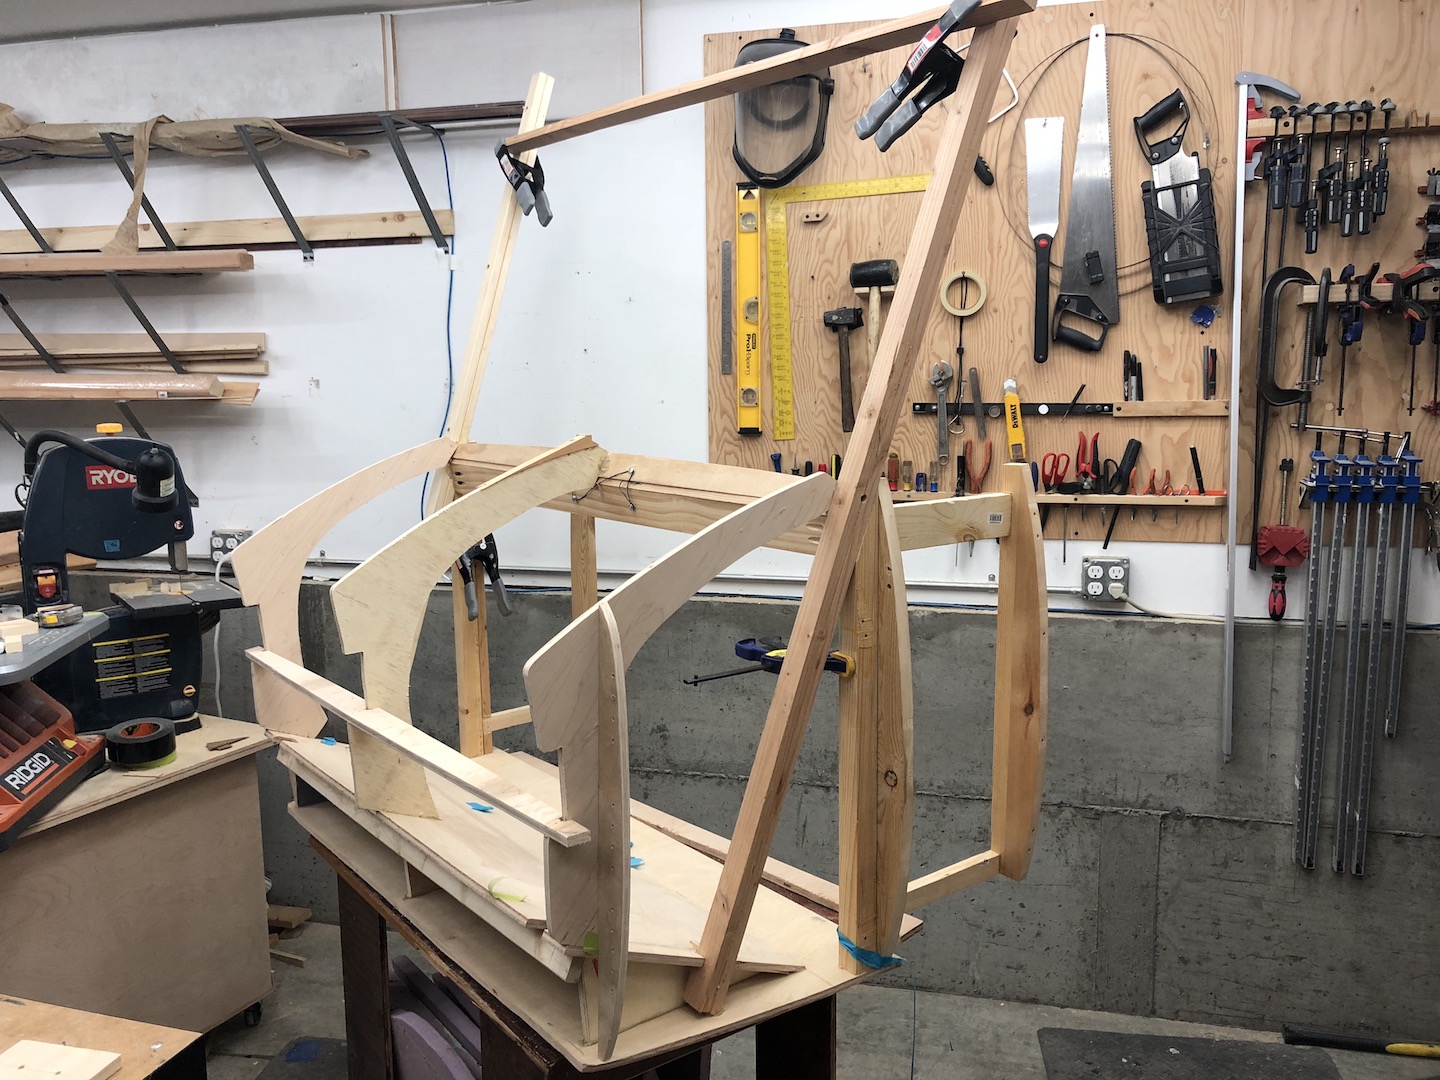
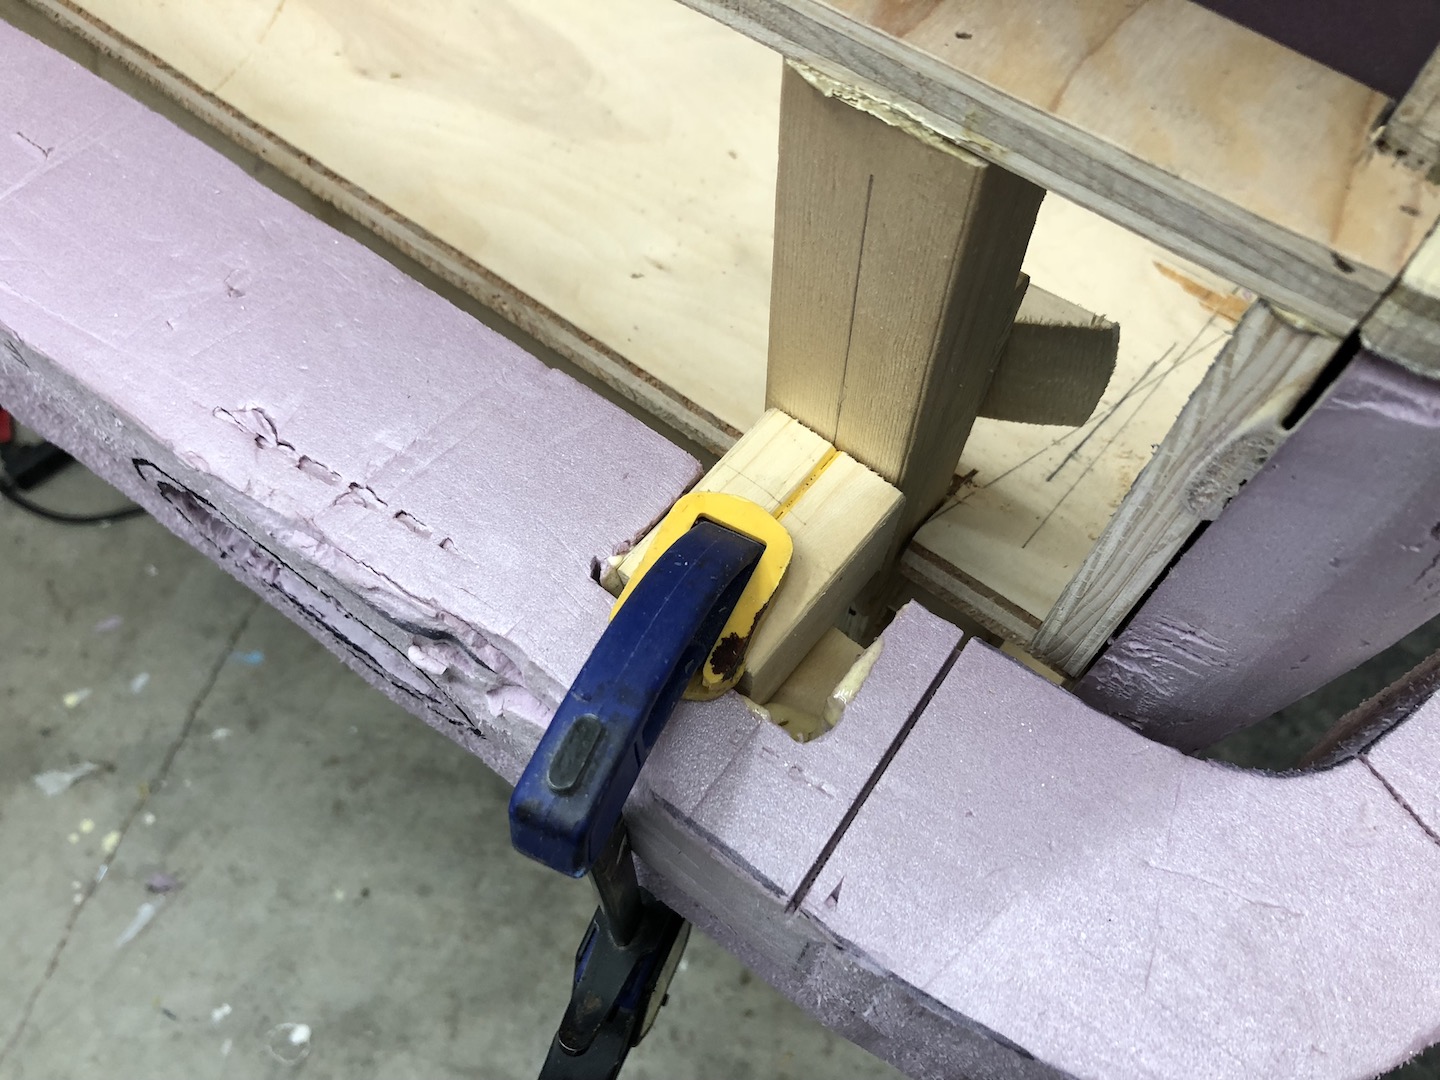
I cut matching ribs to define the curve of each side and to support foam blocks in the areas with complex compound curves. I removed most of the excess foam with a long-bladed razor knife then sanded the blocks to shape.
The sides are covered in sheets of thin flexible plastic held in place with fine wire staples.

The bumper is removable piece to make it easy to skin and finish separately from the car.
I painted the parts of the frame that would become the interior of the car a cool matte grey and rubbed stain on the dash.
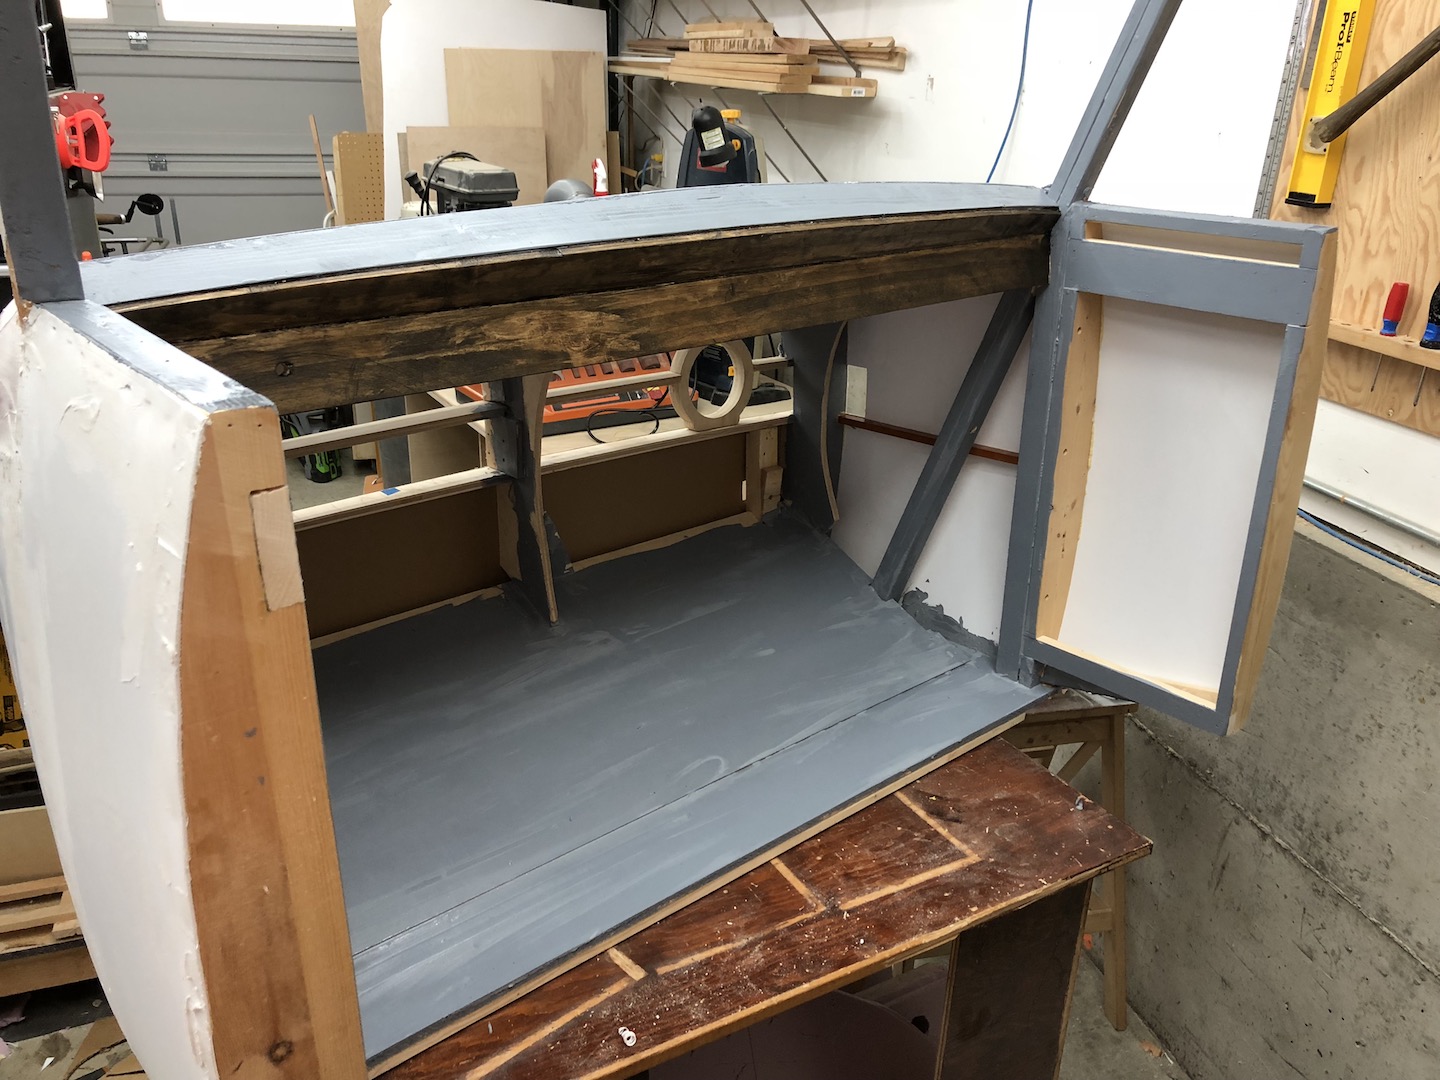
Next was smoothing the bodywork with ultra lightweight drywall filler, which bonds well to the foam and stays a little flexible. The grill was finished with some aluminum tape.
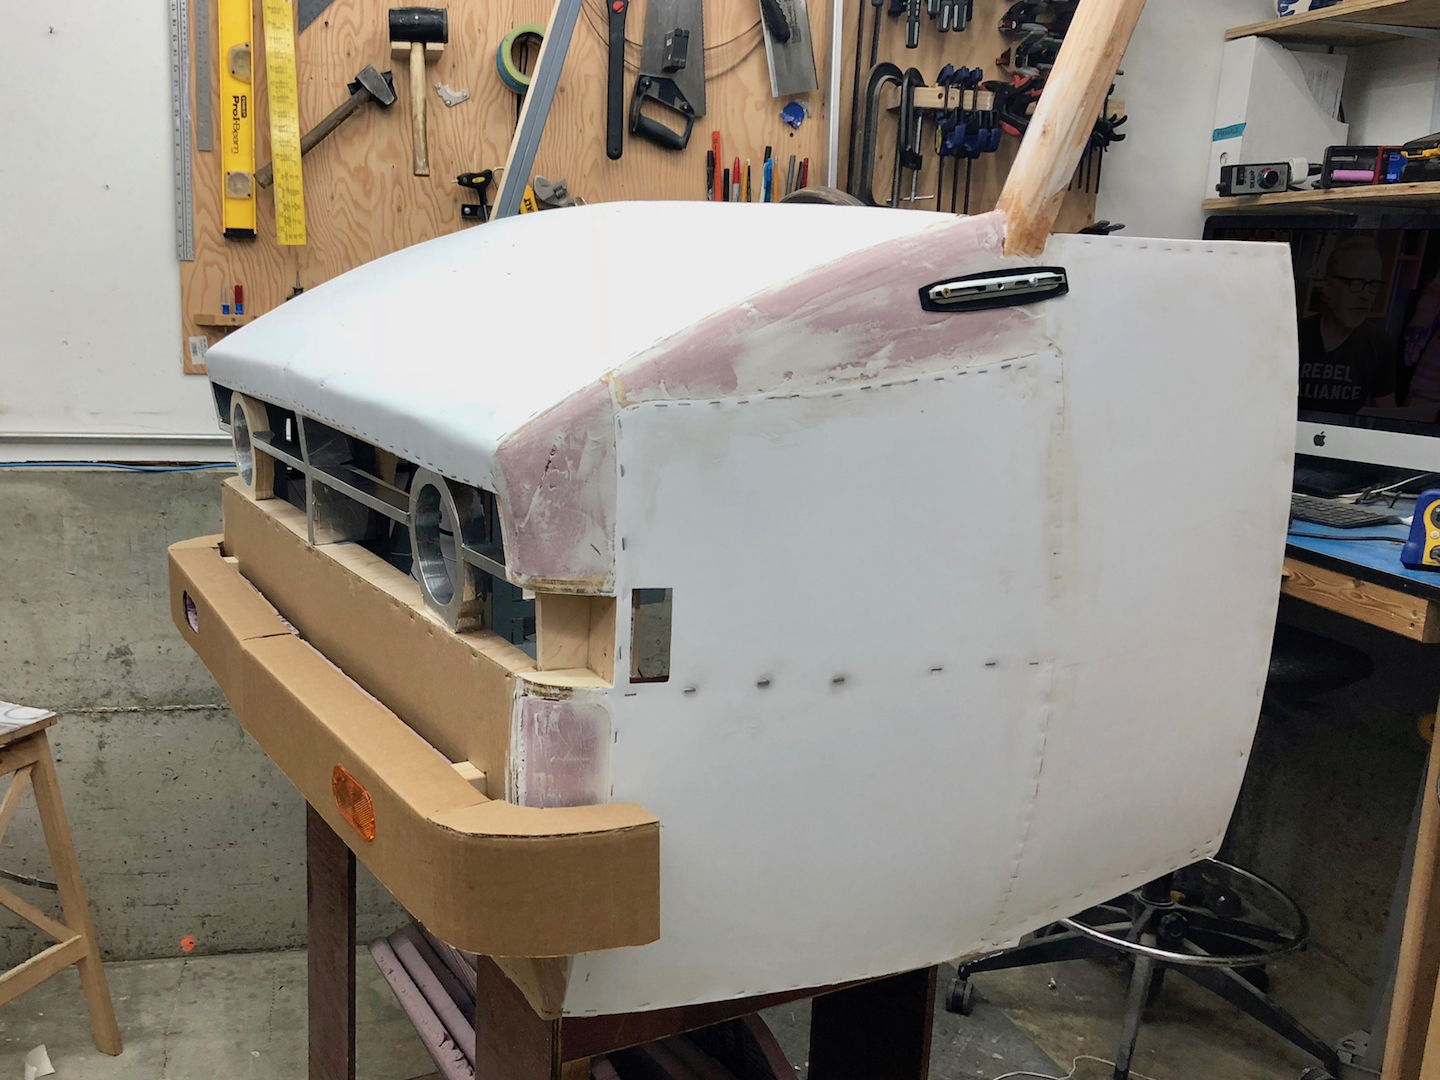
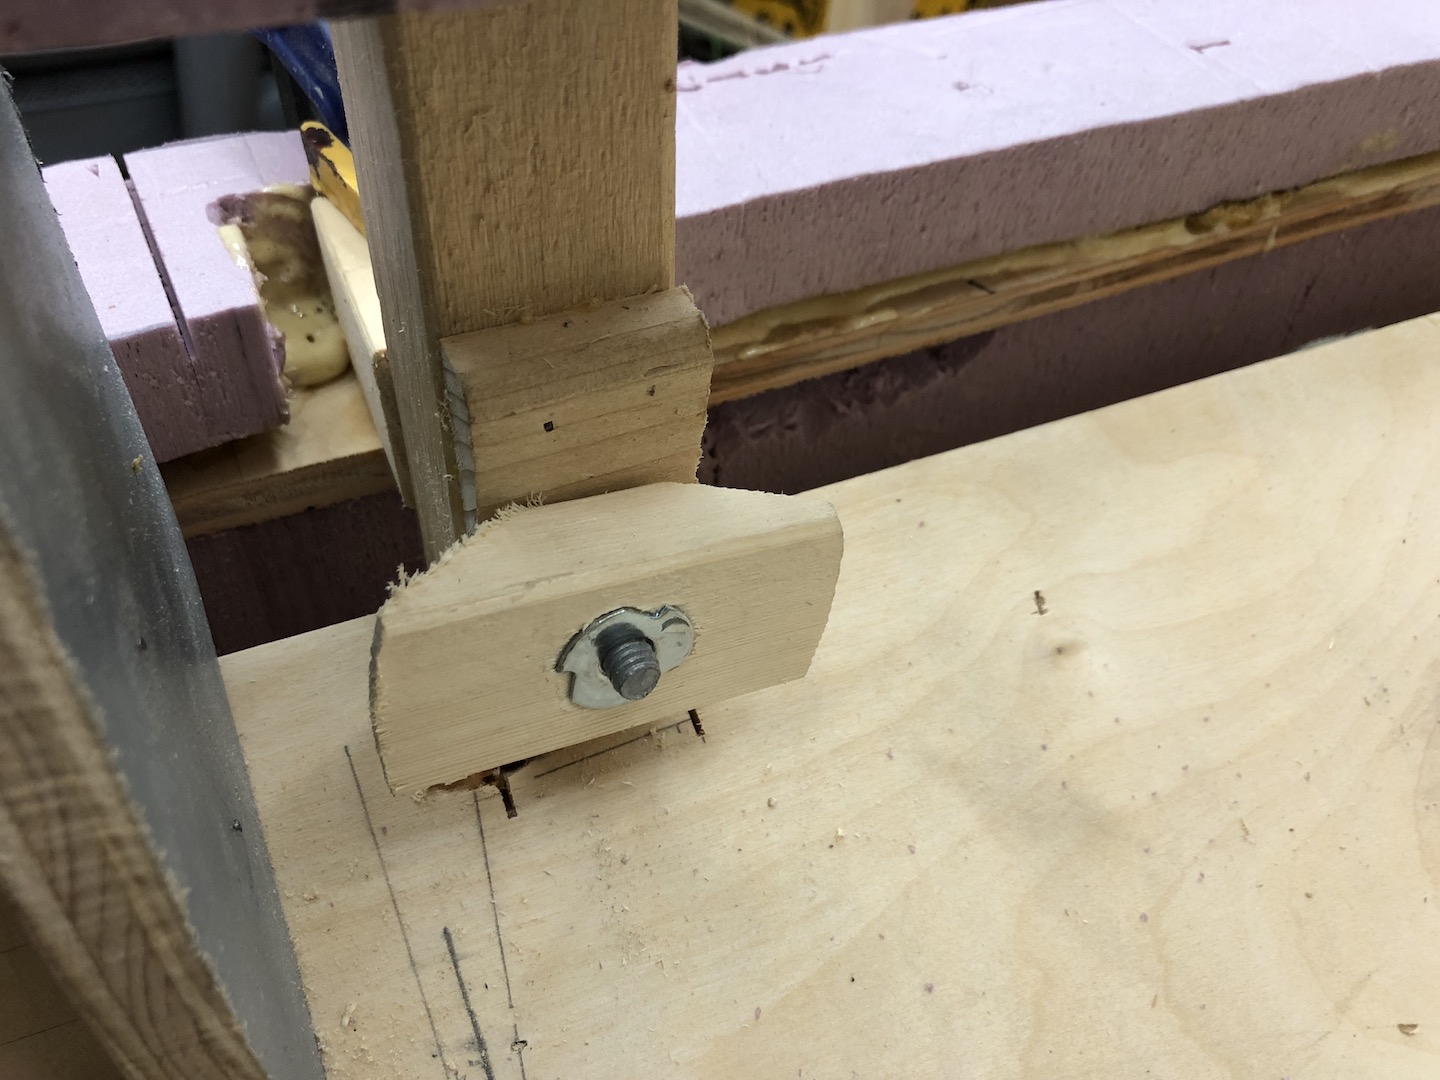
I cut holes for real automotive trailer turn signal lenses and mounted the fixture for the mirror where it would be anchored to the underlying wood frame.
Laser-Cut Interior Parts
I’ve grown to depend on my laser cutter, a Glowforge Pro, for detail work on many of my projects. For this car, I cut the the hub for the steering wheel, face plates for the dashboard, and the letters for the Karaoke Taxi license plate. I also used used the machine to engrave the lenses for the headlights. See more of my laser cutter projects here.
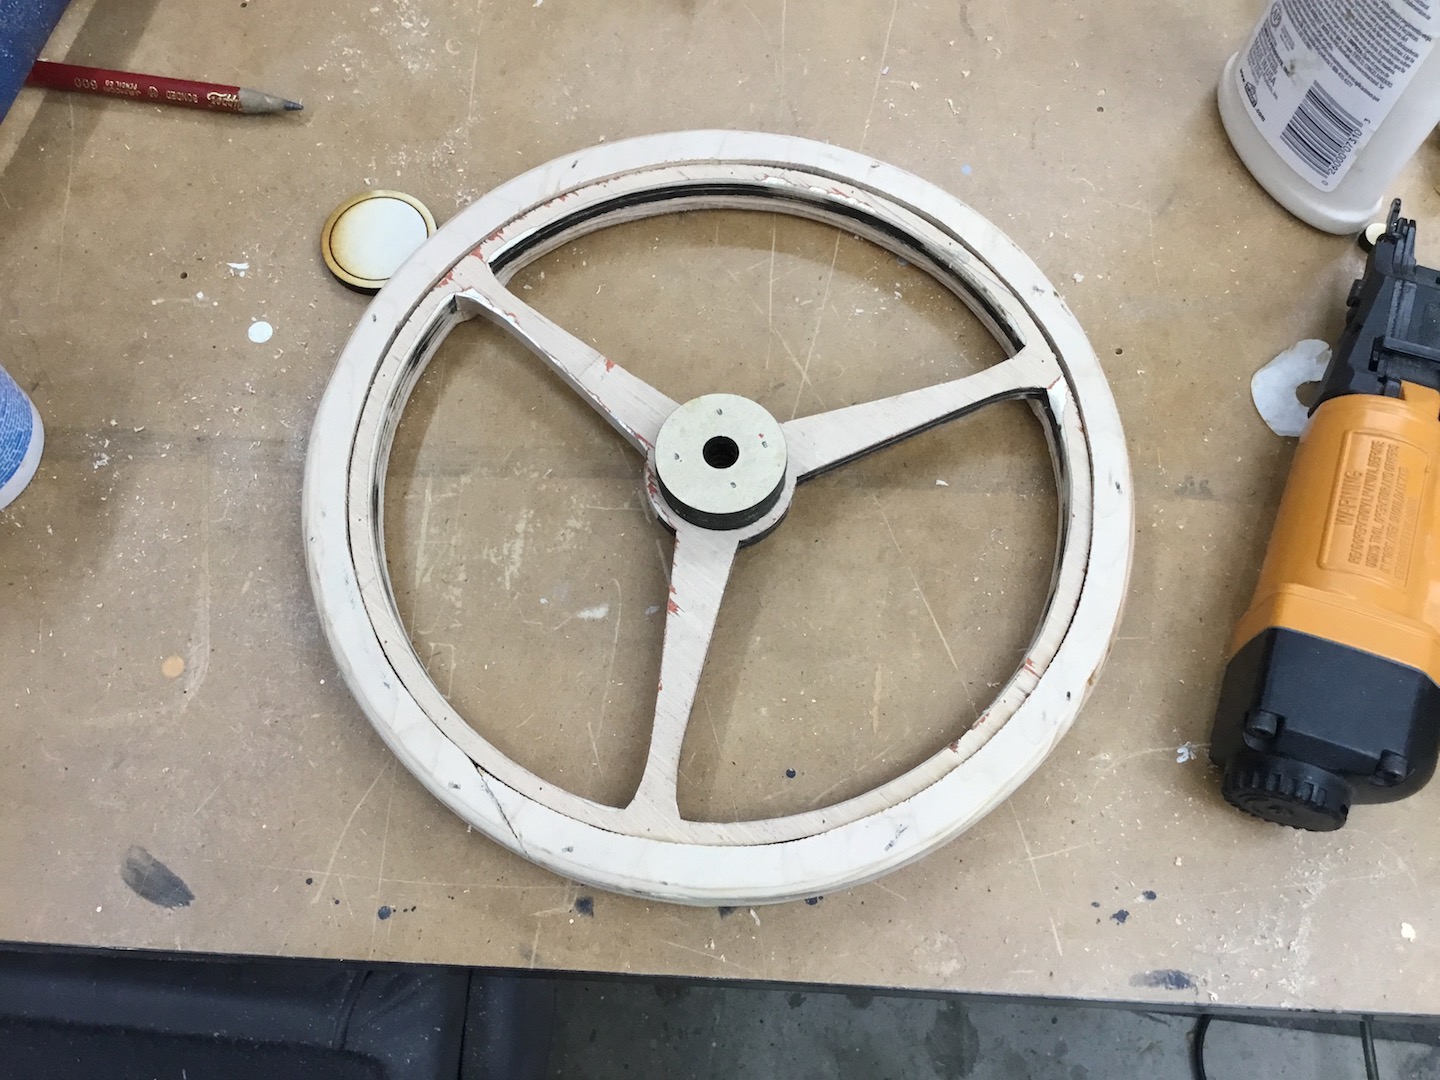
Steering wheel hub made of four layers. 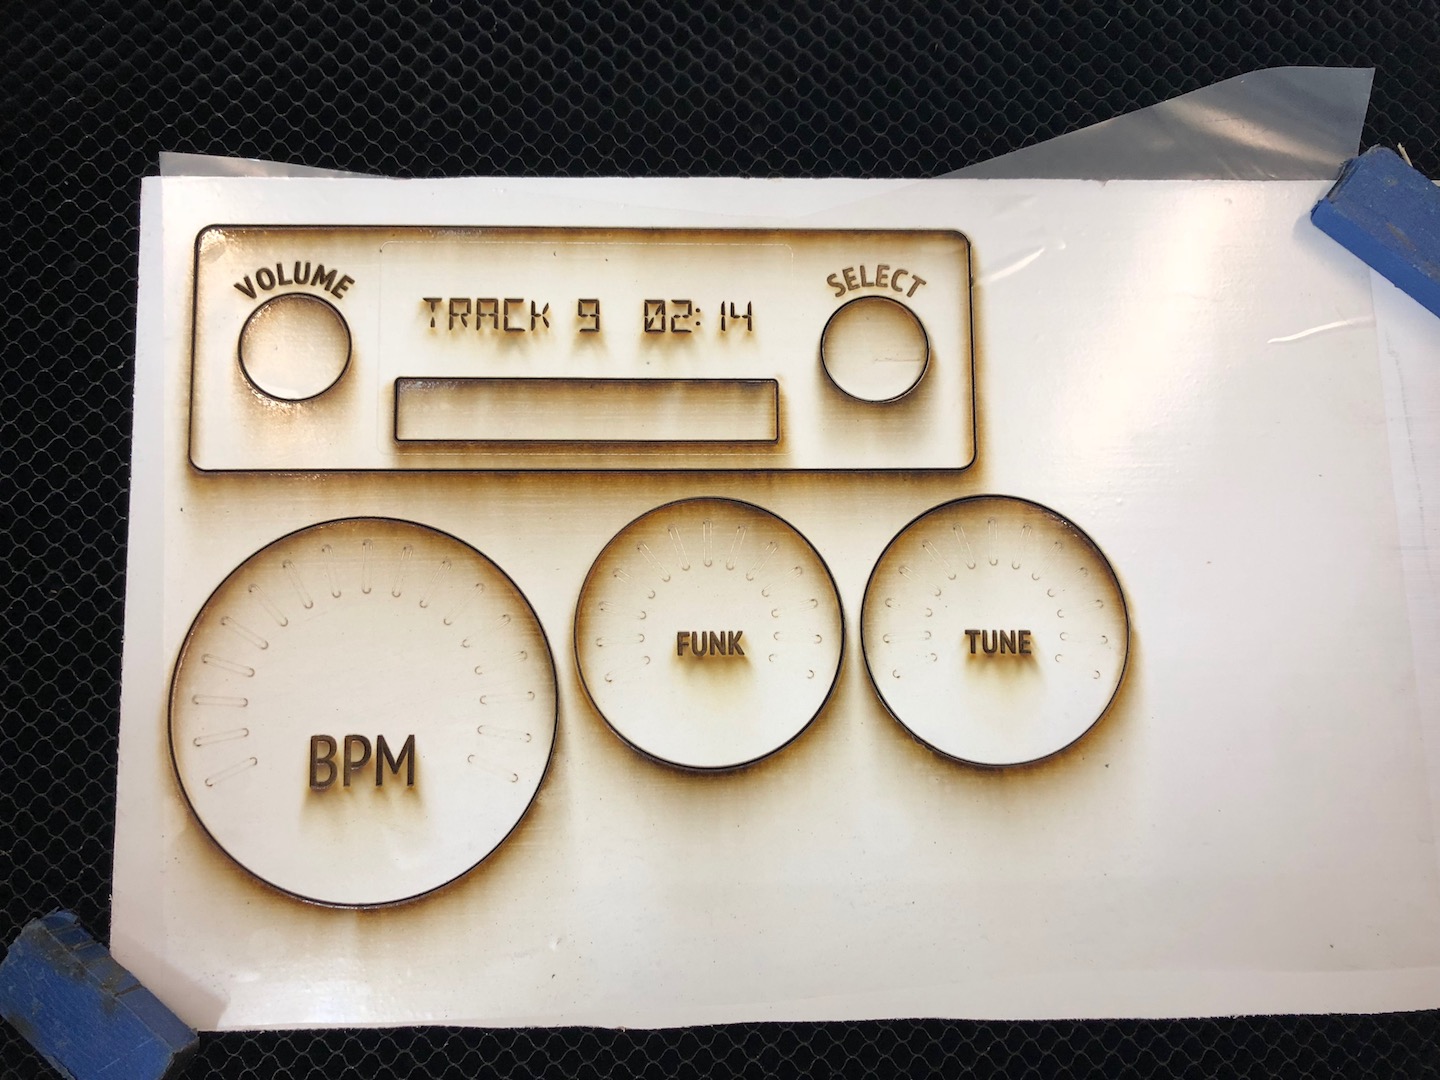
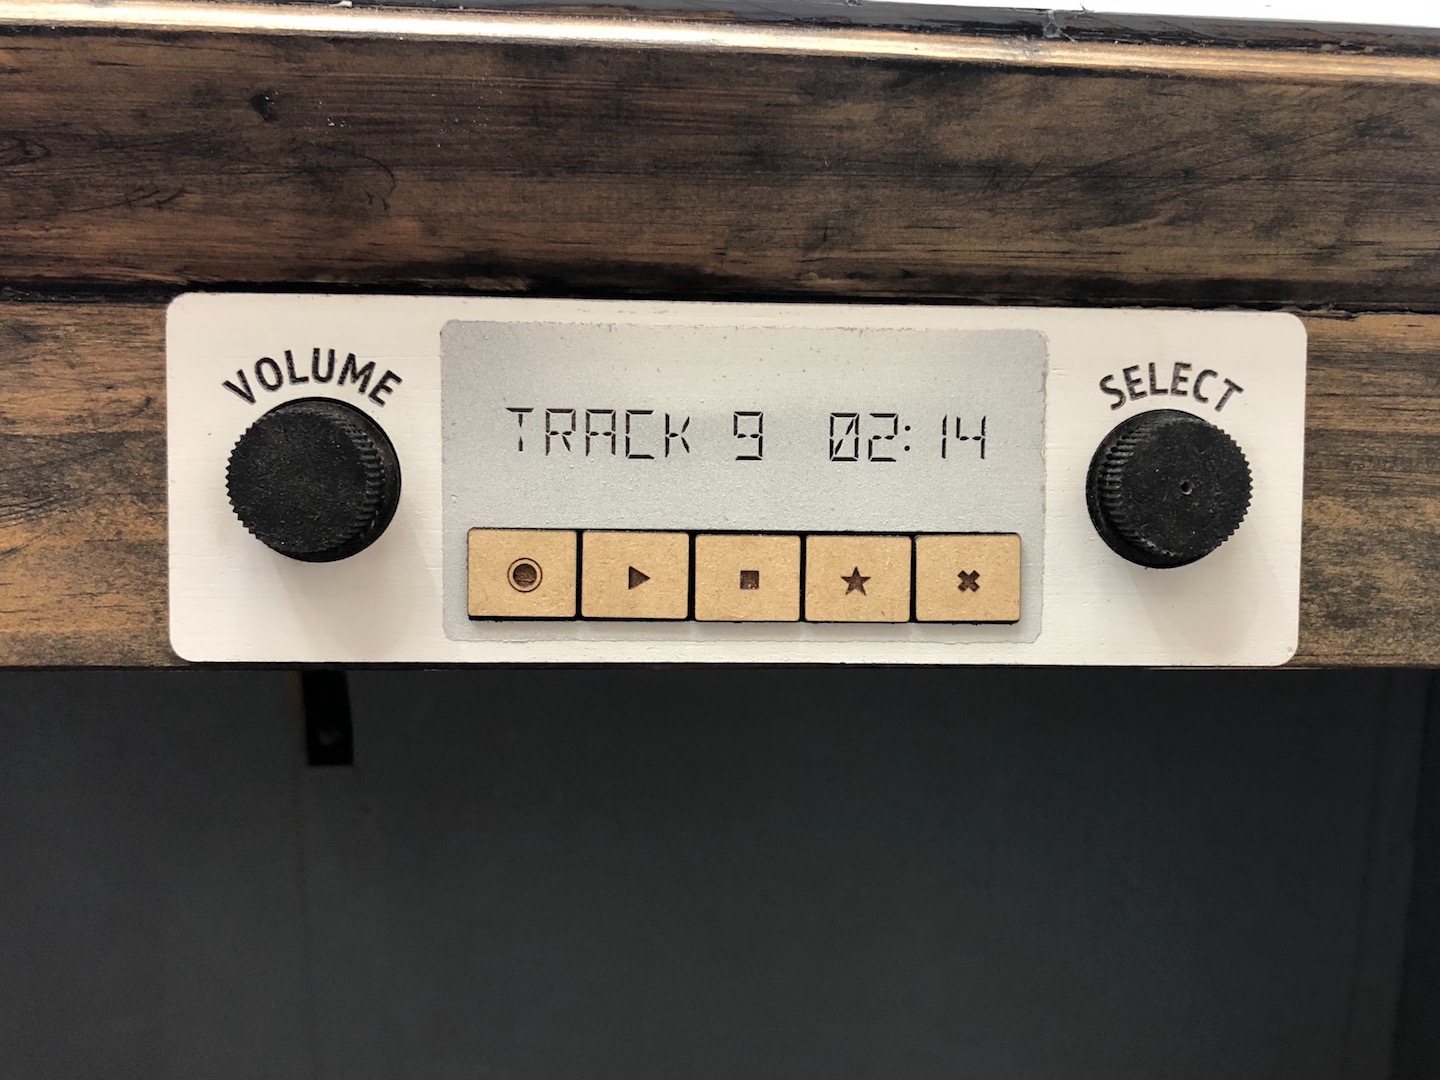
Engraved stereo and gauge faces. 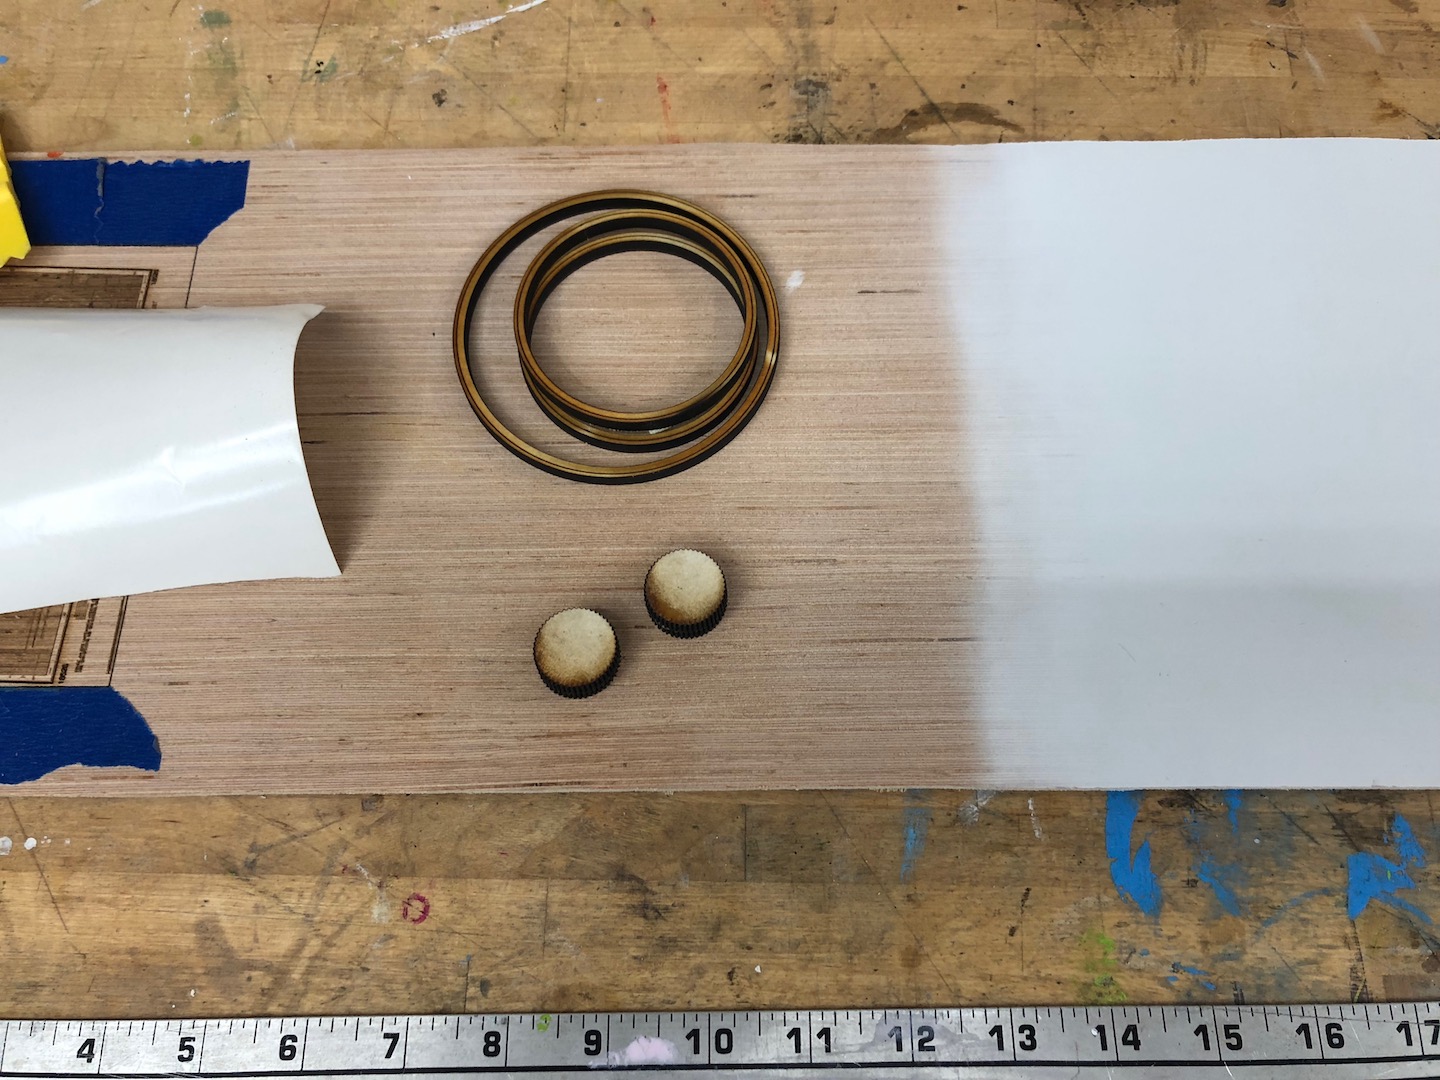
Radio knobs and unused trim rings for the gauge cluster.
Wiring
The light comes from a few segments of high density LED tape. Each headlight has a strip around the inside of the housing about three inches behind the lens. I used a repurposed 12v 2200mA adapter to power the system, and an automotive headlight stitch for authenticity and durability.

Here you can see the hole for the turn signal lens. The black paint keeps light from shining thought the surrounding area. 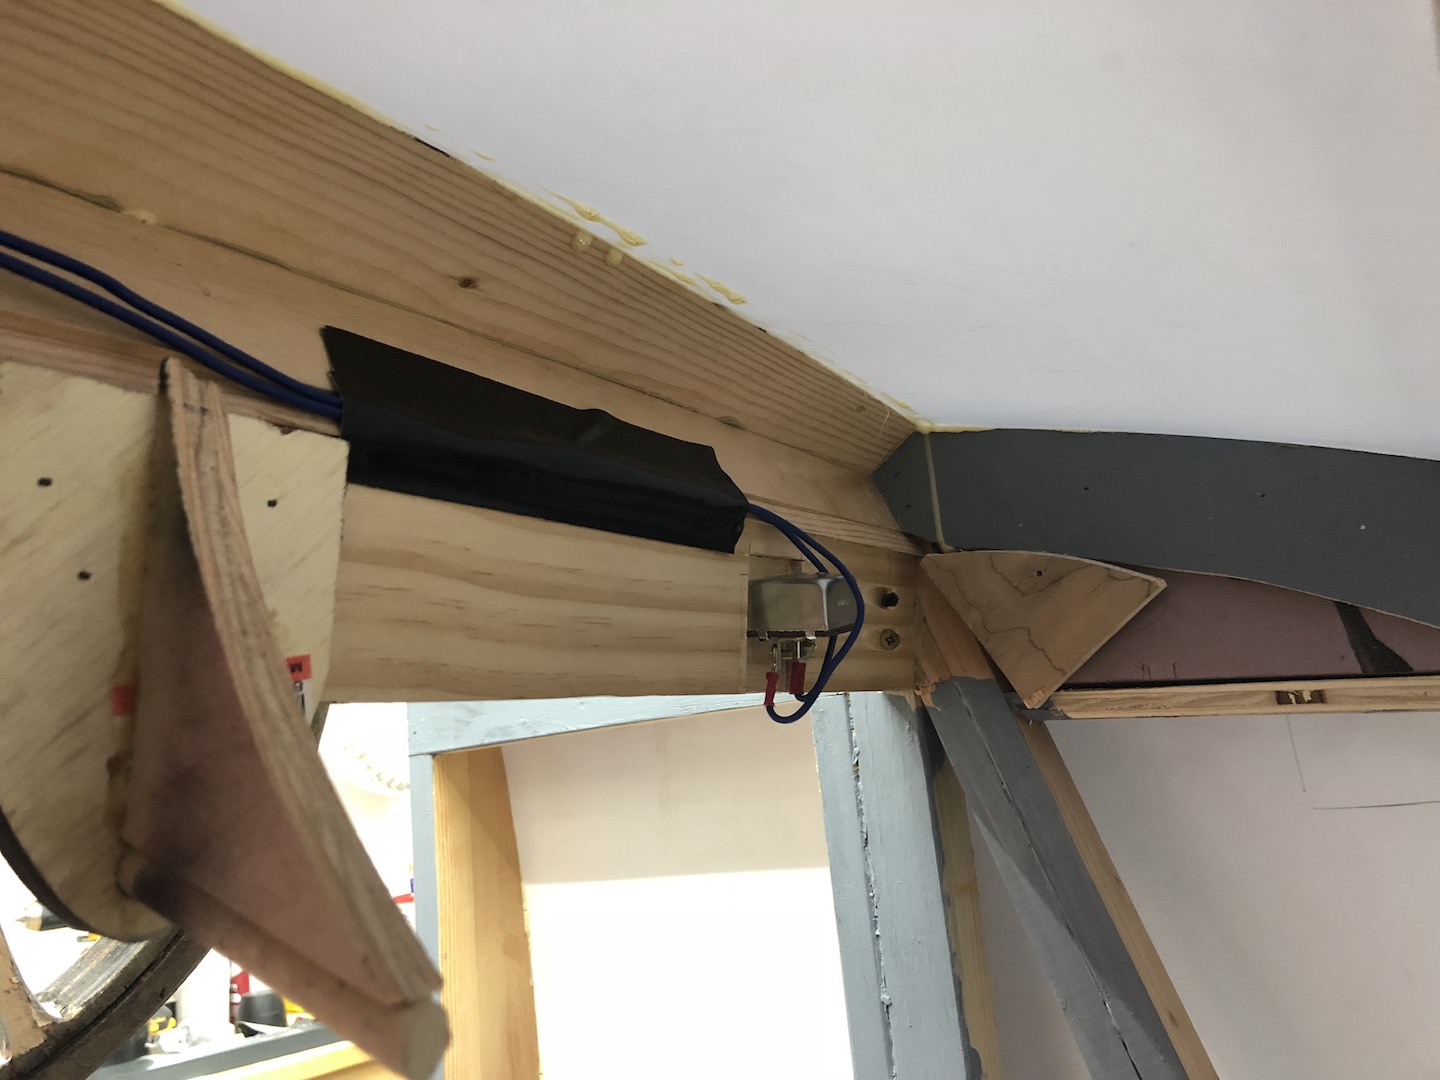
Switch wiring. 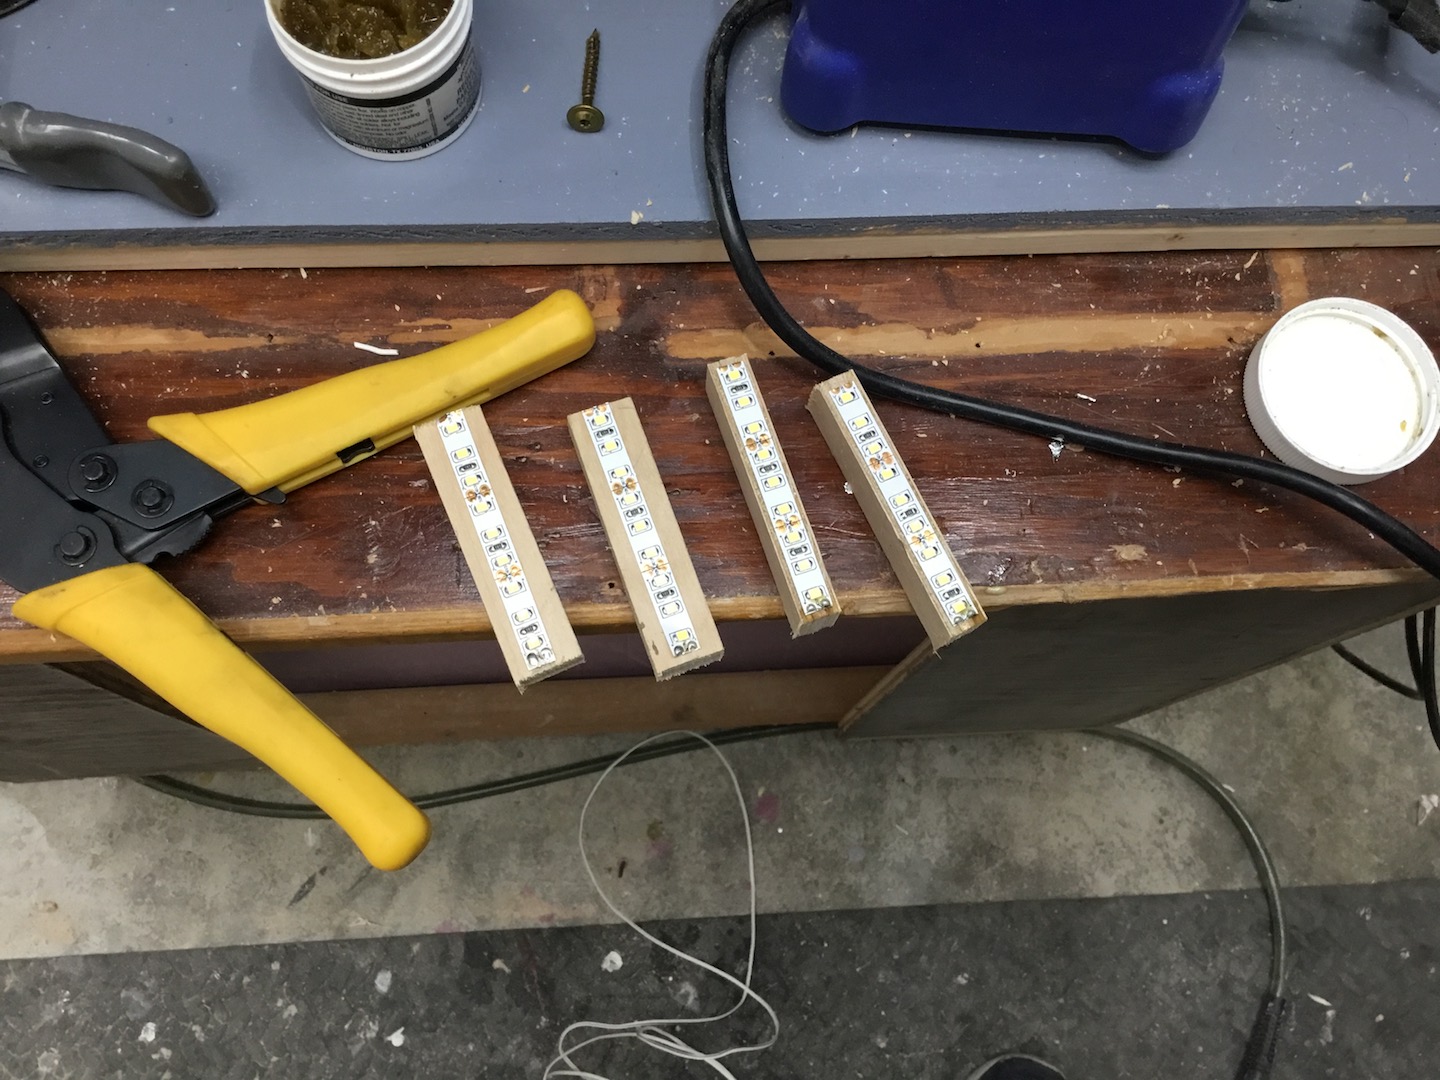
I attached a few inches of LED strip to some scraps of plywood to make the turn signal lights.
Wrapping Up
I used common vehicle wrap vinyl to “paint” the car, which helped cover some of my coachbuilding crimes and forms a durable, uniform, and super shiny surface.
I fit panels to cover the inside of the doors and the kick plates between the dash and floor and painted them the light gray interior color.