
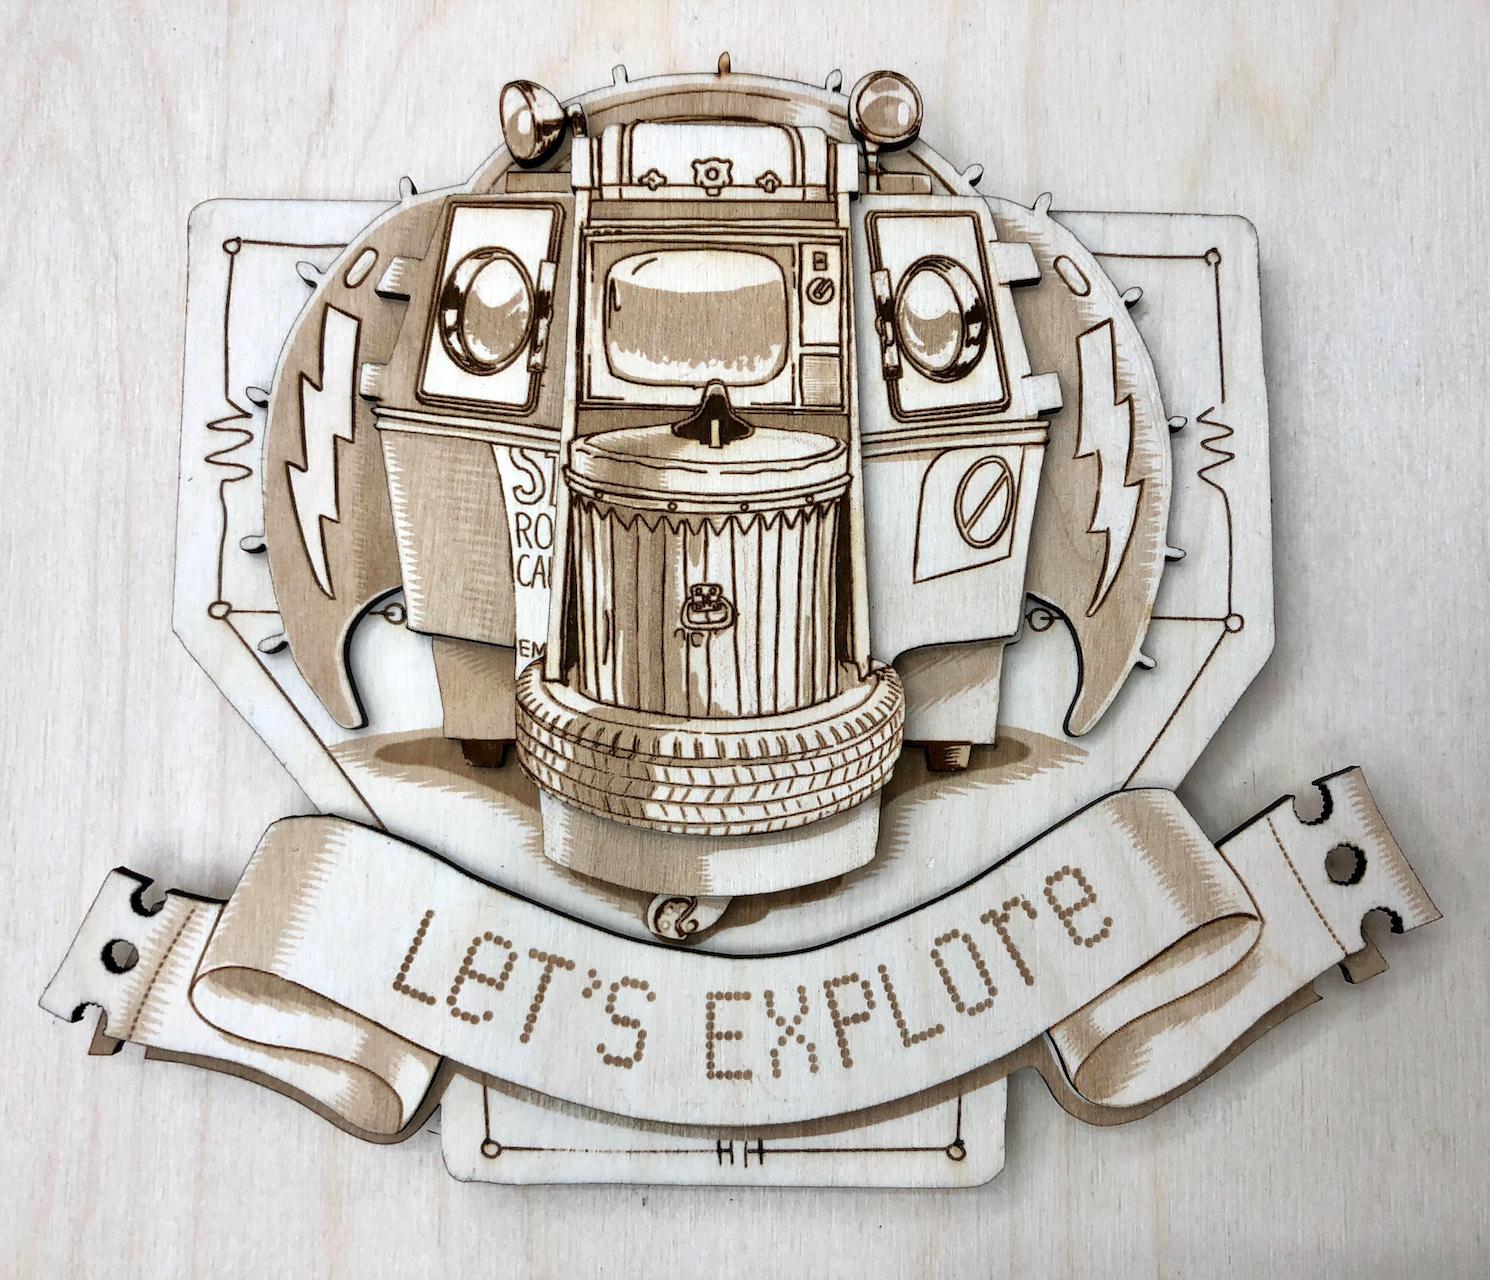
I drew this image a year or so ago while daydreaming about a spaceship made of a junkyard tilt-a-whirl bucket, take-off appliance doors, trash cans, old road signs, and various urban debris. But as readers who have seen The Explorers will recall, the heart of the ship was was more technological—an inertial damping field created with an alien-inspired but homemade circuit, an Apple ][, and a swiped car battery.
The style of the drawing was intended to ape a woodcut. In this project I’ve set out to translate it to an engraving as a means of learning the ins-and-outs of the new tool in my kit: a laser cutter and engraver.
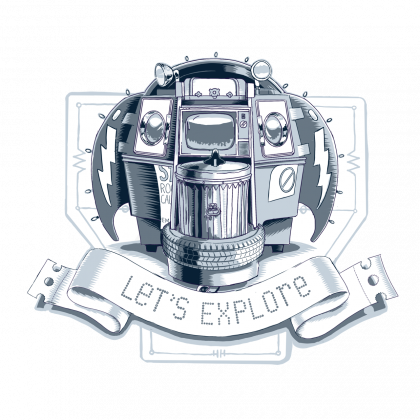
These pictures show the progression of my results. The leftmost version represents my first attempt. Click to enlarge and read more about each version.


Adapting the Artwork
There are plenty of ways to change the results of a laser engraving through the controls of the laser itself, but I prefer to make changes to the artwork directly instead of fiddling with power and speed settings at the laser because it’s easier for me to make subtle, consistent changes using that software.
I initially drew the artwork as a bitmap, not vector, so I used an image editor to make the changes.
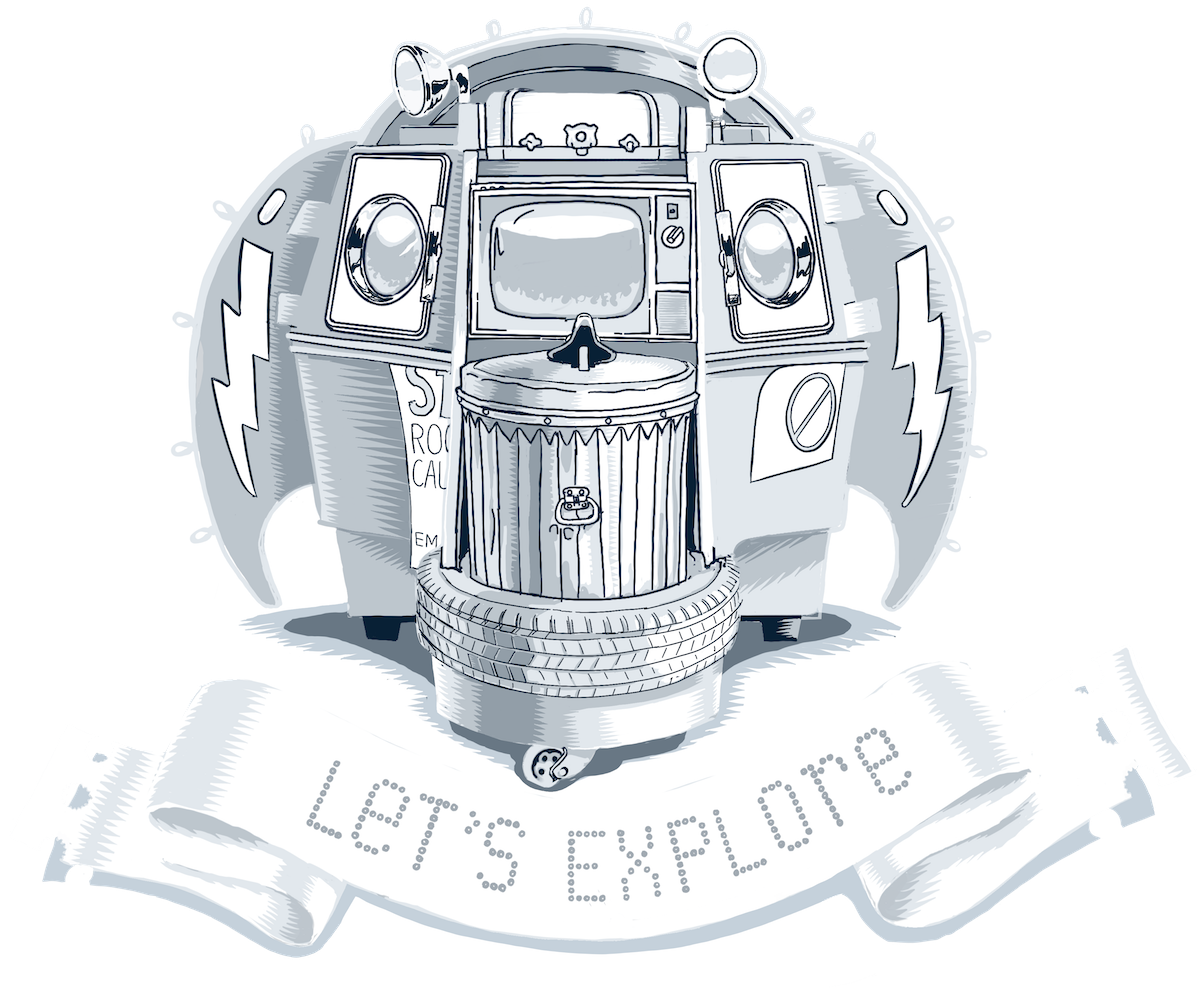
I brightened the image generally and reduced the contrast, but the linework, chrome elements, and a few shadows I left nice and dark.
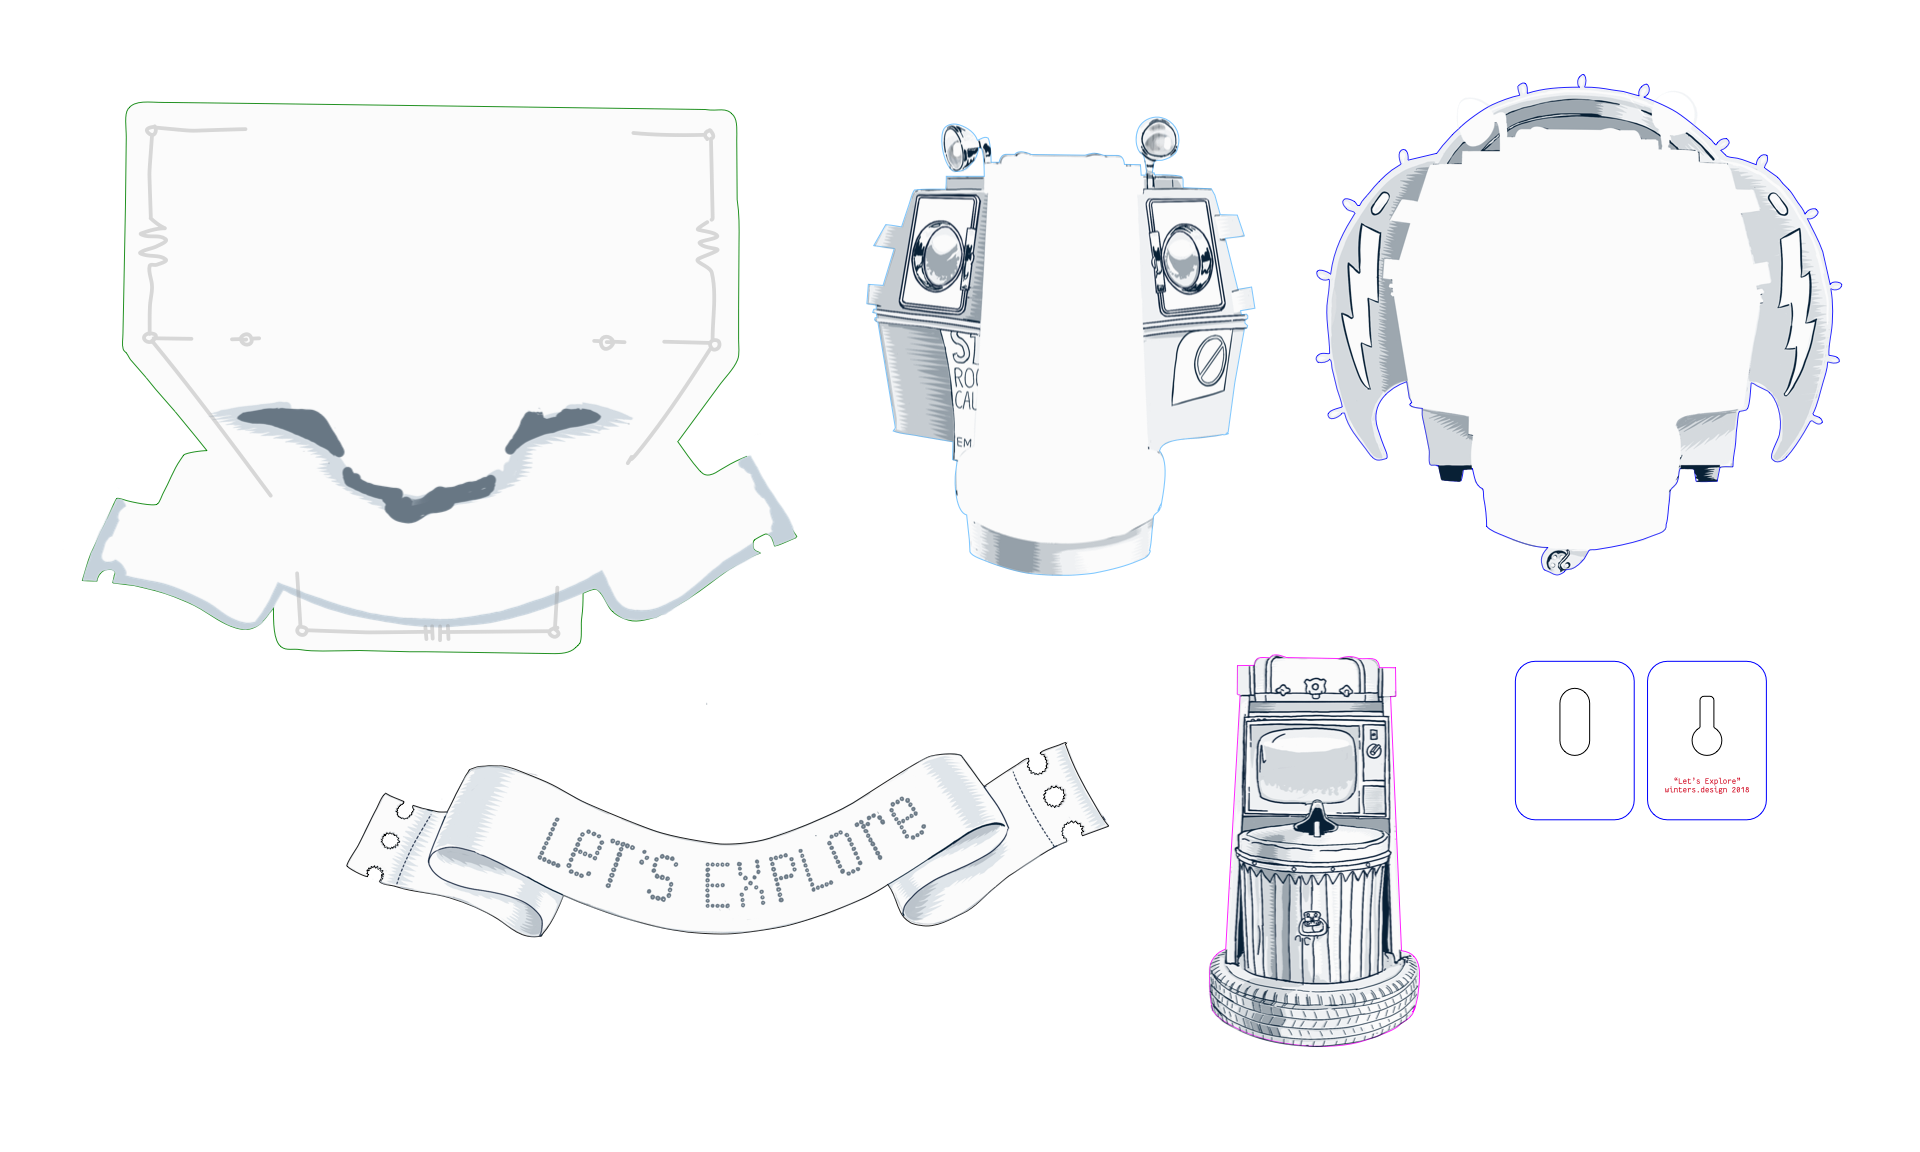
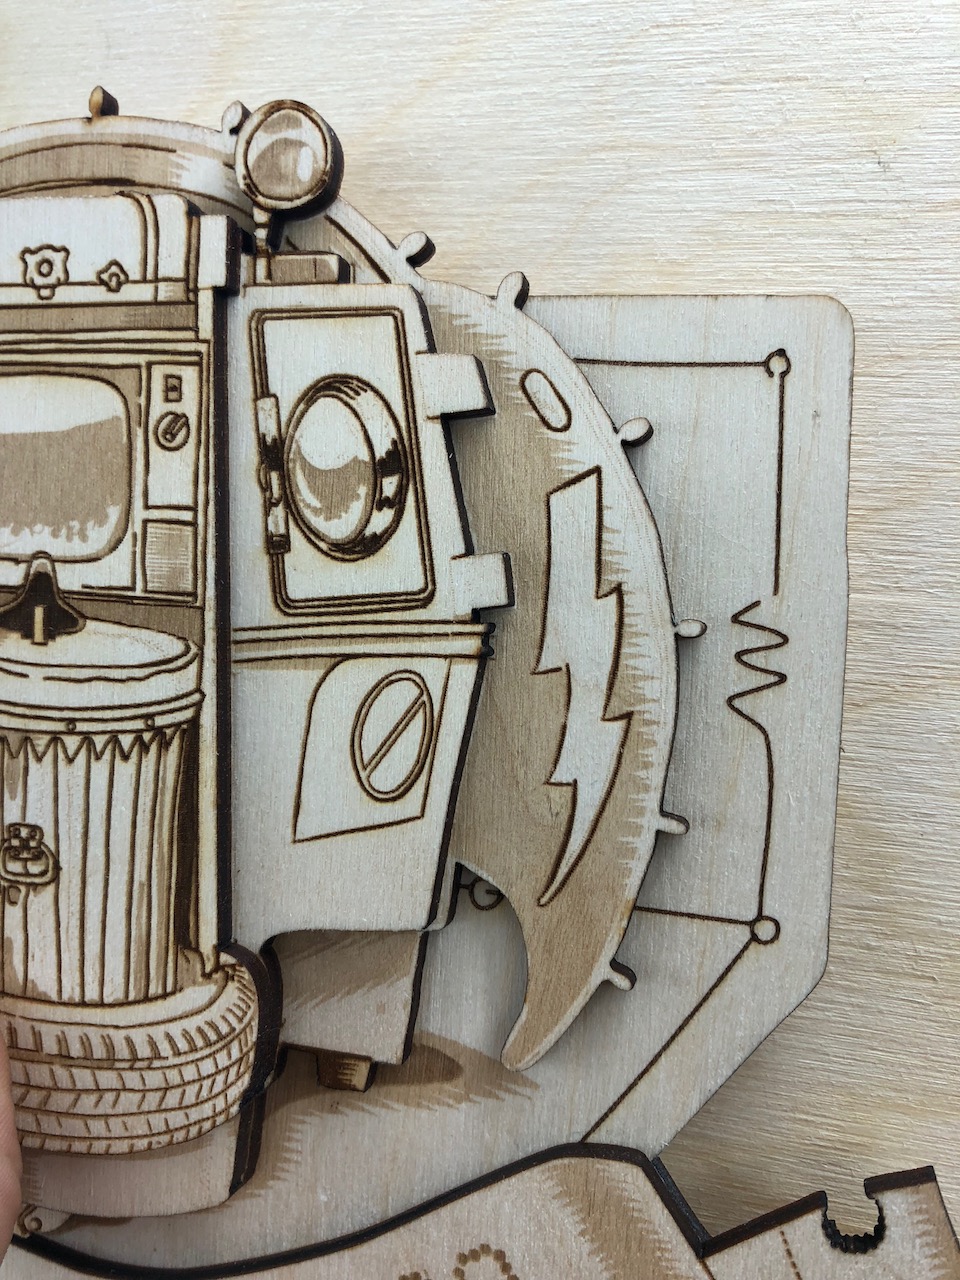
To engrave the ship across multiple pieces, I traced cutlines and separated the artwork for each layer. I removed the linework in the drawing that coincides with the cutlines to get cleaner edges on the cut parts. There were a few details (like the the handle on the garbage) can I worked manually with the eraser tool to make them clearer and cleaner in the final engraving.
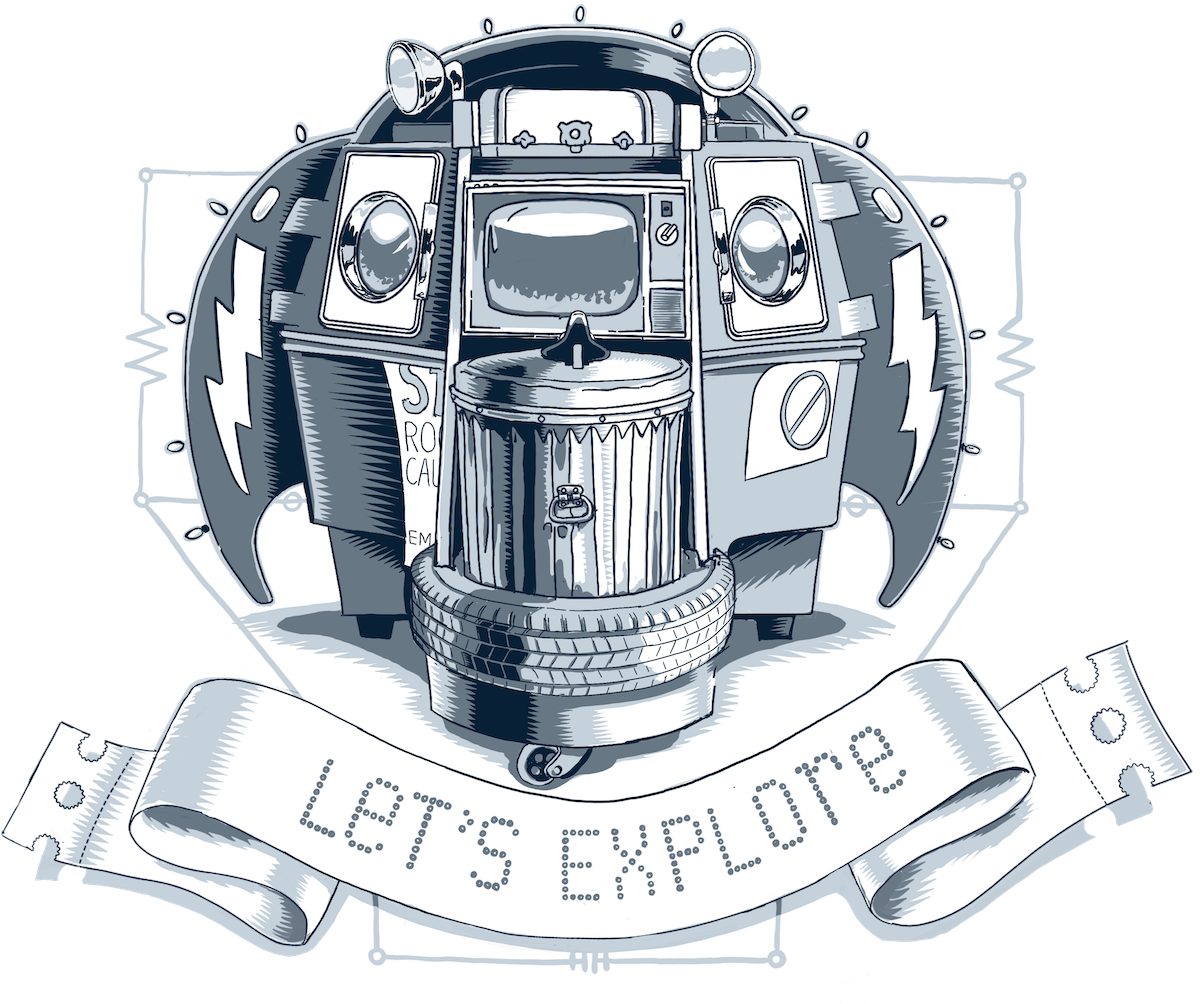
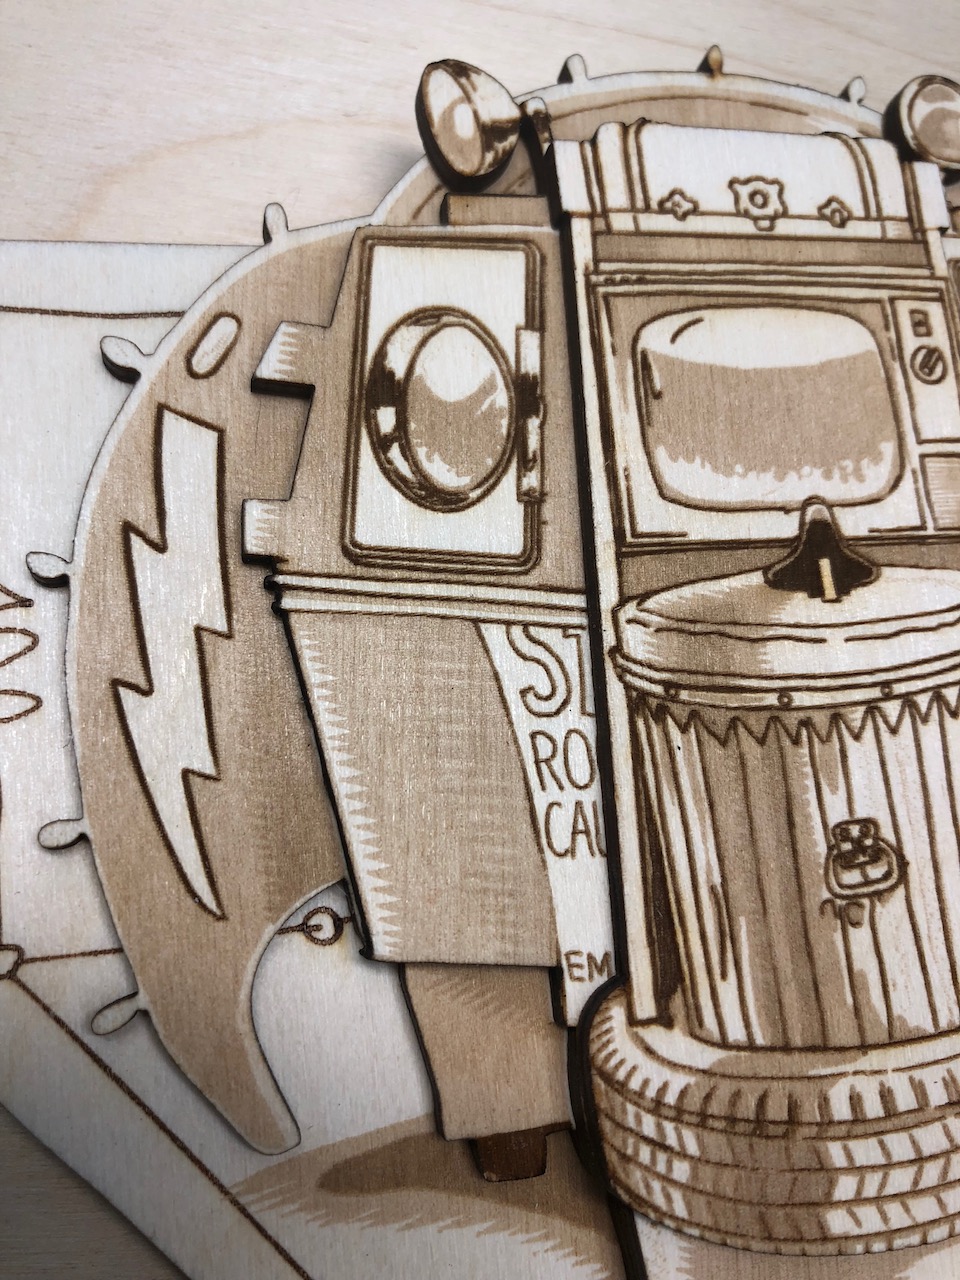
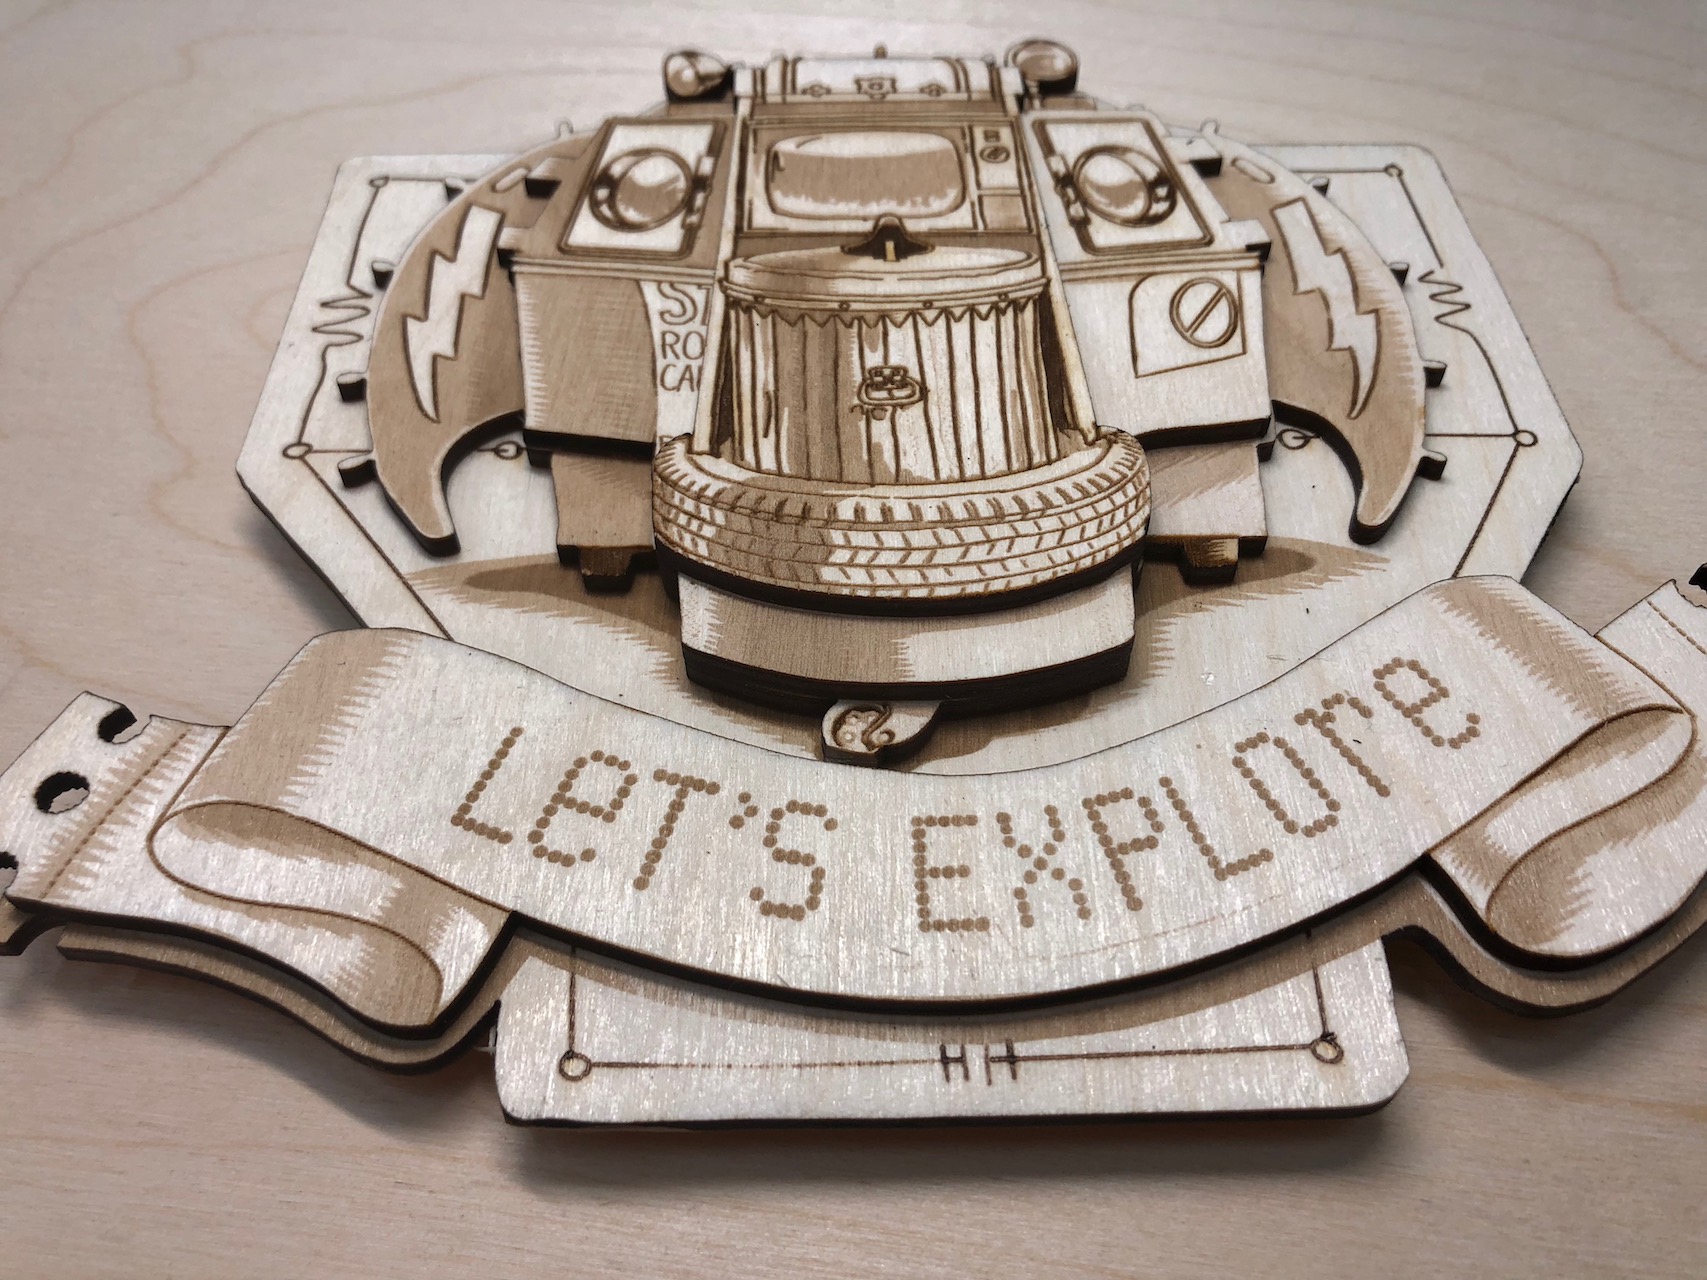
Details of the “final” version.
Naturally, there are always things I’ll continue to improve in future iterations. A gap has crept in between the wheel and the banner, and I’d like to work a little more detail into the bulbs around the perimeter.

Despite these flaws, this is the version I’ll be hanging on the wall. Then maybe I’ll watch the first three-quarters of The Explorers again.