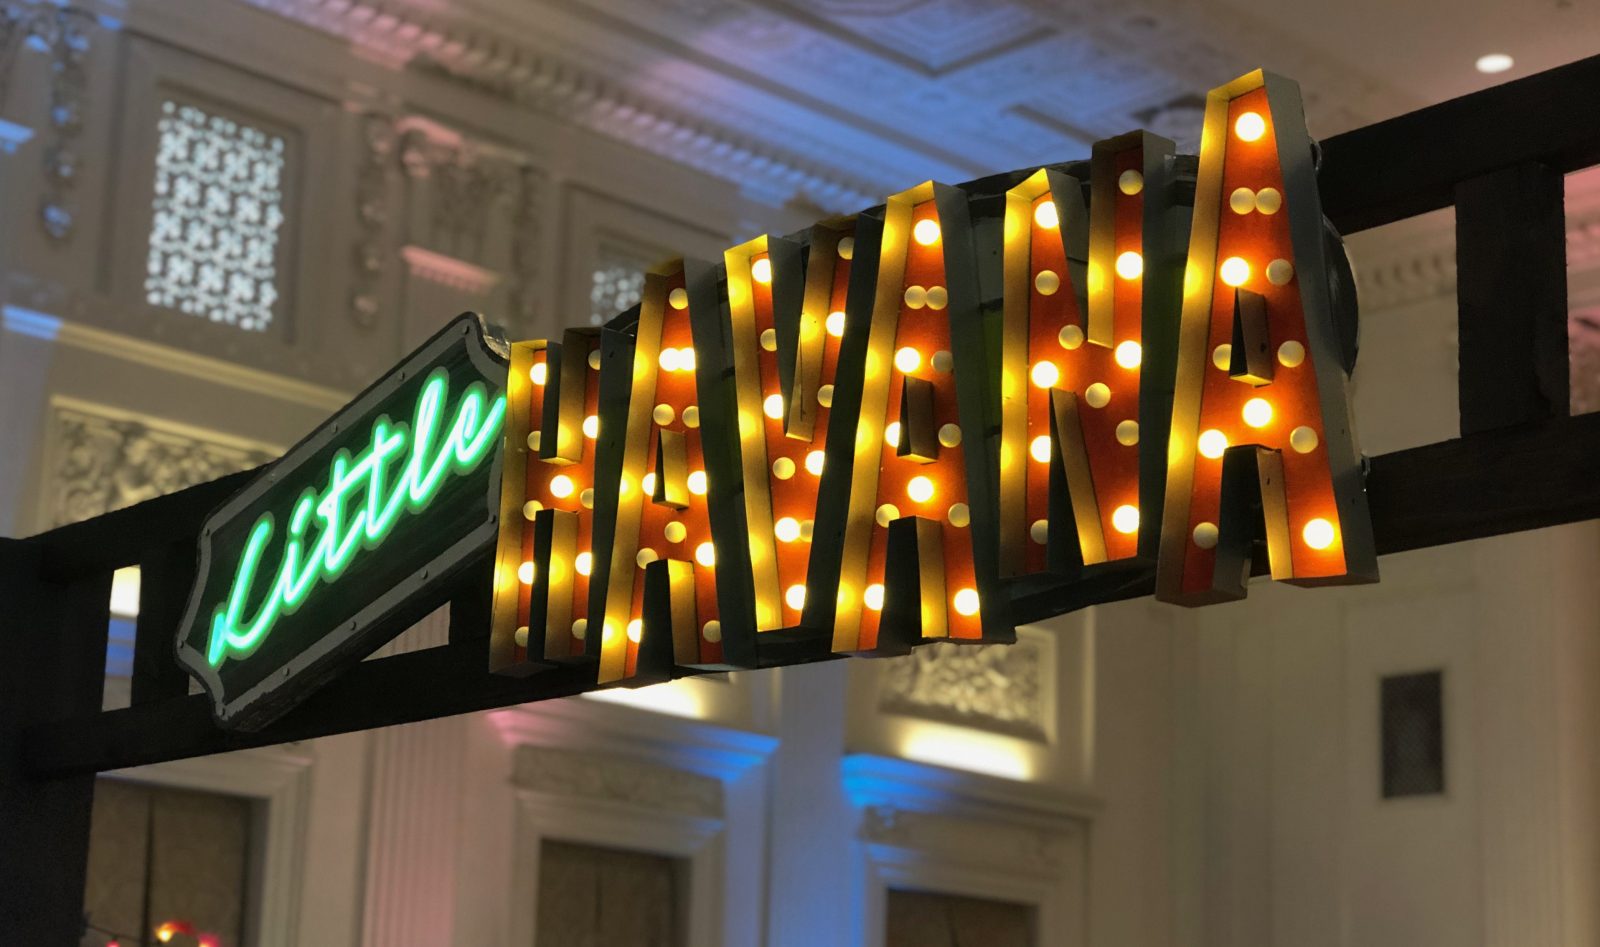
This two-in-one sign pairs LED-powered fake neon script with big galvanized-metal-wrapped marquee letters. Each half is built on a common base plate, making the sign strong and easy to hang and handle.


Lights Off 
Lights On
The completed sign is 5½ feet in length, 18 inches high, and weighs less than twenty pounds.
Design Process
Below are my initial sketch, a high-fidelity mock-up, and a representation of the finished design I used as a cutting pattern.
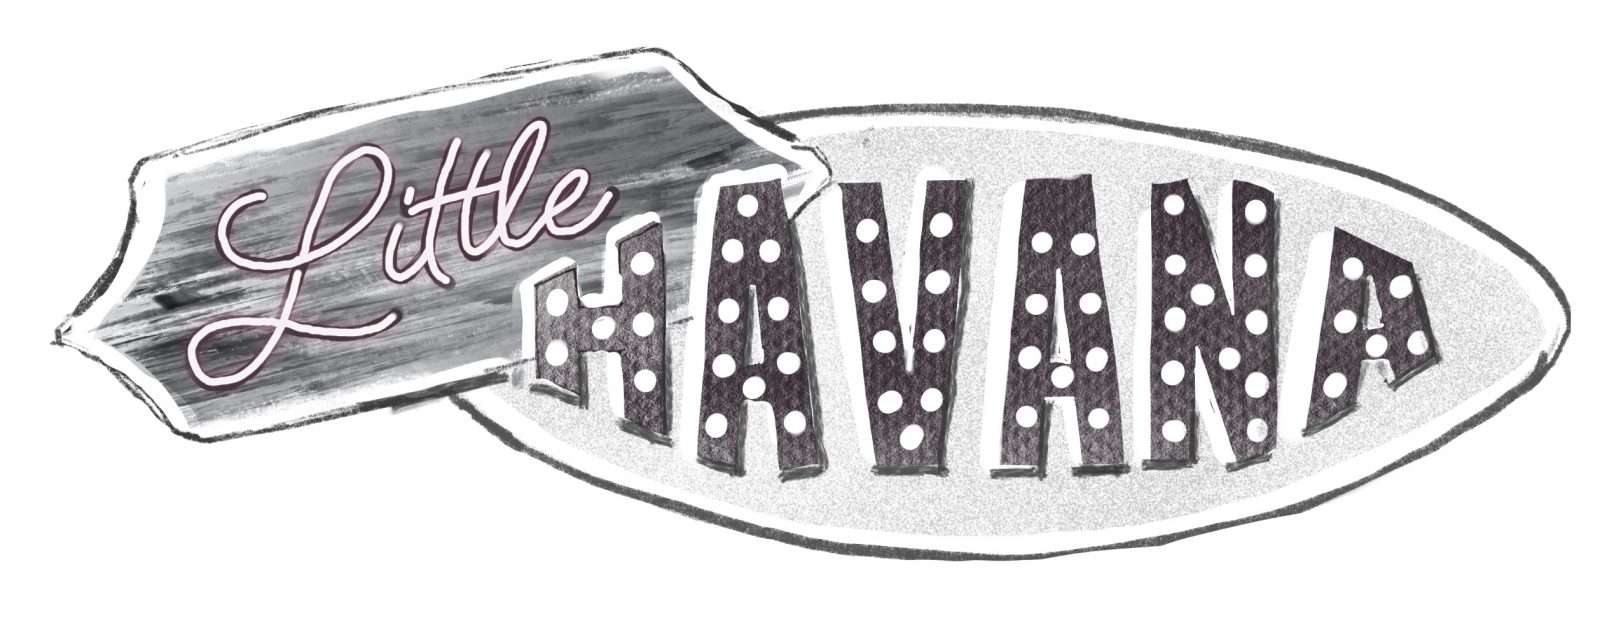
This initial sketch was done to give an early approximation of what I had in mind to get feedback as early as possible.

In the color mock-up, you can see I broke the HAVANA letters out of the base shape to give the sign a more interesting silhouette.

The client wanted to see a different typeface for the word “Little,” so in the final pattern for the sign you can see that change as well.
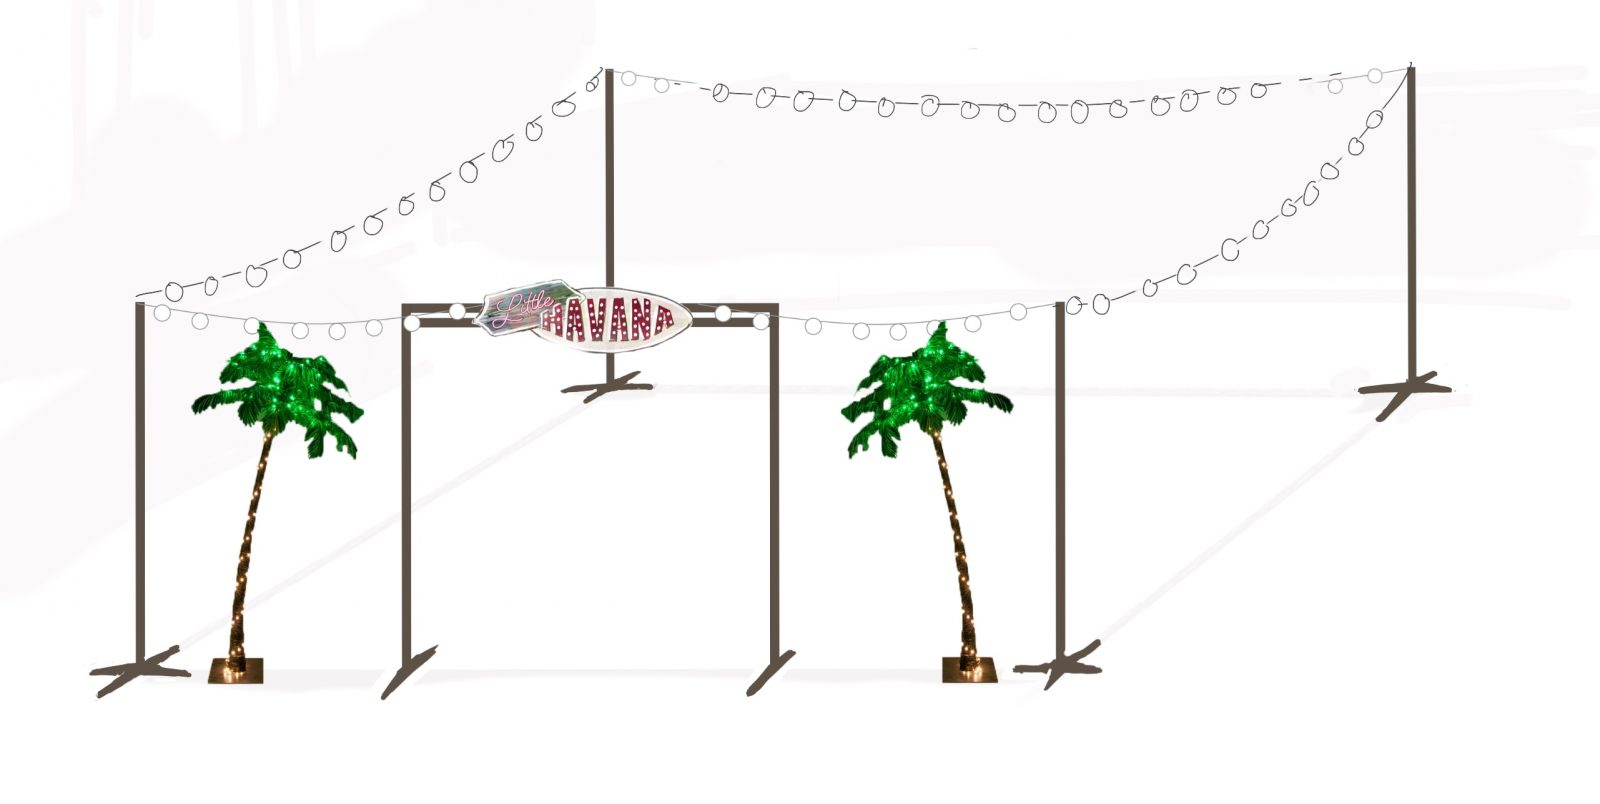
Plans also called for a structure to hang the sign over the entrance to a dance floor, and some columns from which to hang lights around the perimeter.
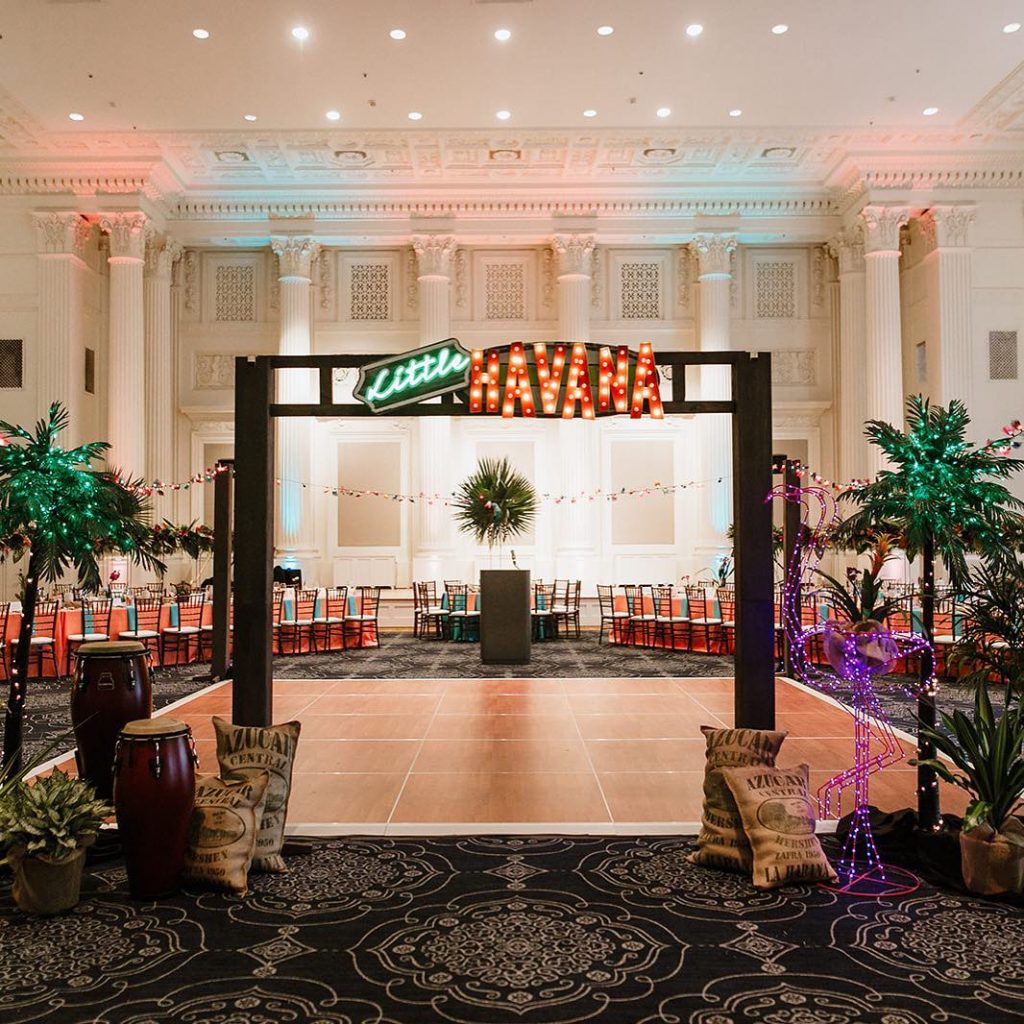
Layout and Fabrication
I planned to lasercut the Little as well as the HAVANA letters, but the main back panel was too large to reasonably produce with my lasercutter. Instead I made cardboard mockups of the parts I could cut and used them to lay out the rest of the sign.
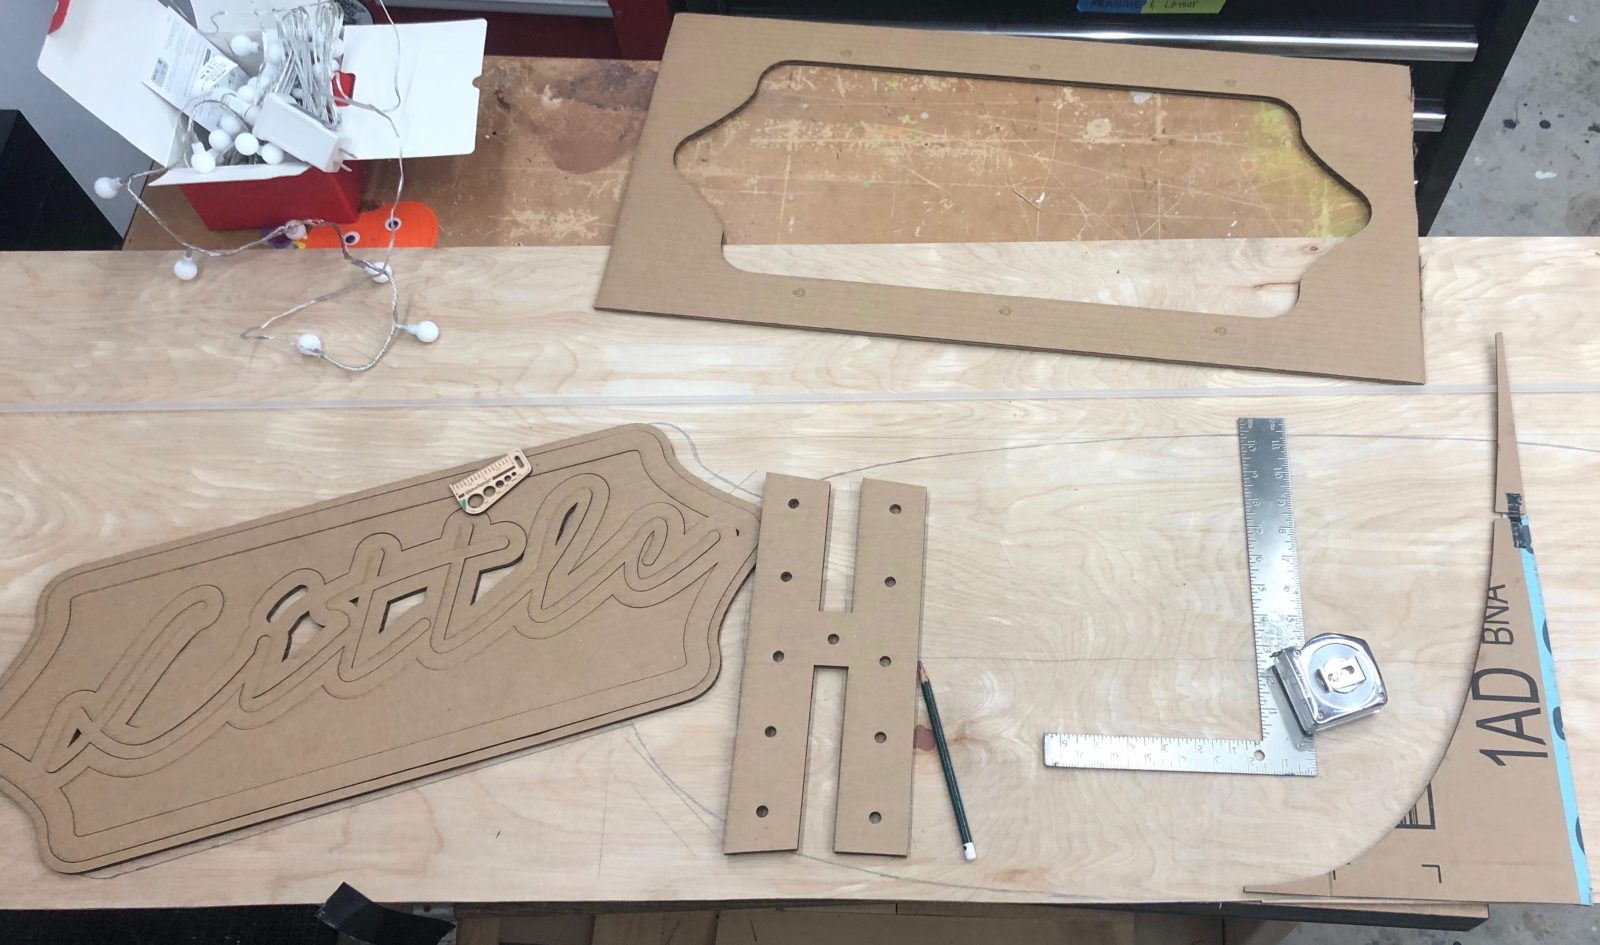
This process revealed that marquee letters were too close together in the initial drawing. Especially when boxed with metal strap, I worried they would run together and become difficult to read.
The fix was easy: I elongated the oval base shape and made room to space the letters out a bit more.
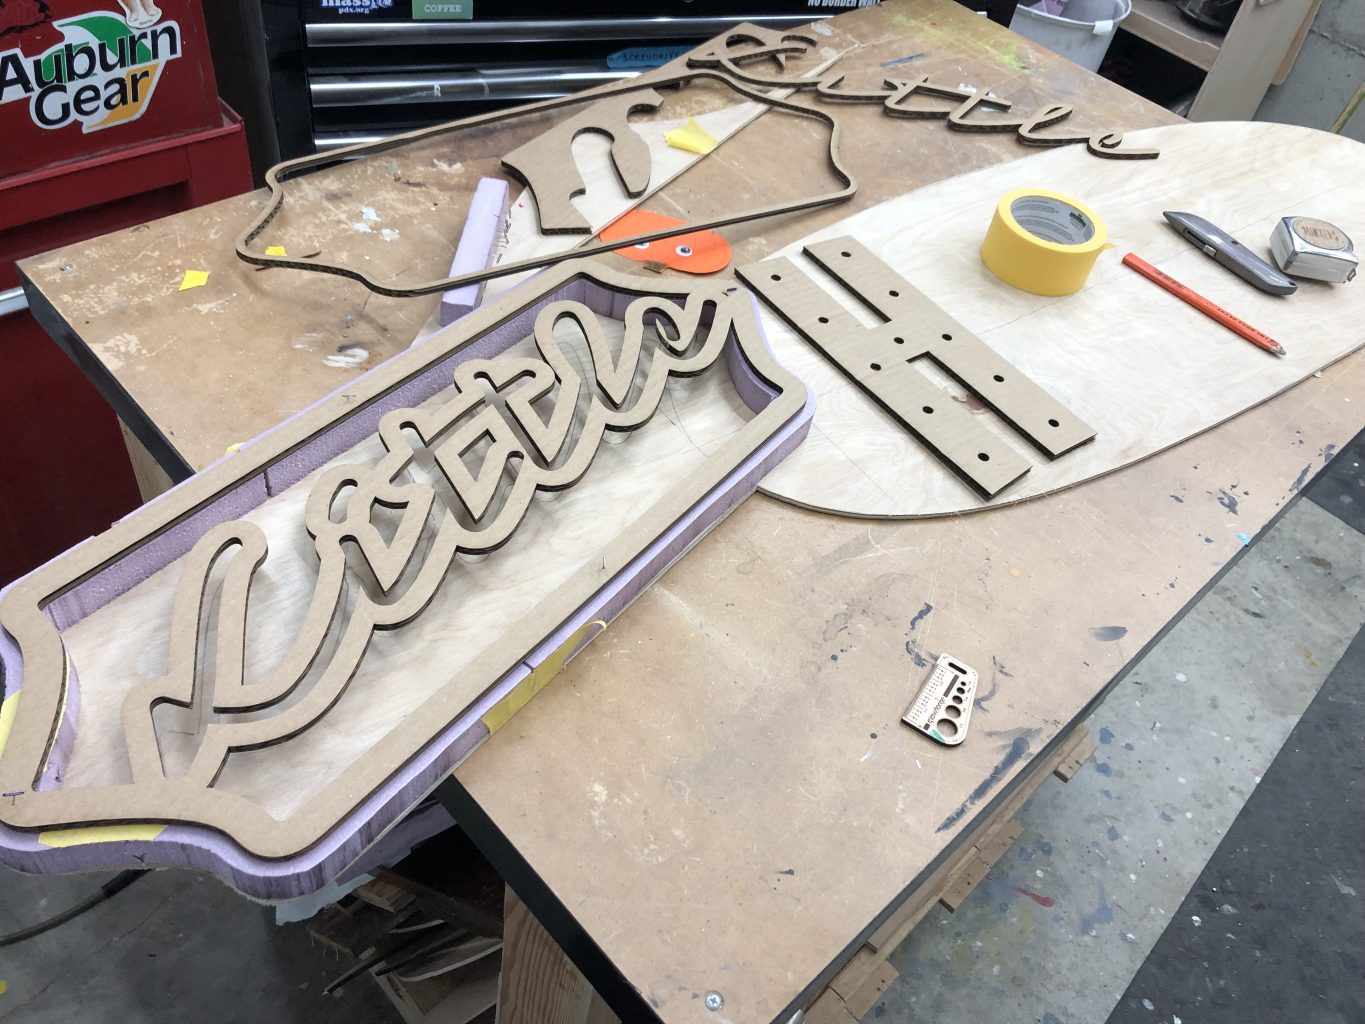
The faux neon part is built like a lightbox. I used a foam cutter to make the spacer that separates the Little face plate from the back. I cut a green acrylic lens with a frosted clear face, and mounted eight rows of double-density LED tape inside.
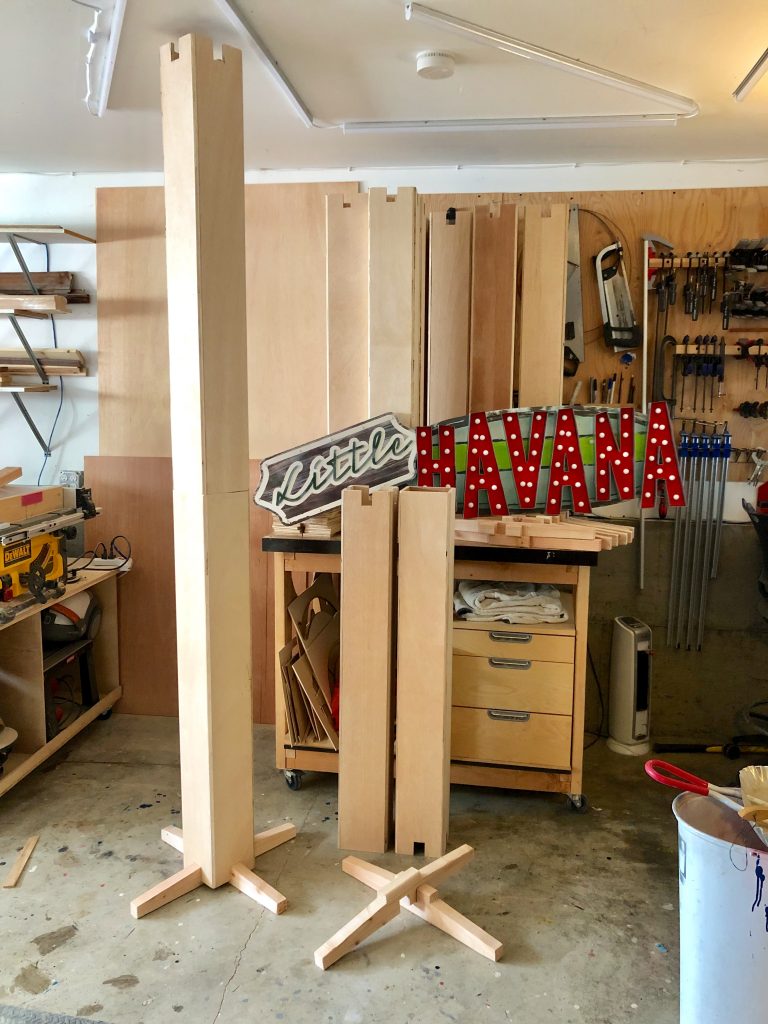
The columns are simple two-piece plywood boxes with identical notches at the top (for hanging string lights) and the bottom (for the feet).
Not shown are internal sleeves that connect the top and bottom of each column.
Also not shown are sand-filled weights I made that fit inside the bases, but leave enough room for electrical wires to pass inside the columns instead of taped to the sides.
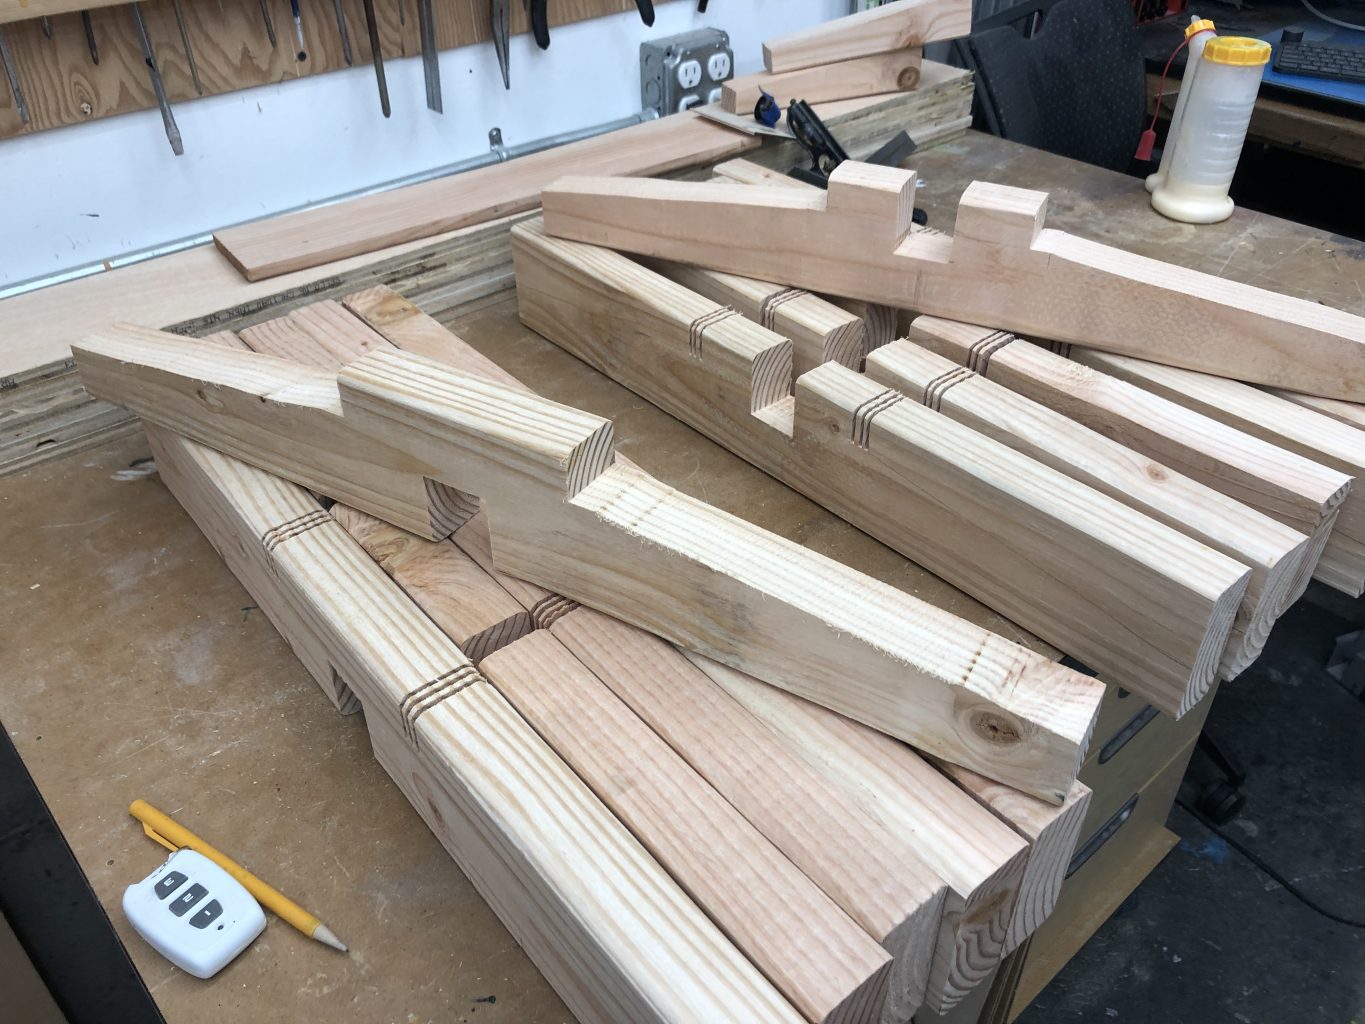
The base of each column is supported by crossed legs. I made these in two versions, an “over” and “under.” Here you can see an example of each. I cut the slopes with a bandsaw. Beneath them are the blanks I made for each version with a table saw sled.
