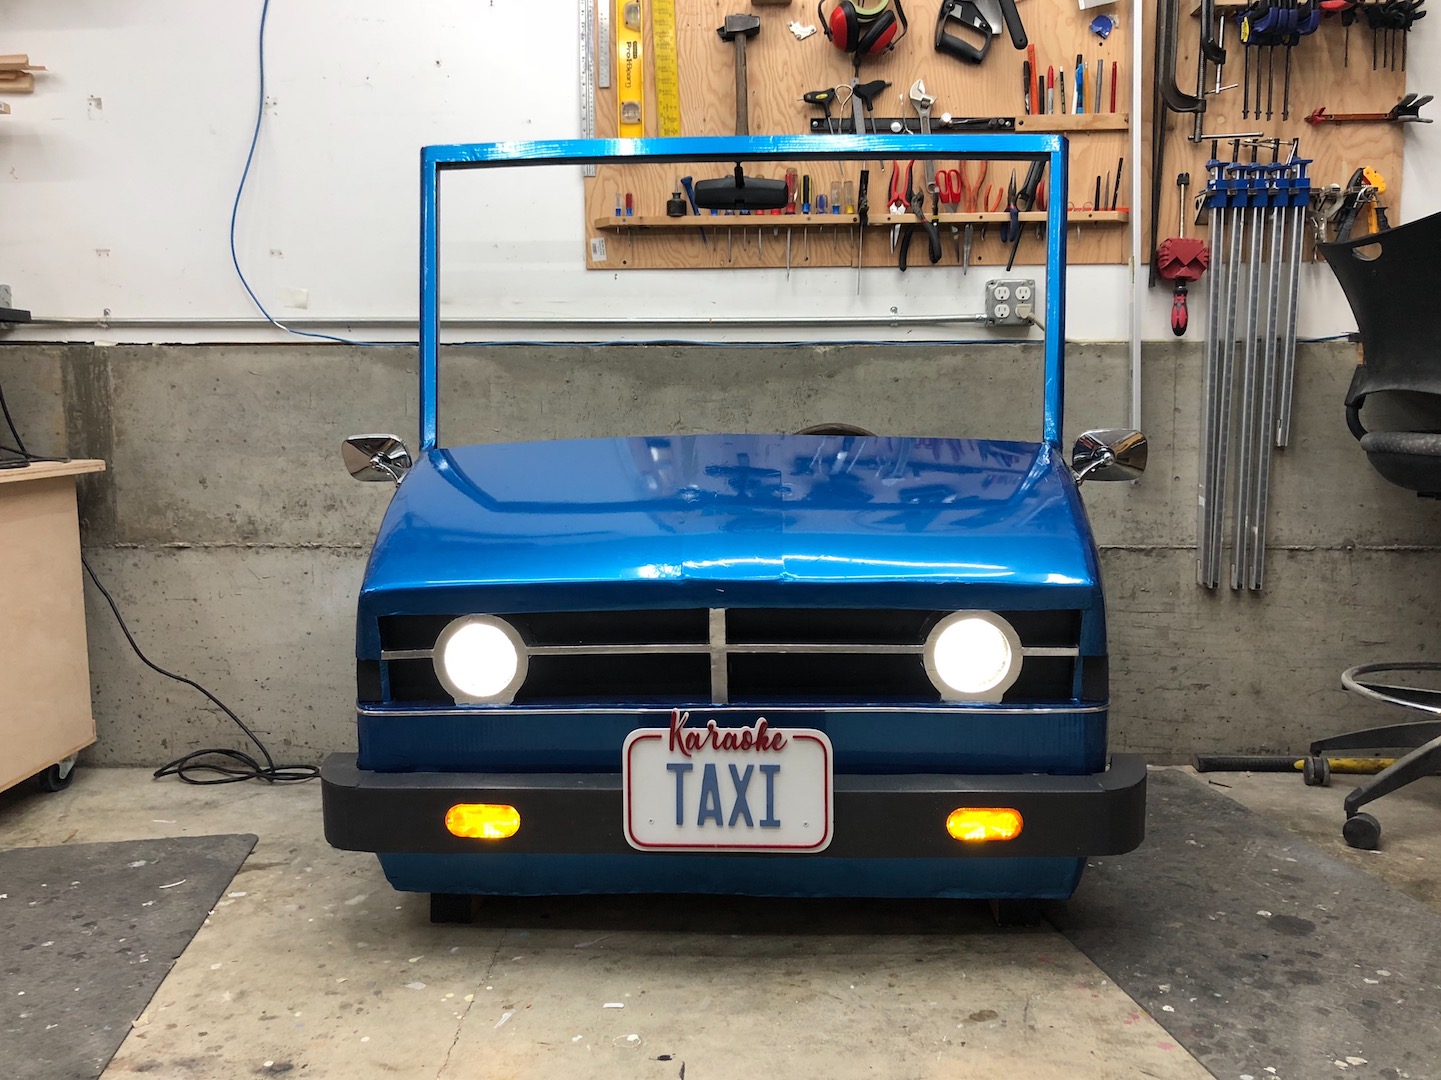
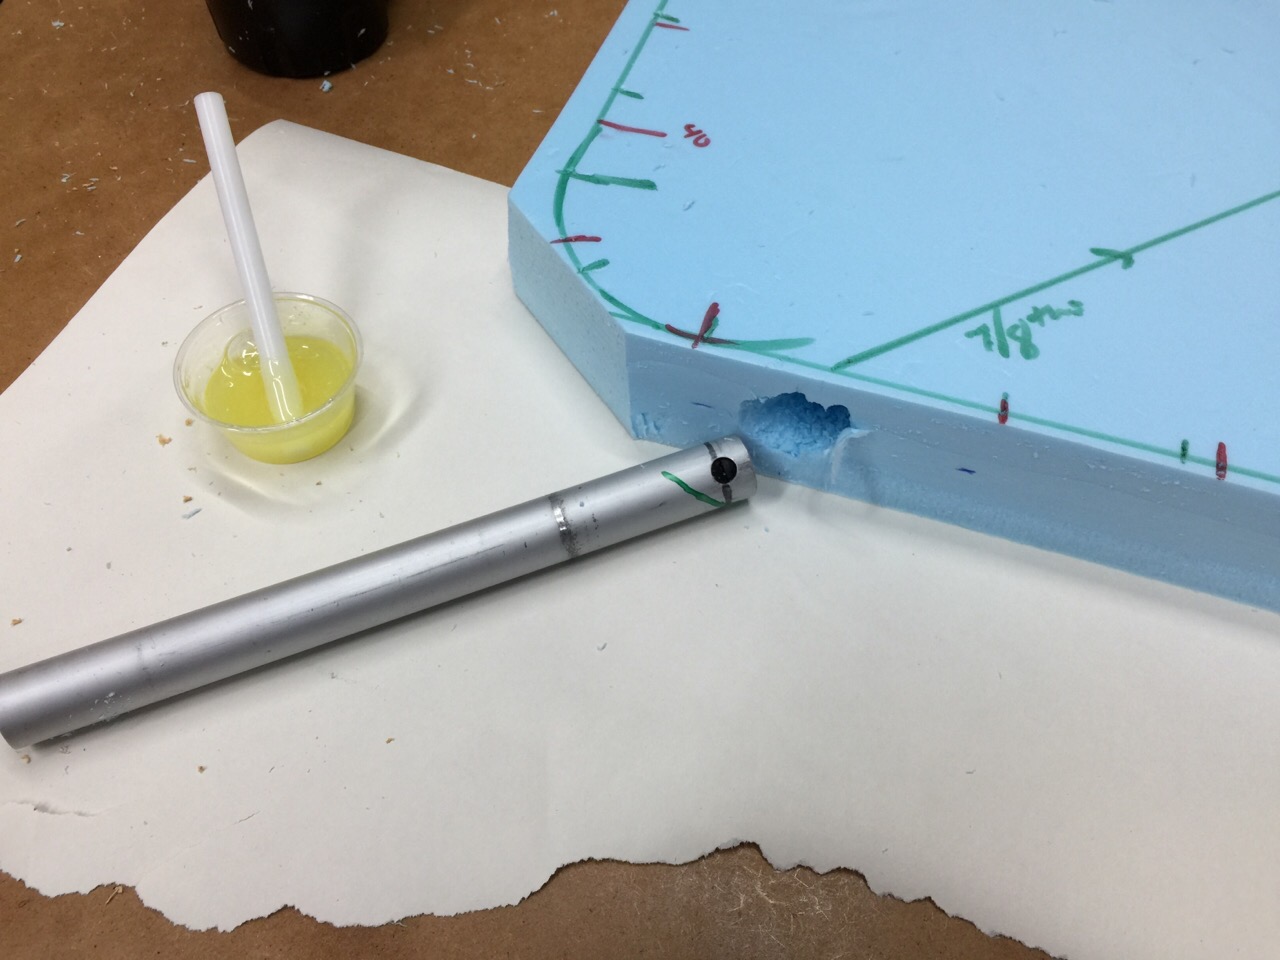
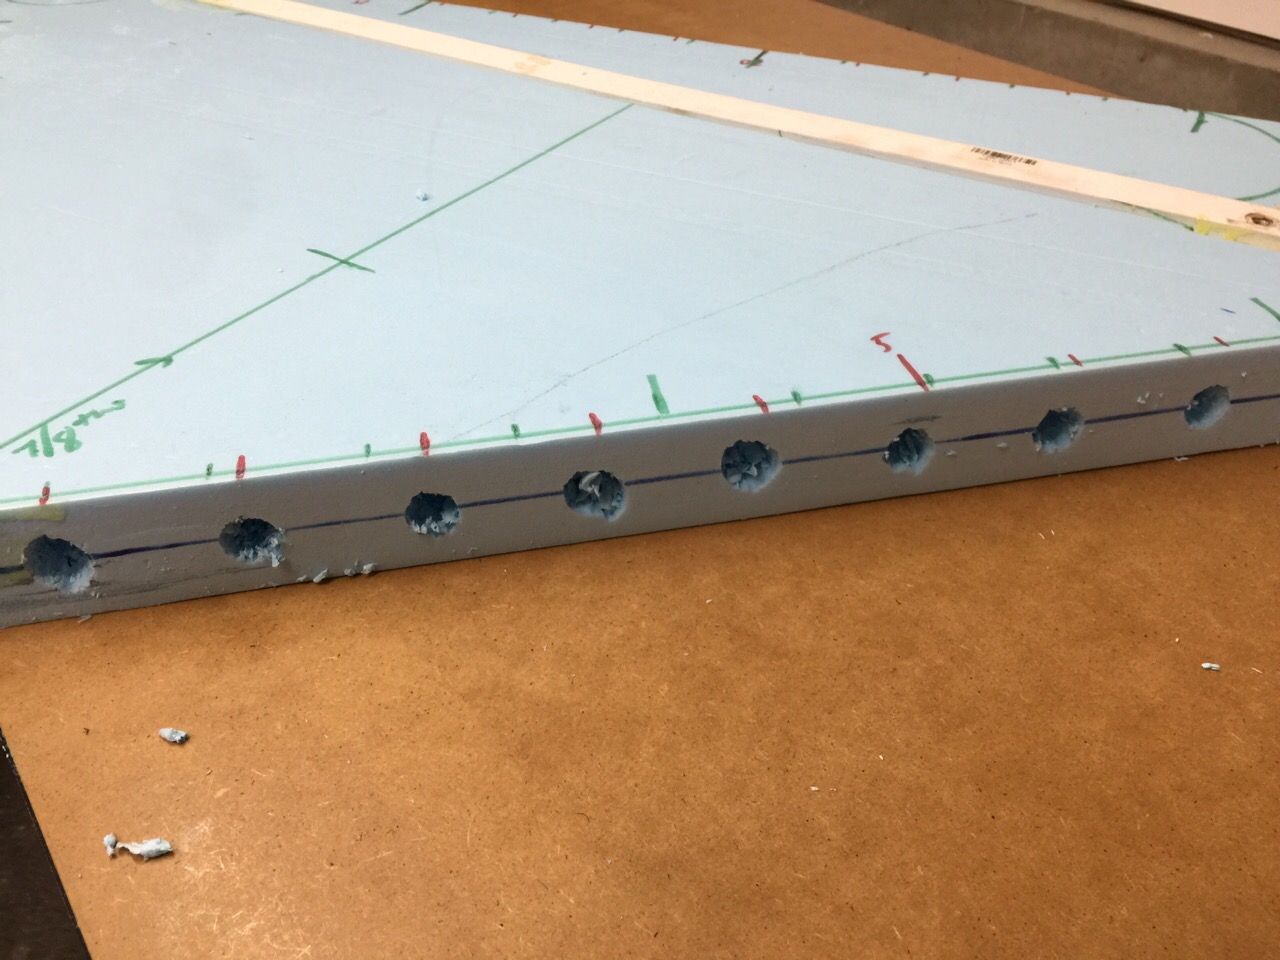
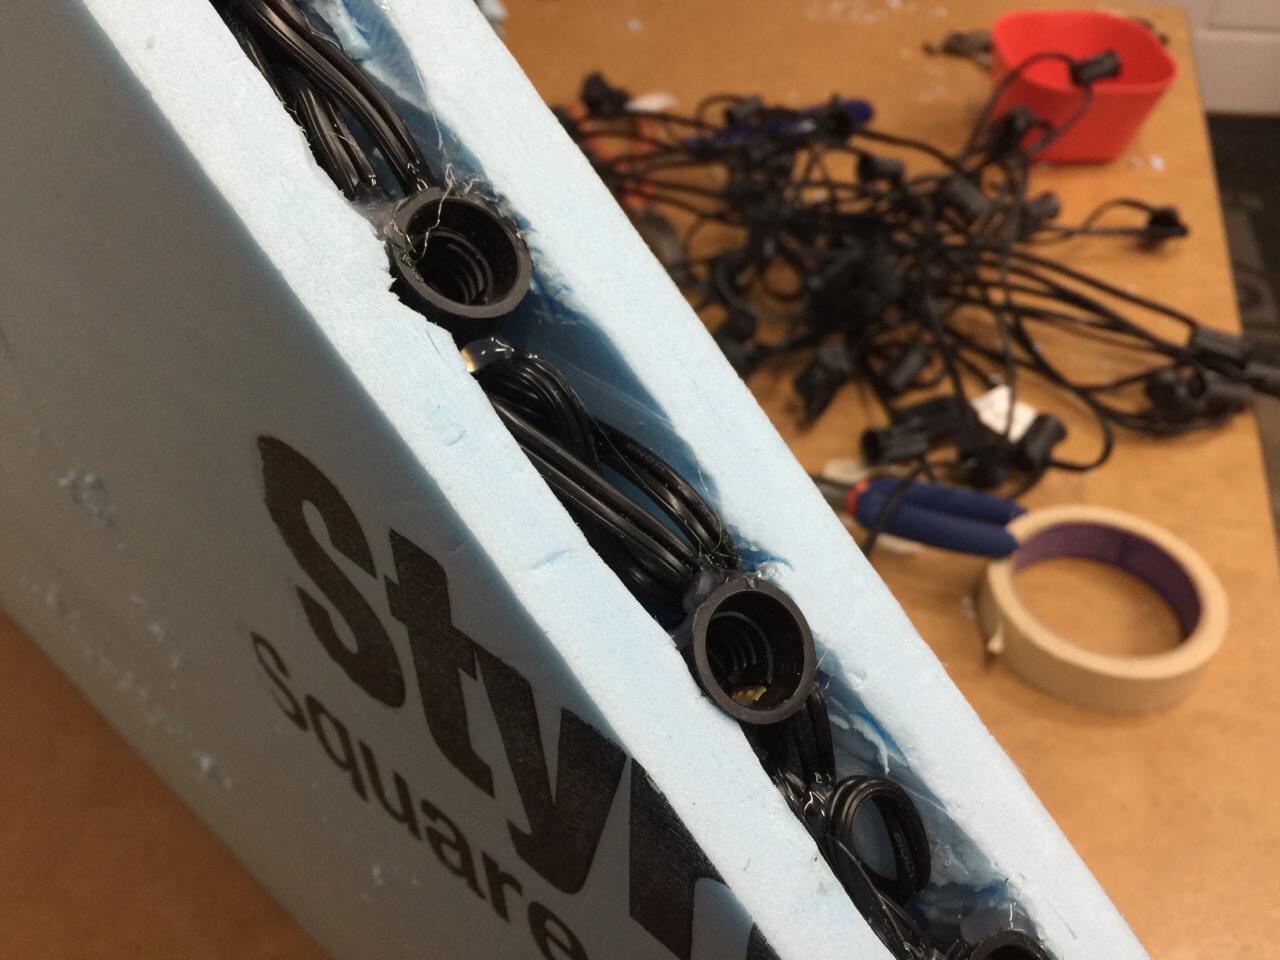
This arch was included integrated architectural lighting and was fabricated from XPS foam. The engraved-stone style lettering was carved by hand.


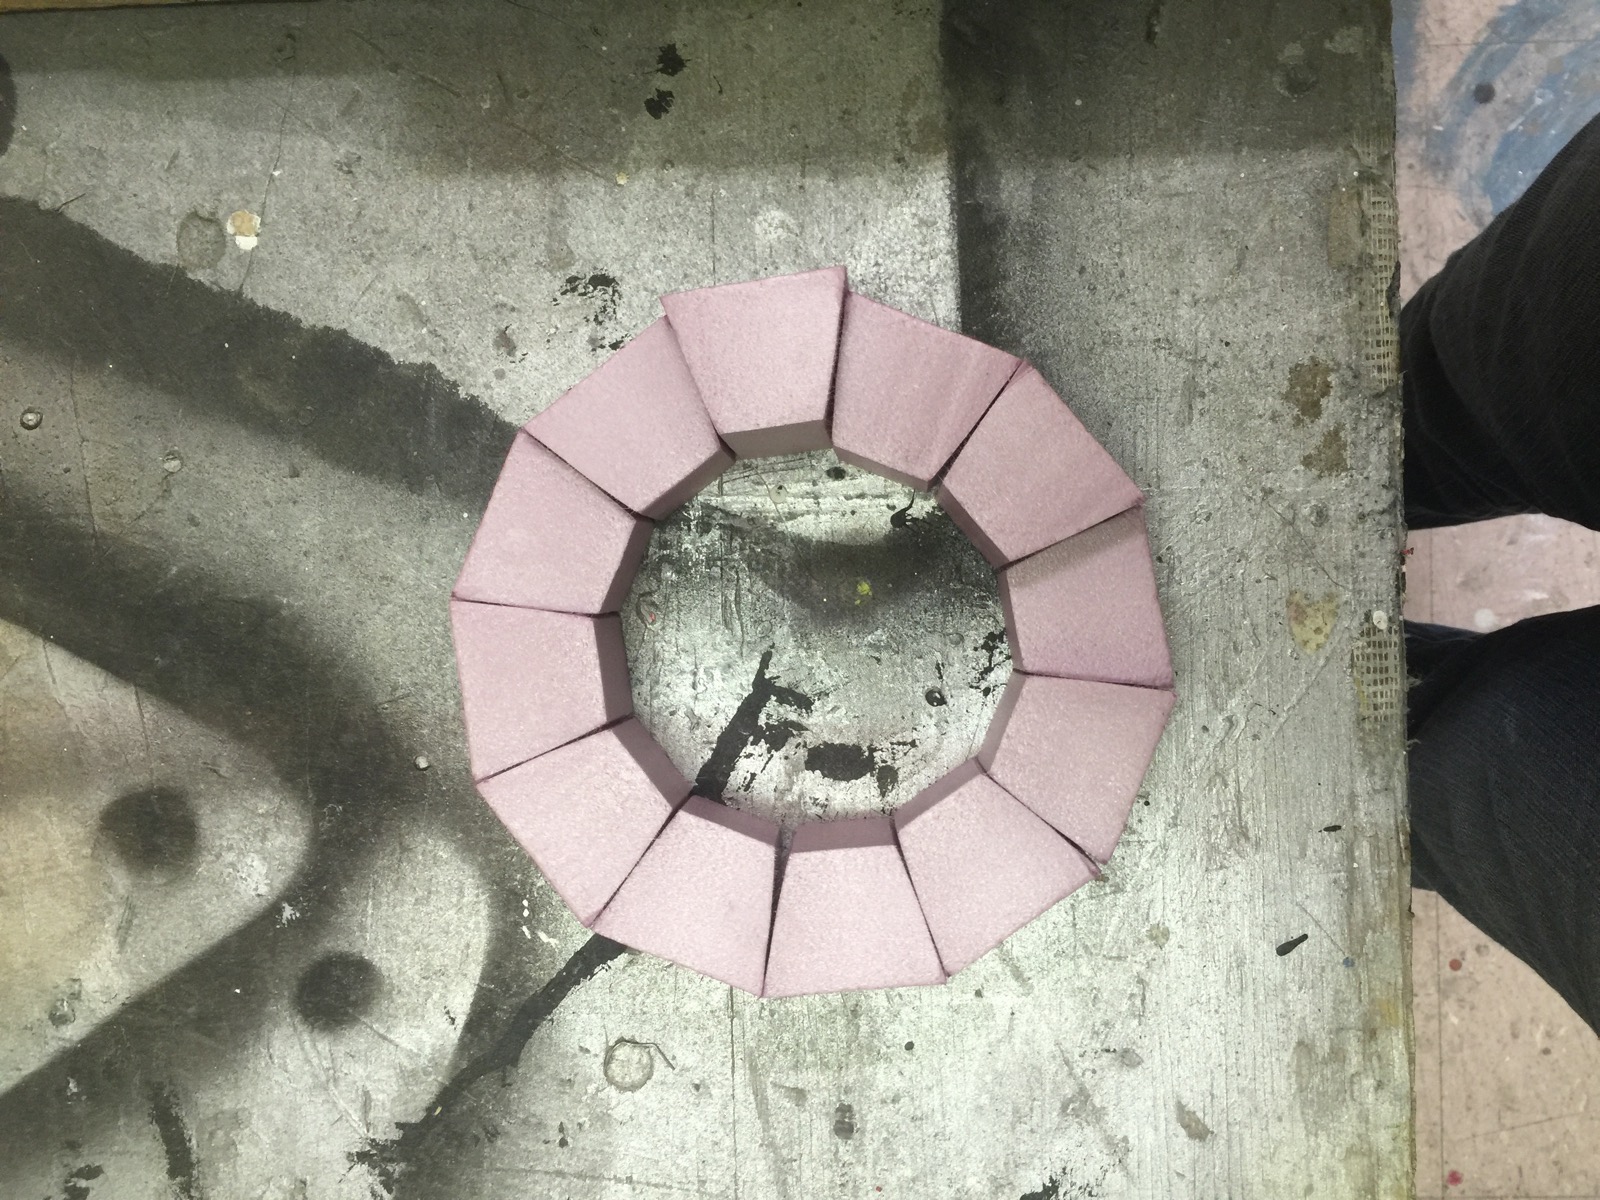
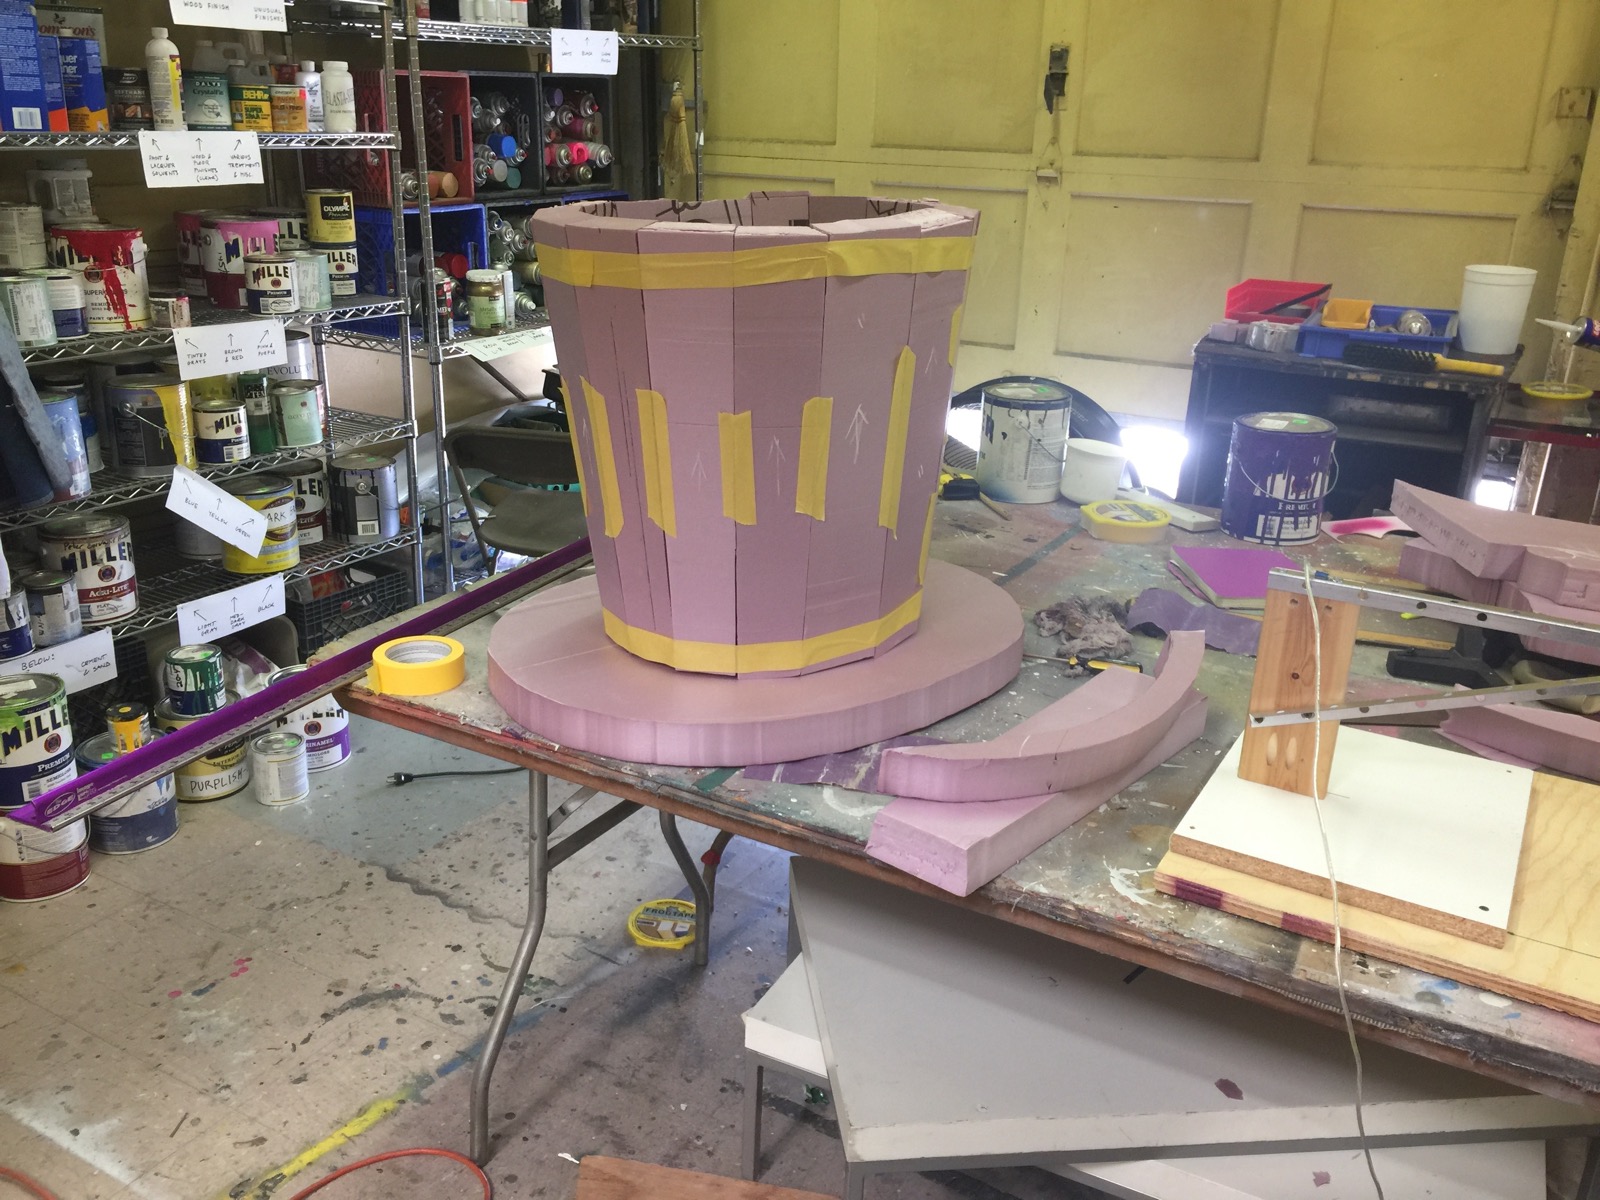
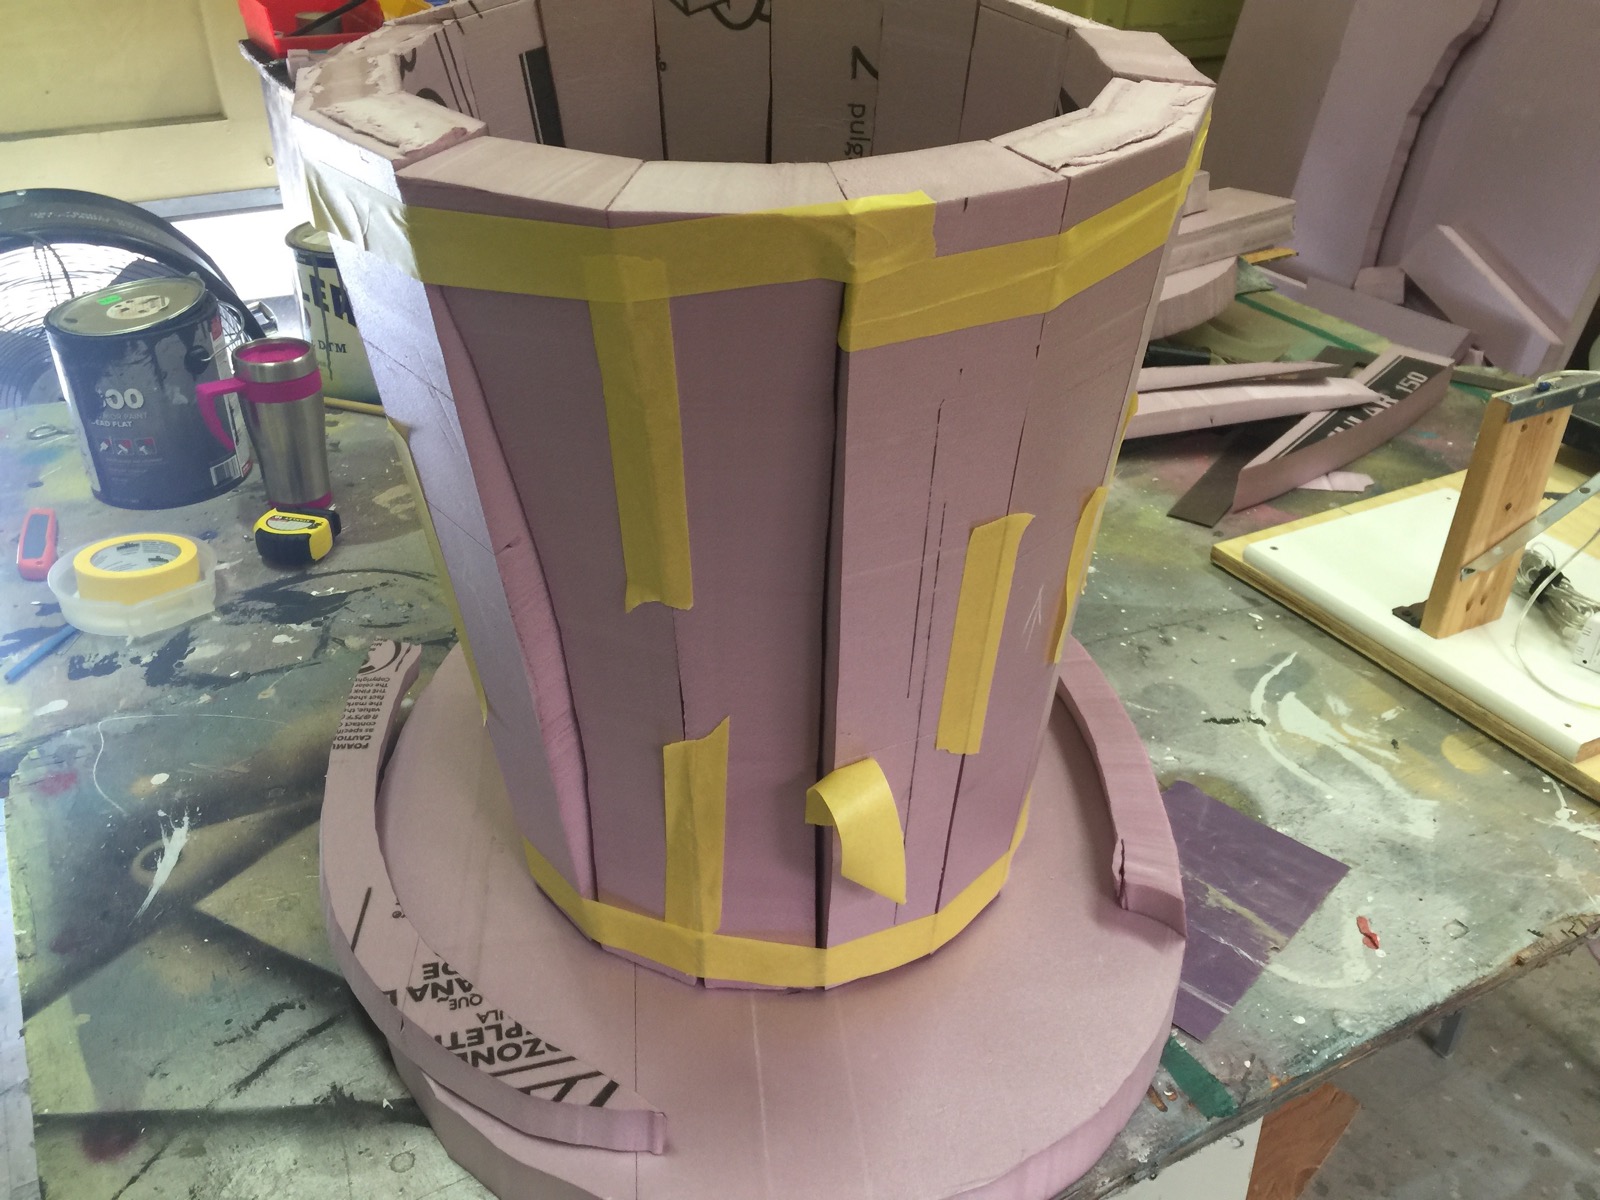
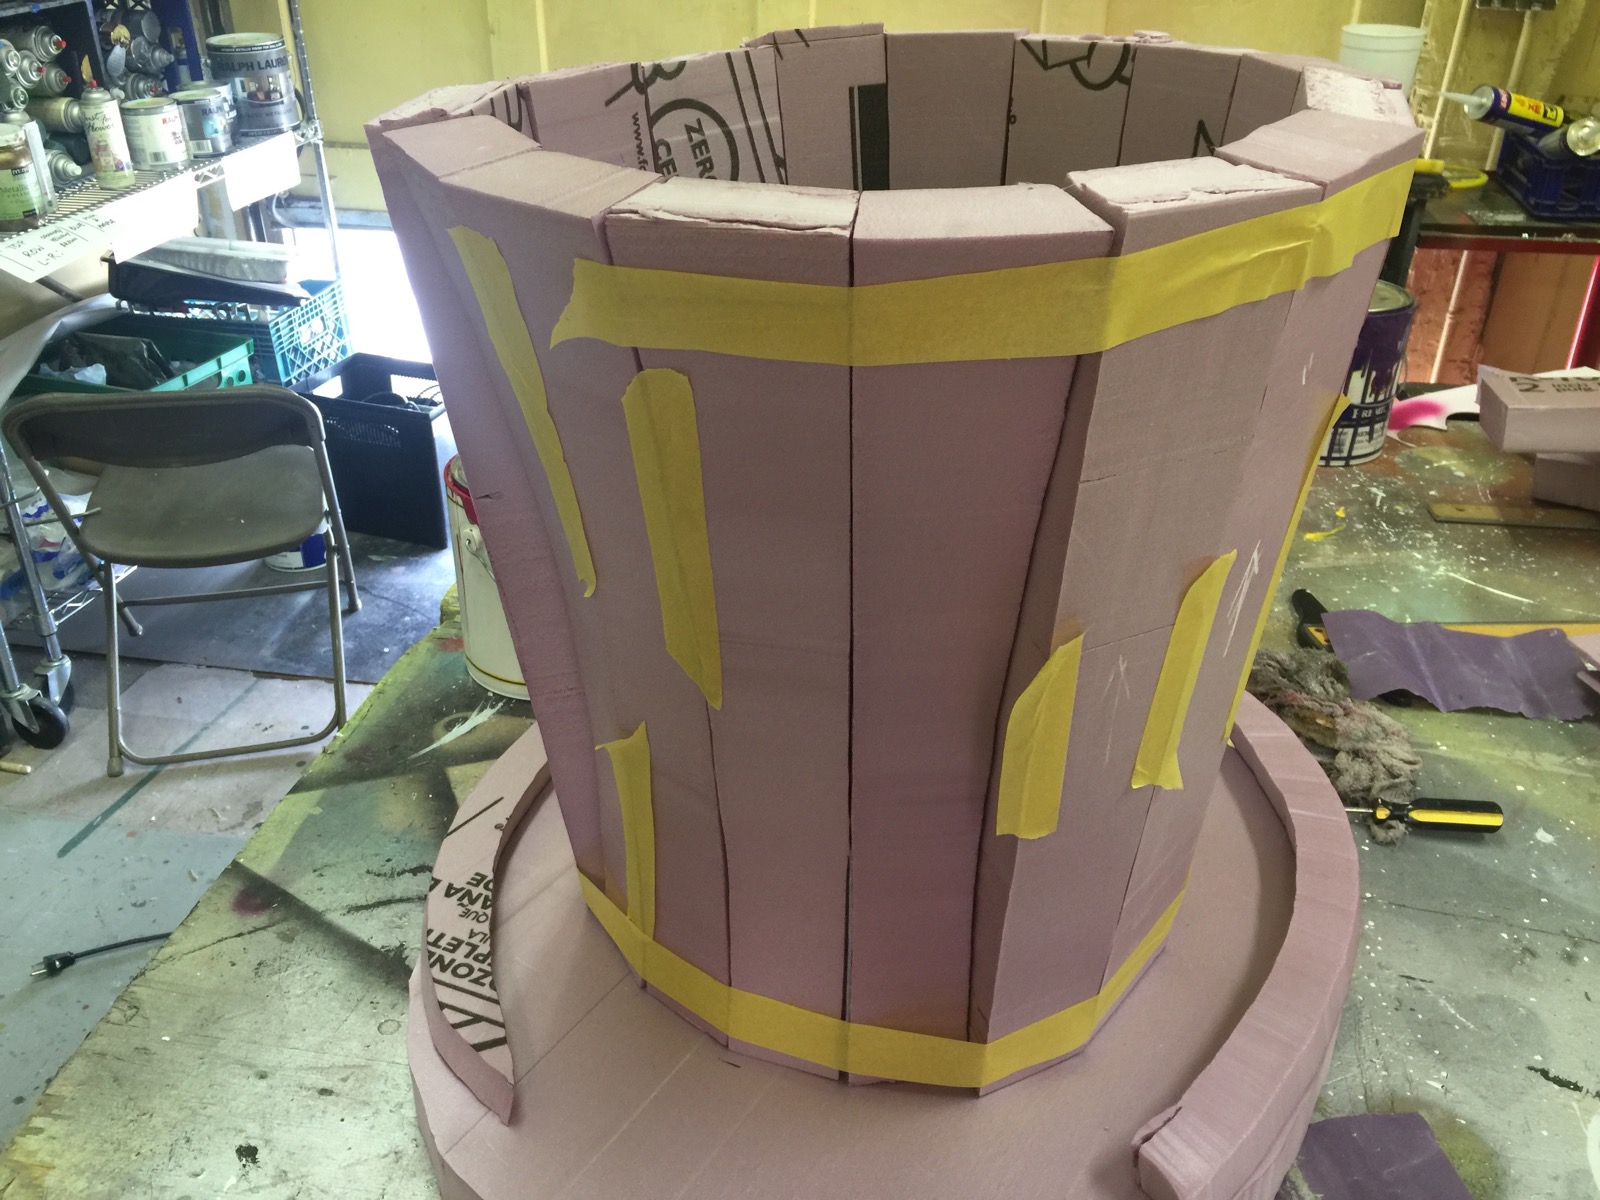
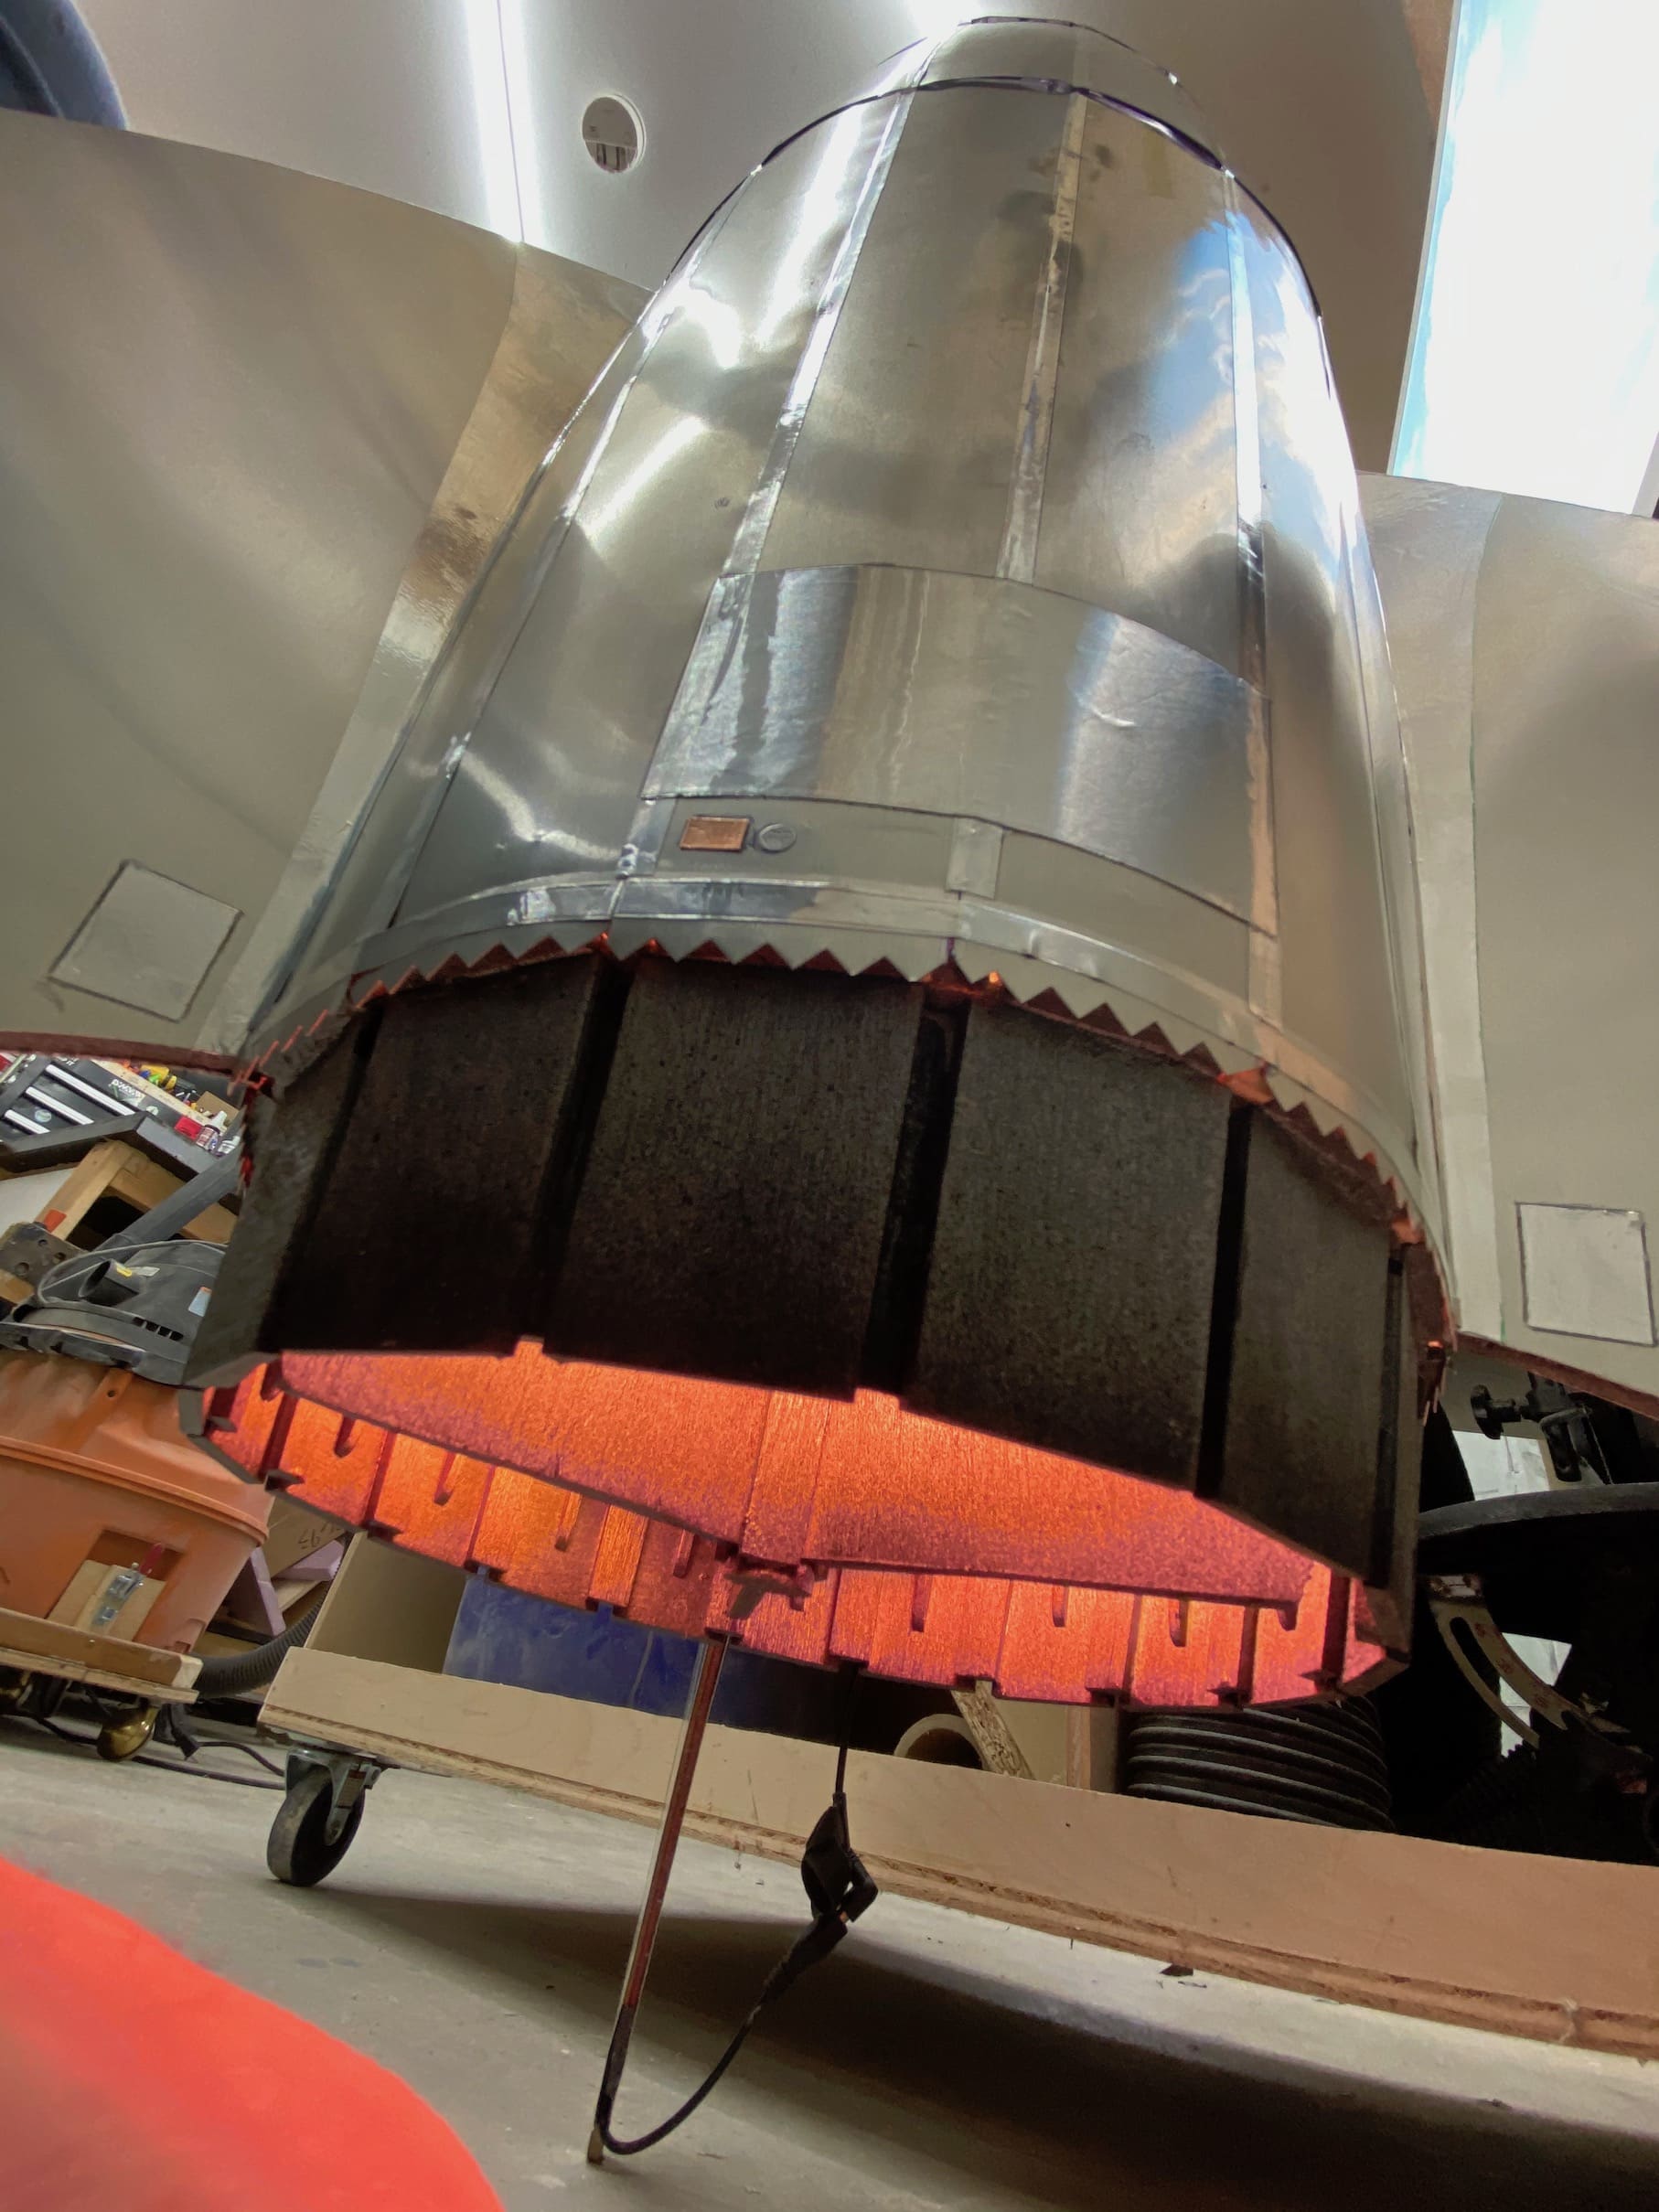
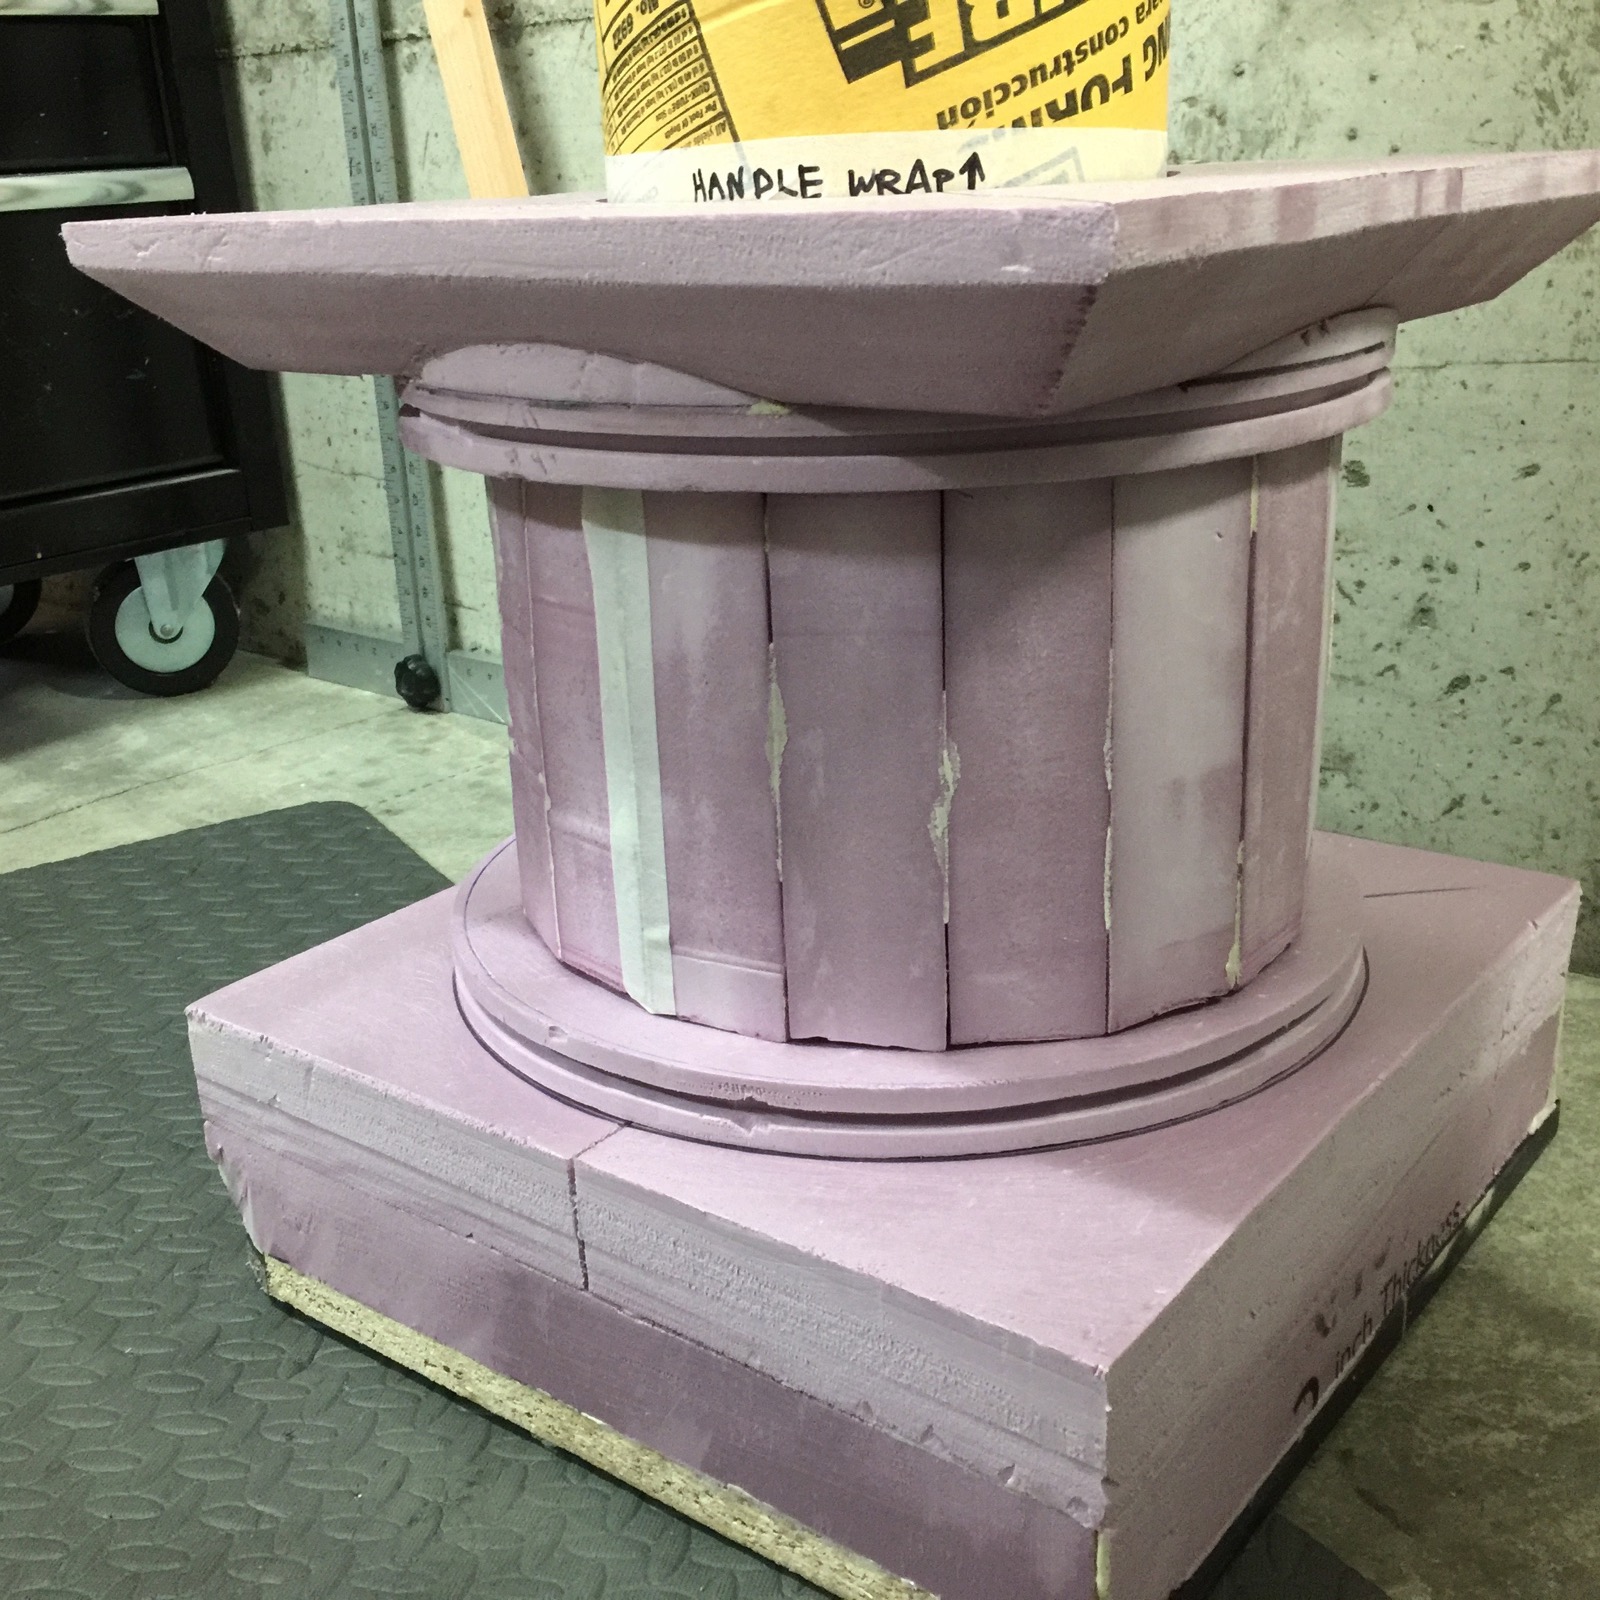
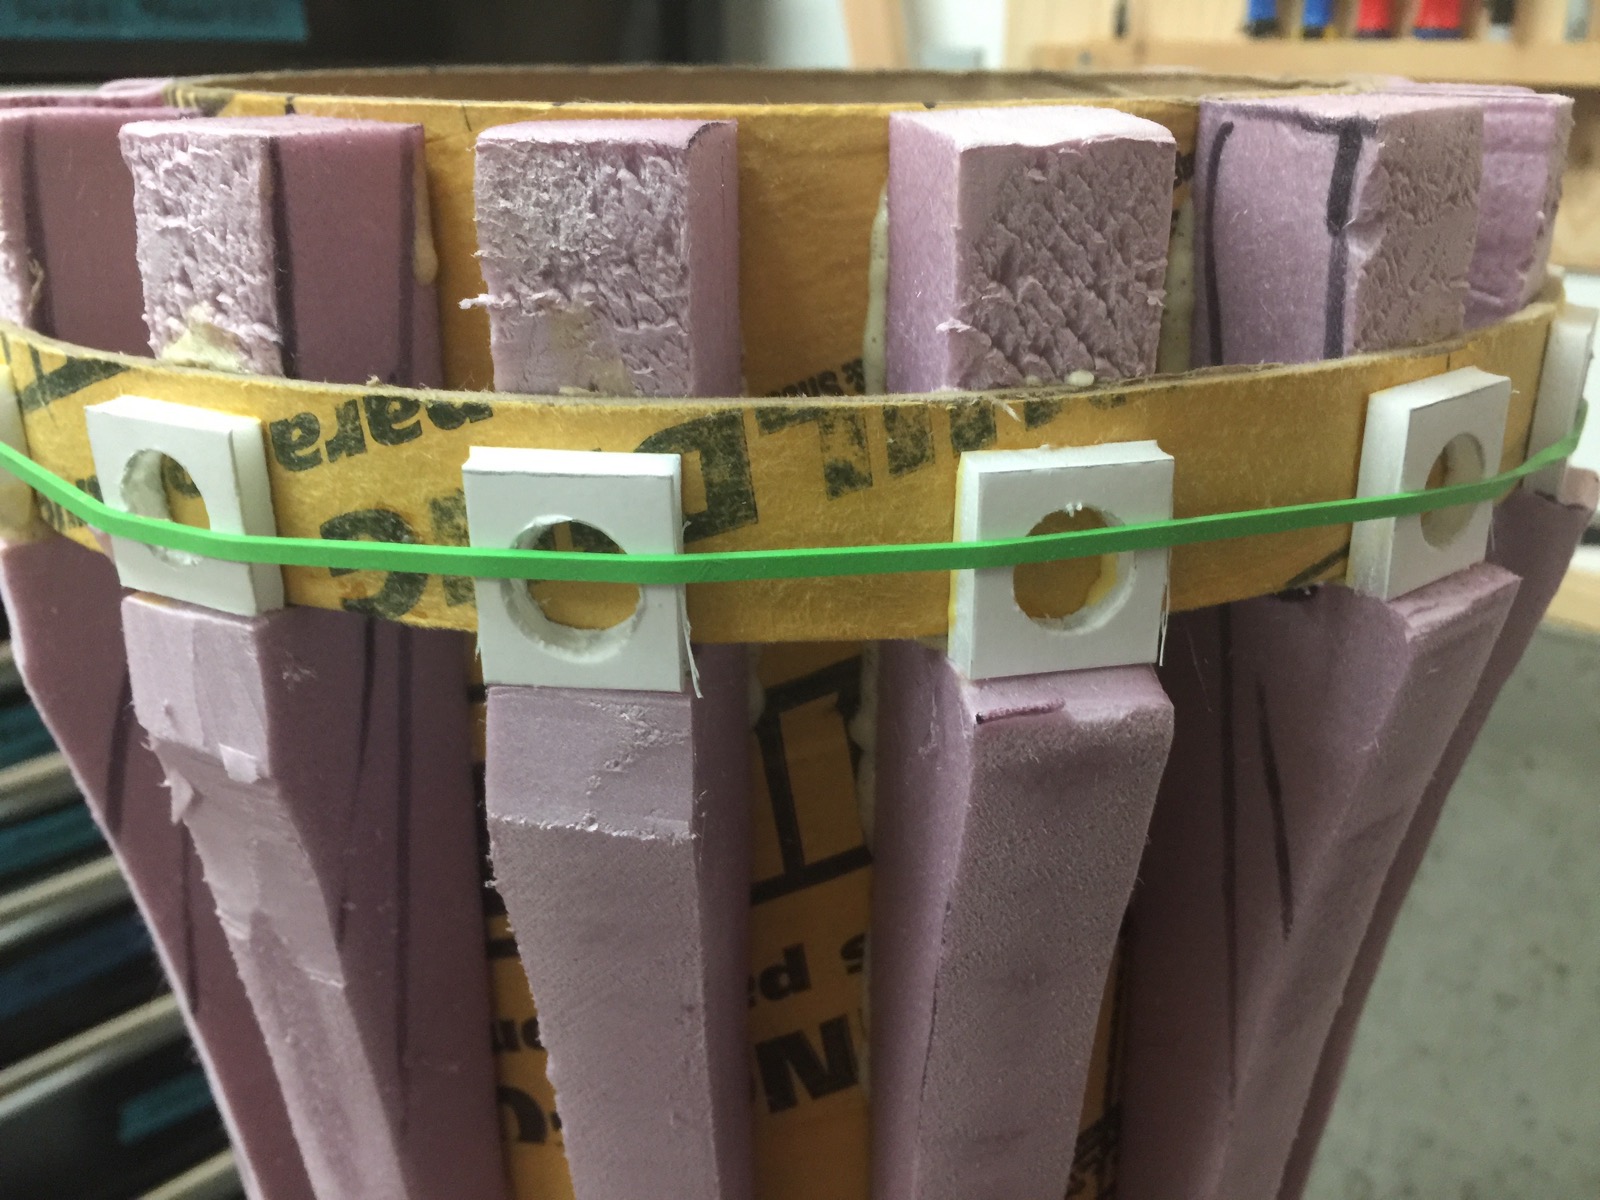
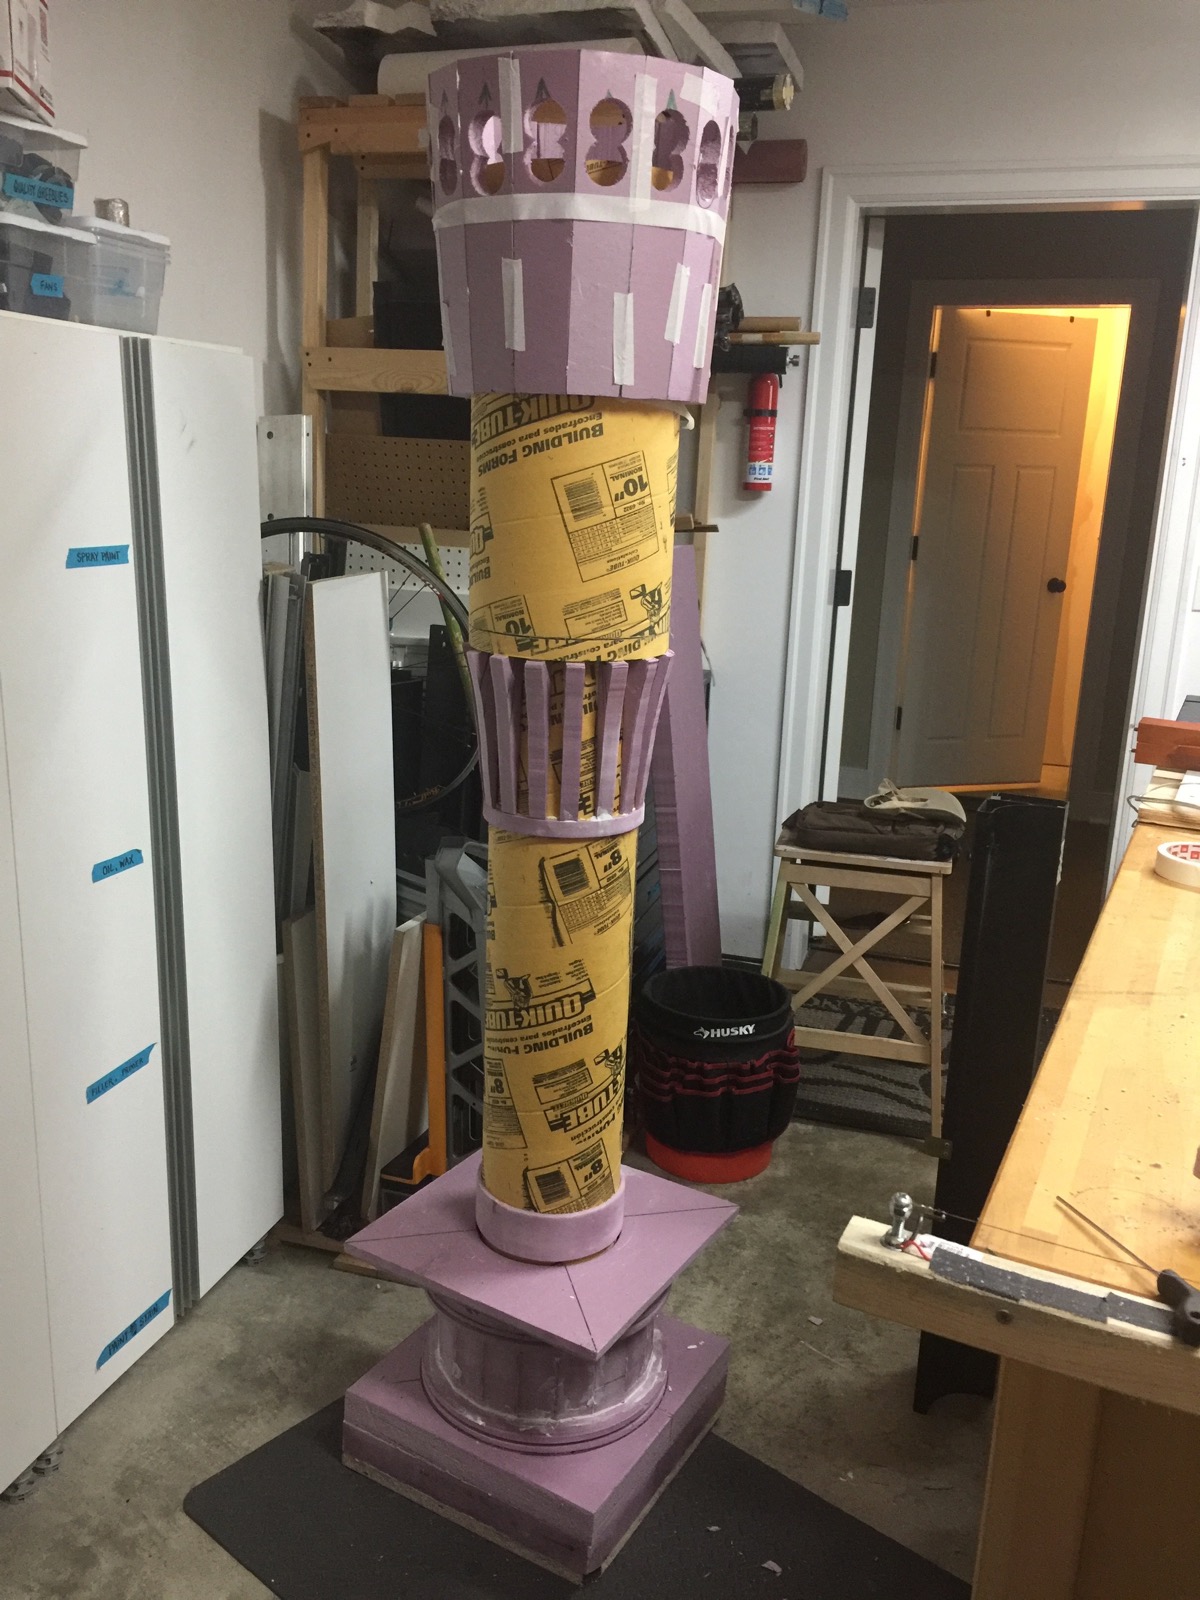
This rocket was inspired by Art Deco designs and the retro-futurism of 1950’s sci-fi. Sleek aluminum panels are glued in place over a base shape defined by lasercut bulkheads and narrow birch plywood spars.
The rocket uses a microcontroller to light three “engines,” each composed of a 7-LED disc surrounded a 16-LED ring. From a code perspective, this uses a different approach than the last time I created an LED flame effect. This prop depends on code written by Mark Kriegsman, and I’ve shared my version in pubic gist here.
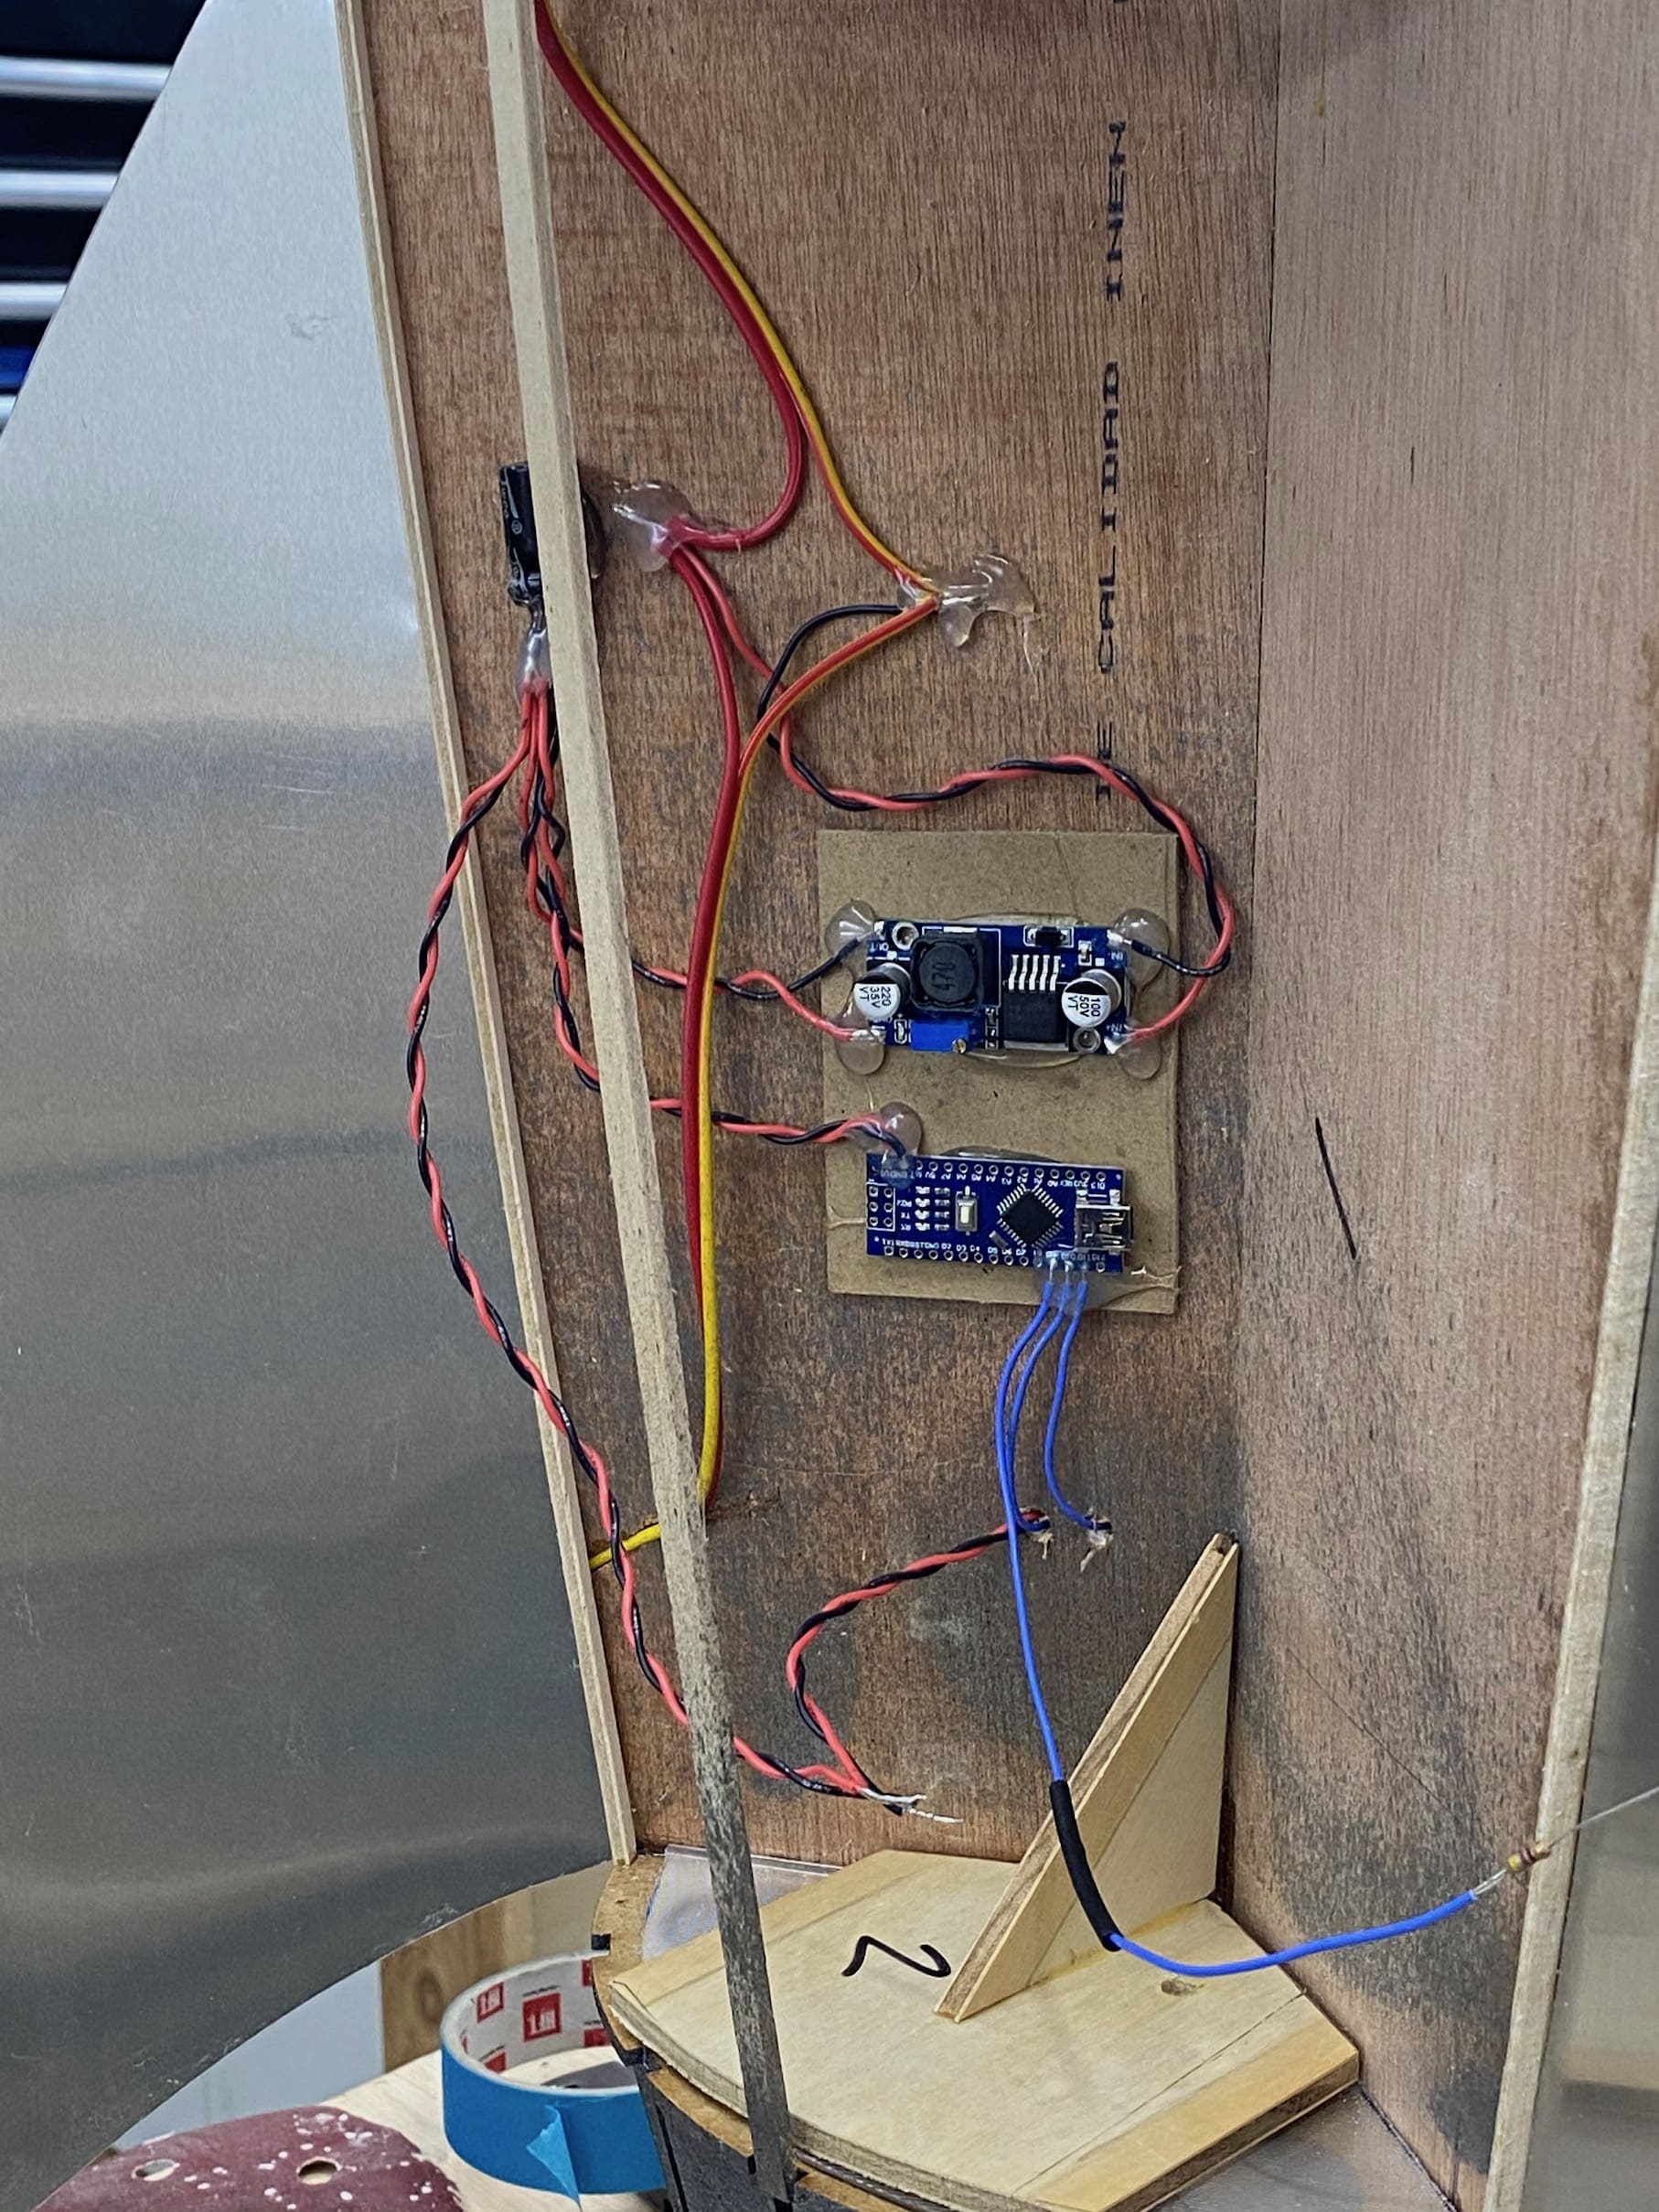
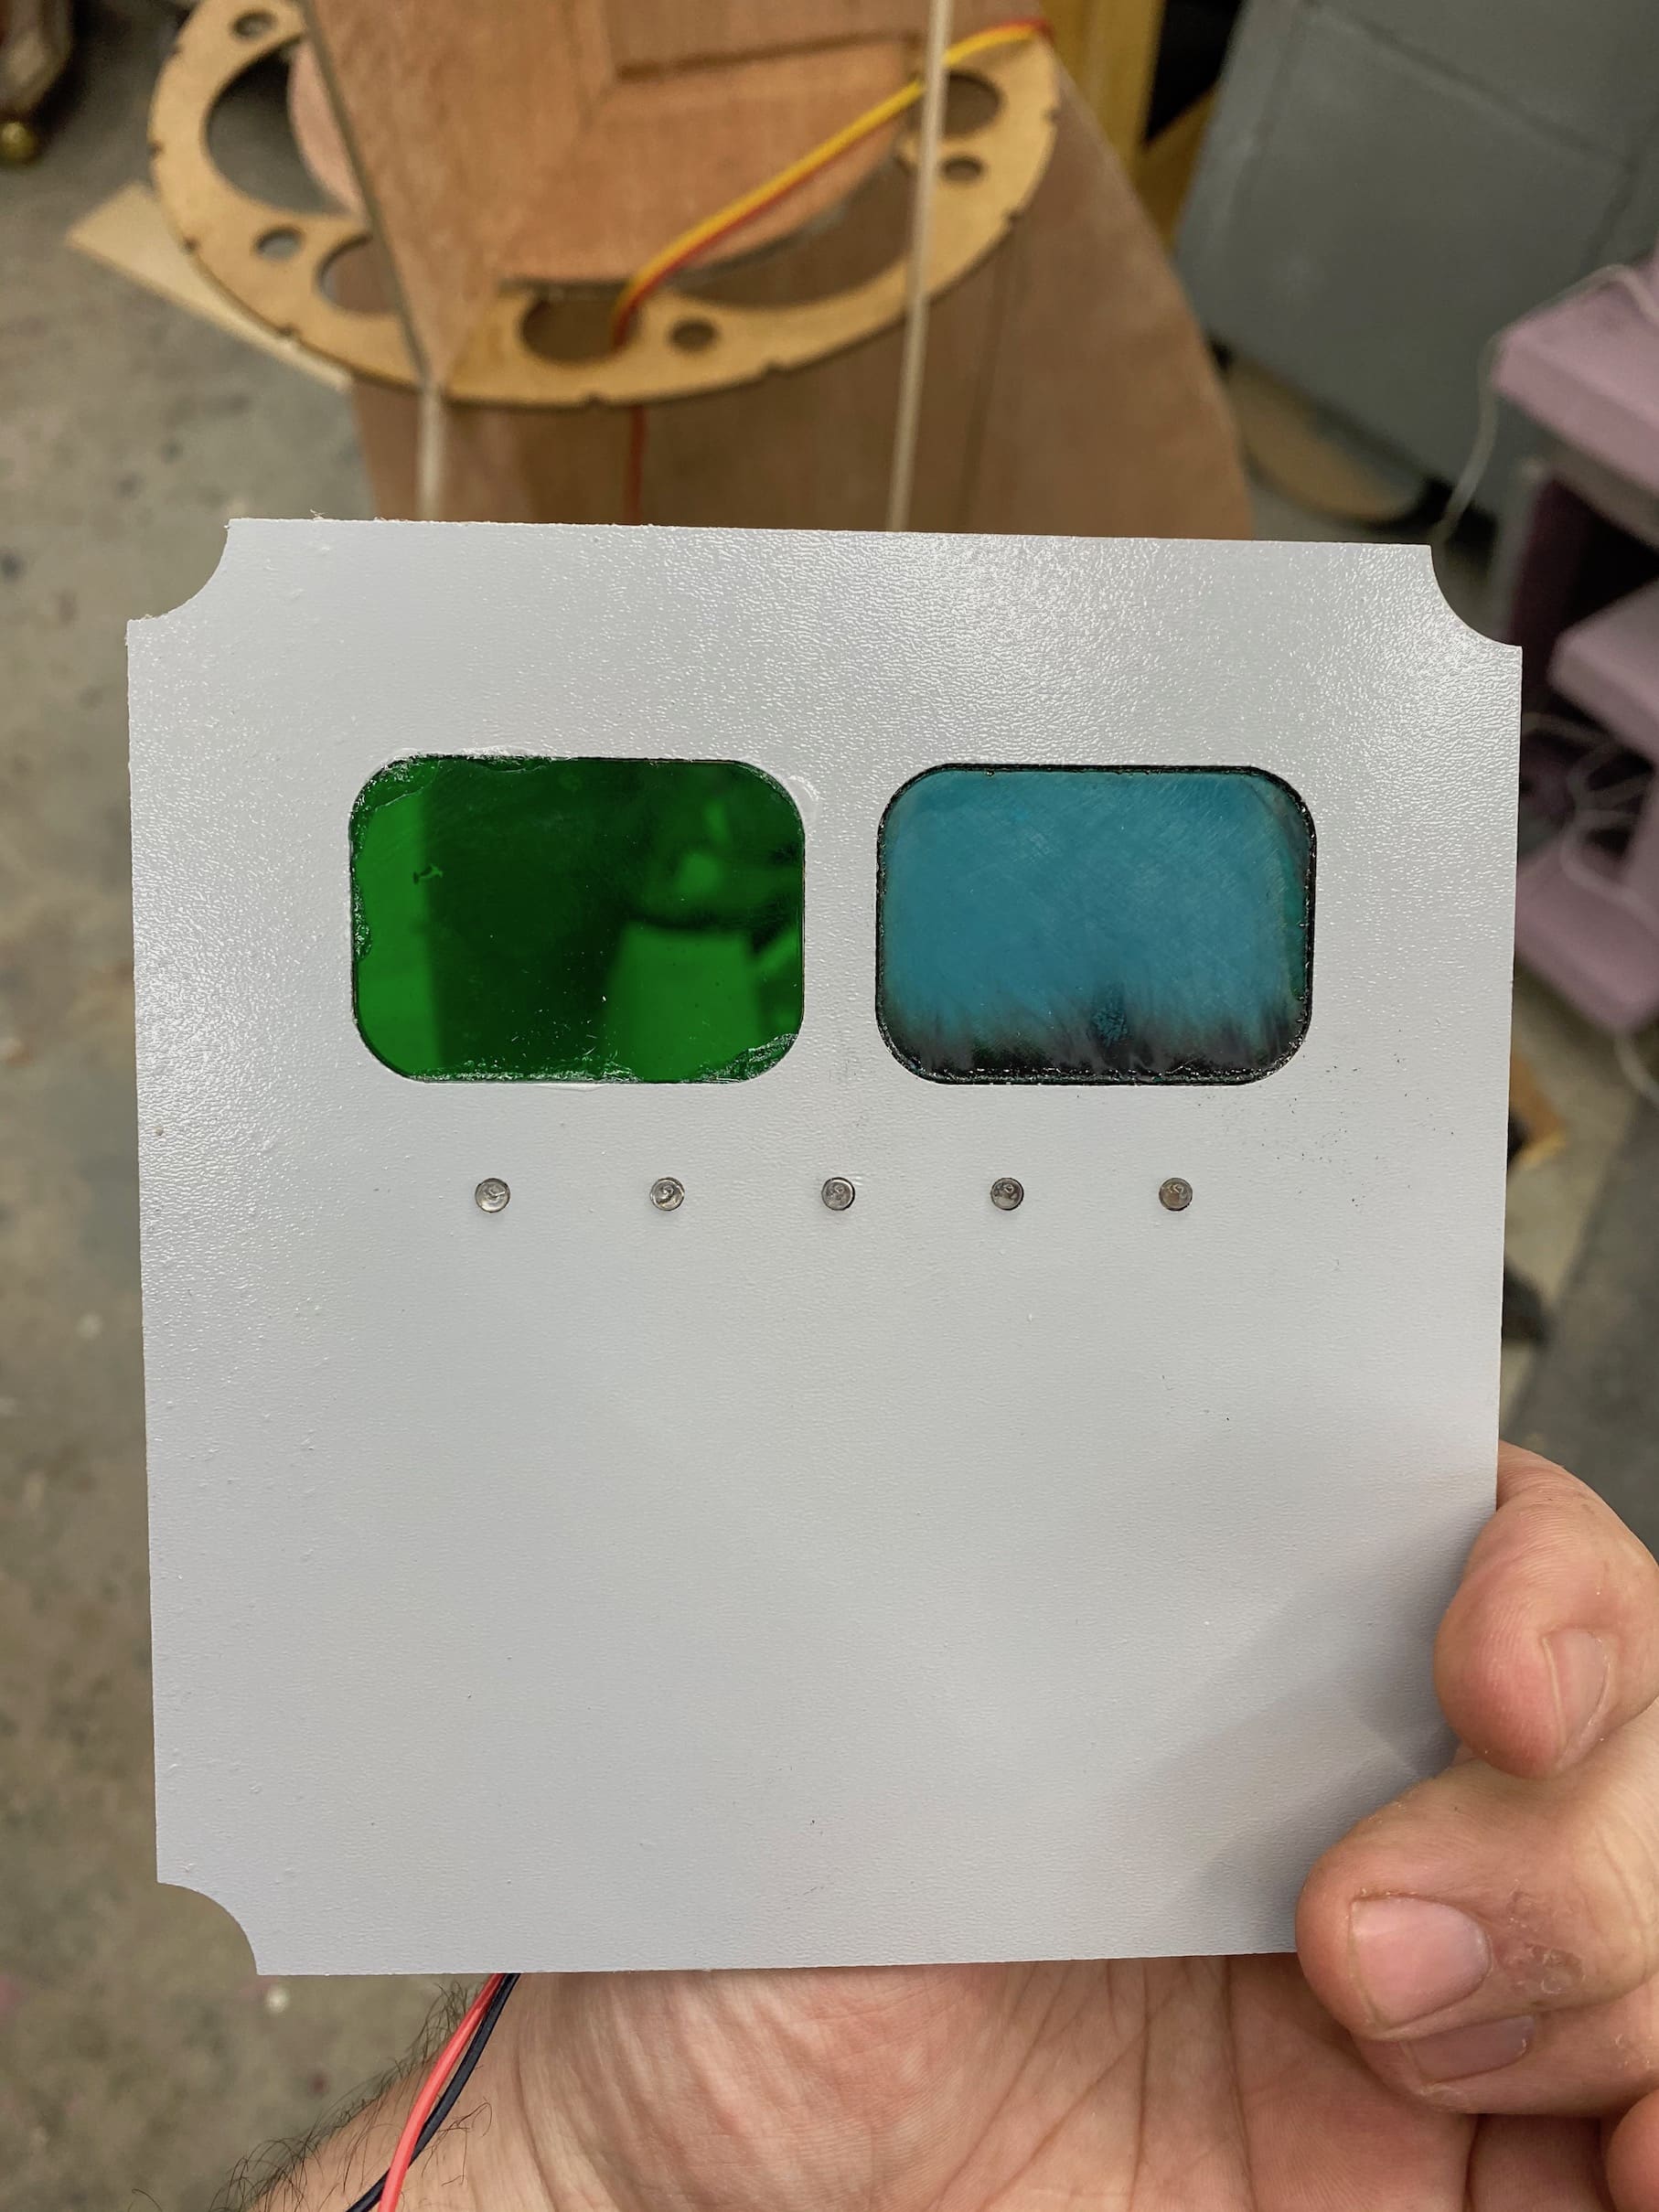
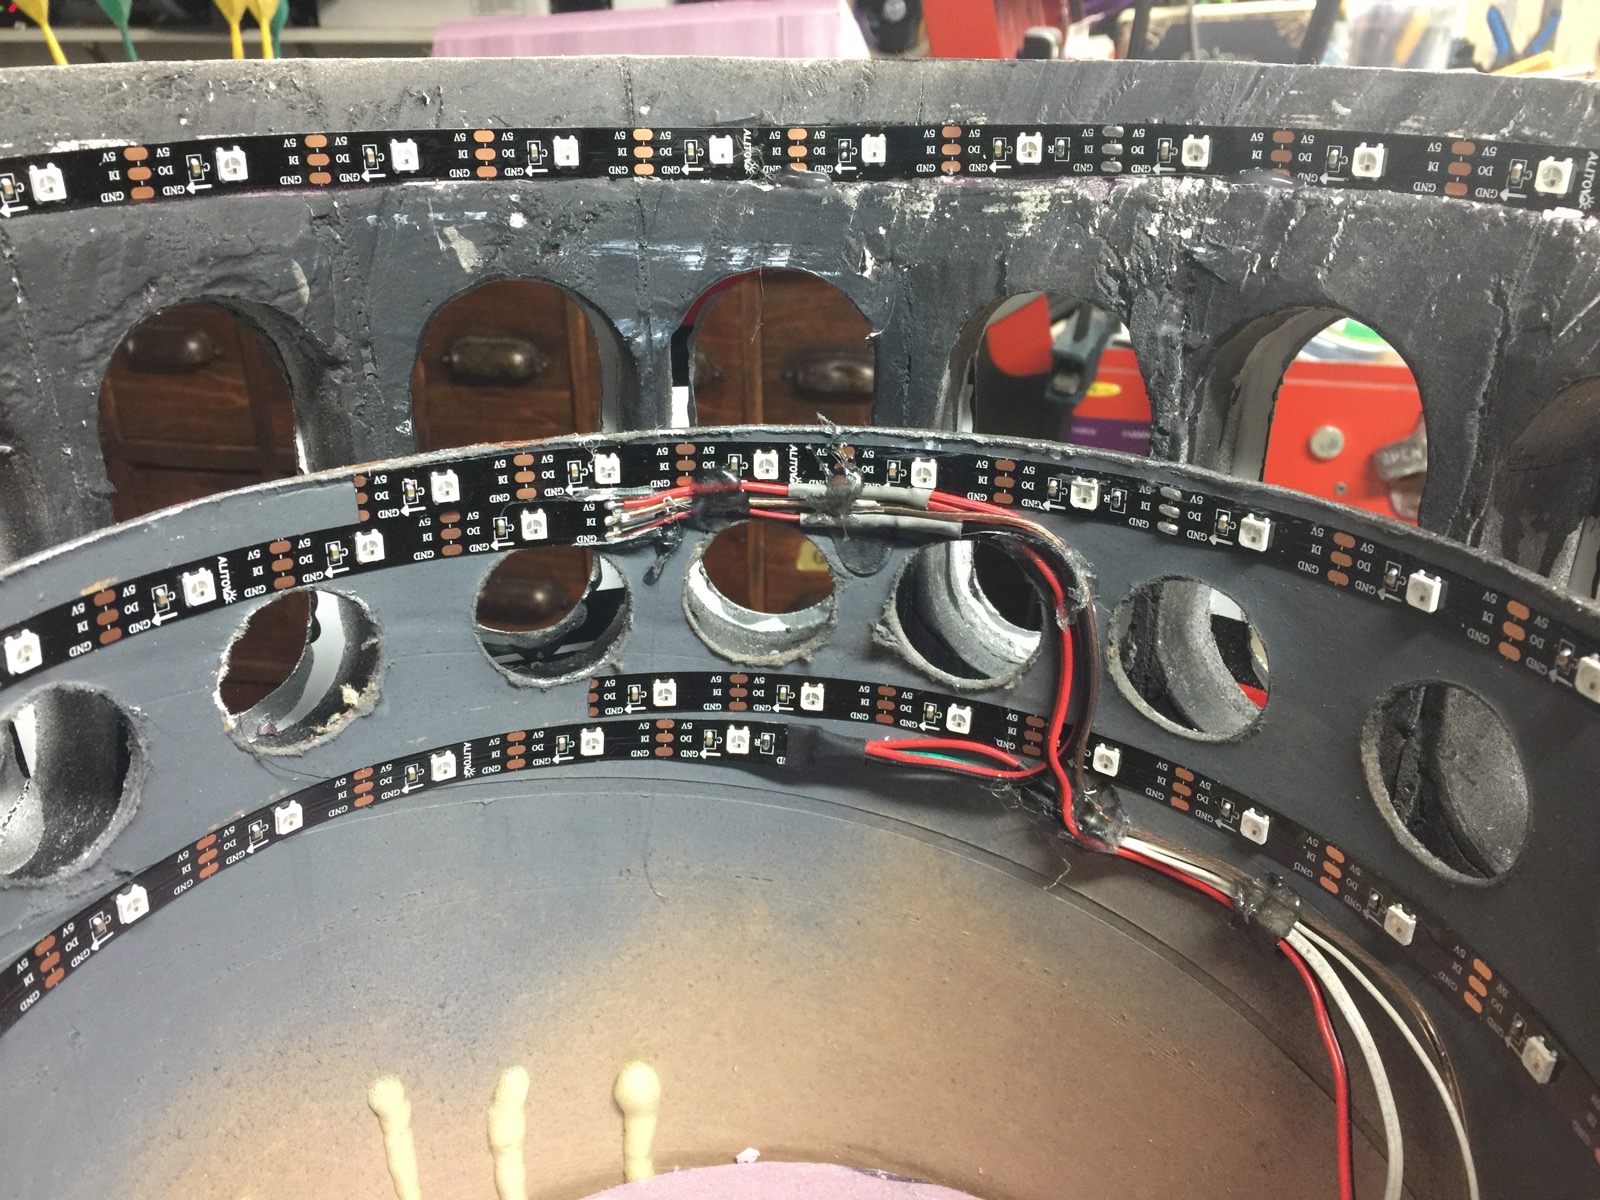
I thought simple illuminated portholes may be a little bland on a prop this size, so I made small panels to create some “screens” and subtle blinking lights you can see inside the rocket.
These are mounted deep enough to give a nice parallax effect through the softly frosted plastic portholes.


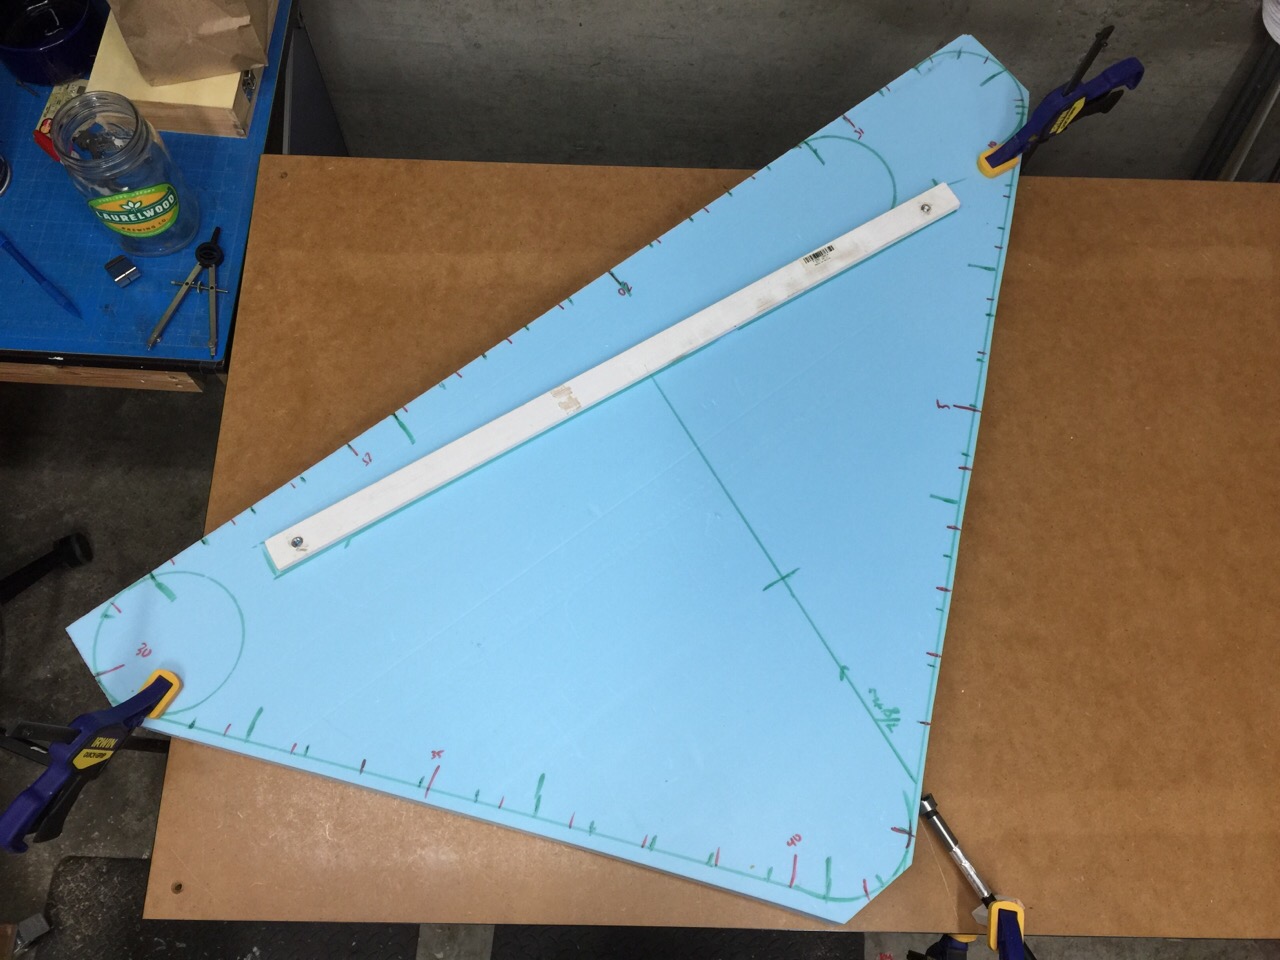
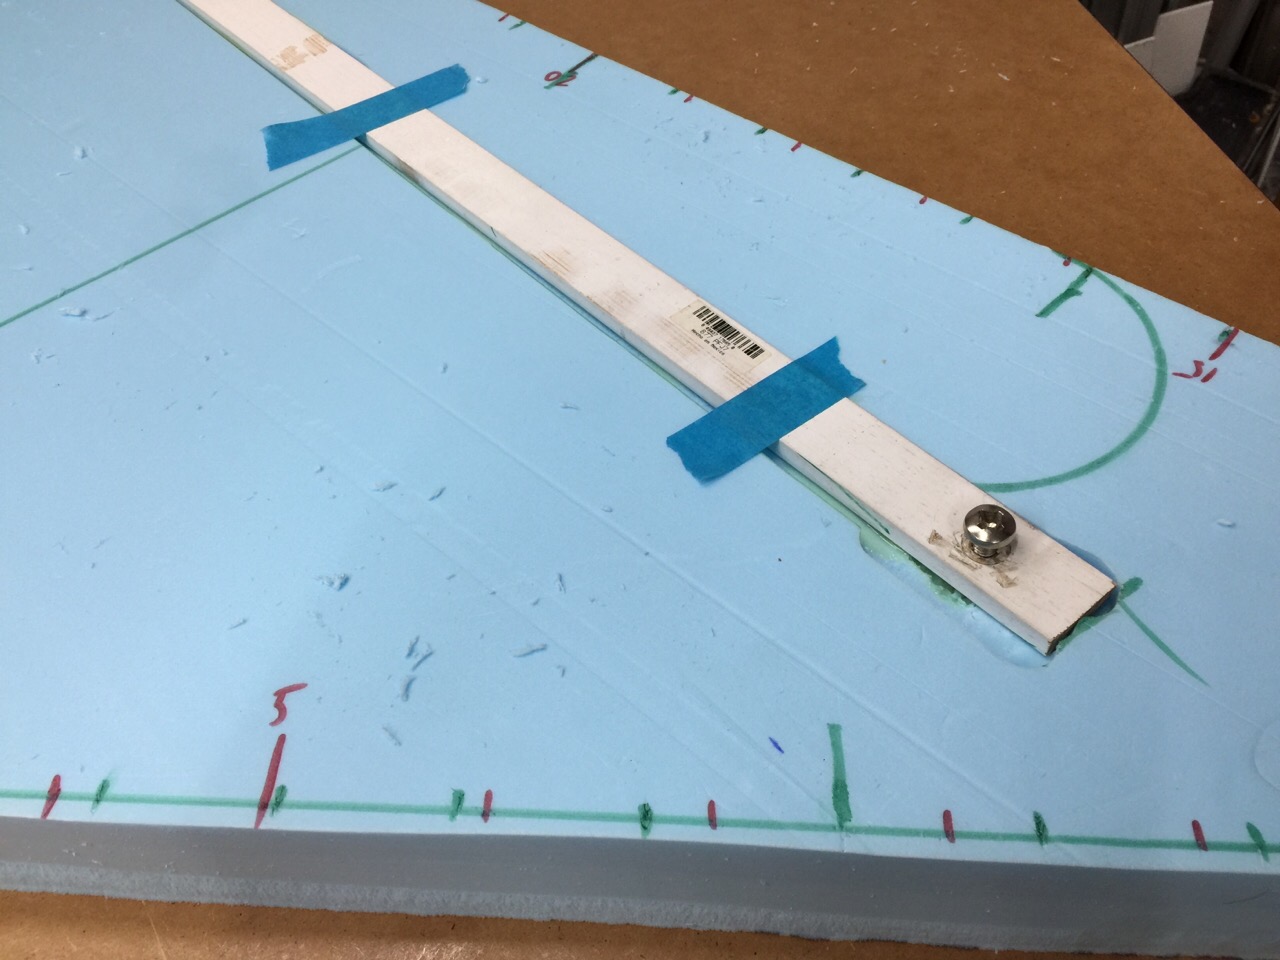
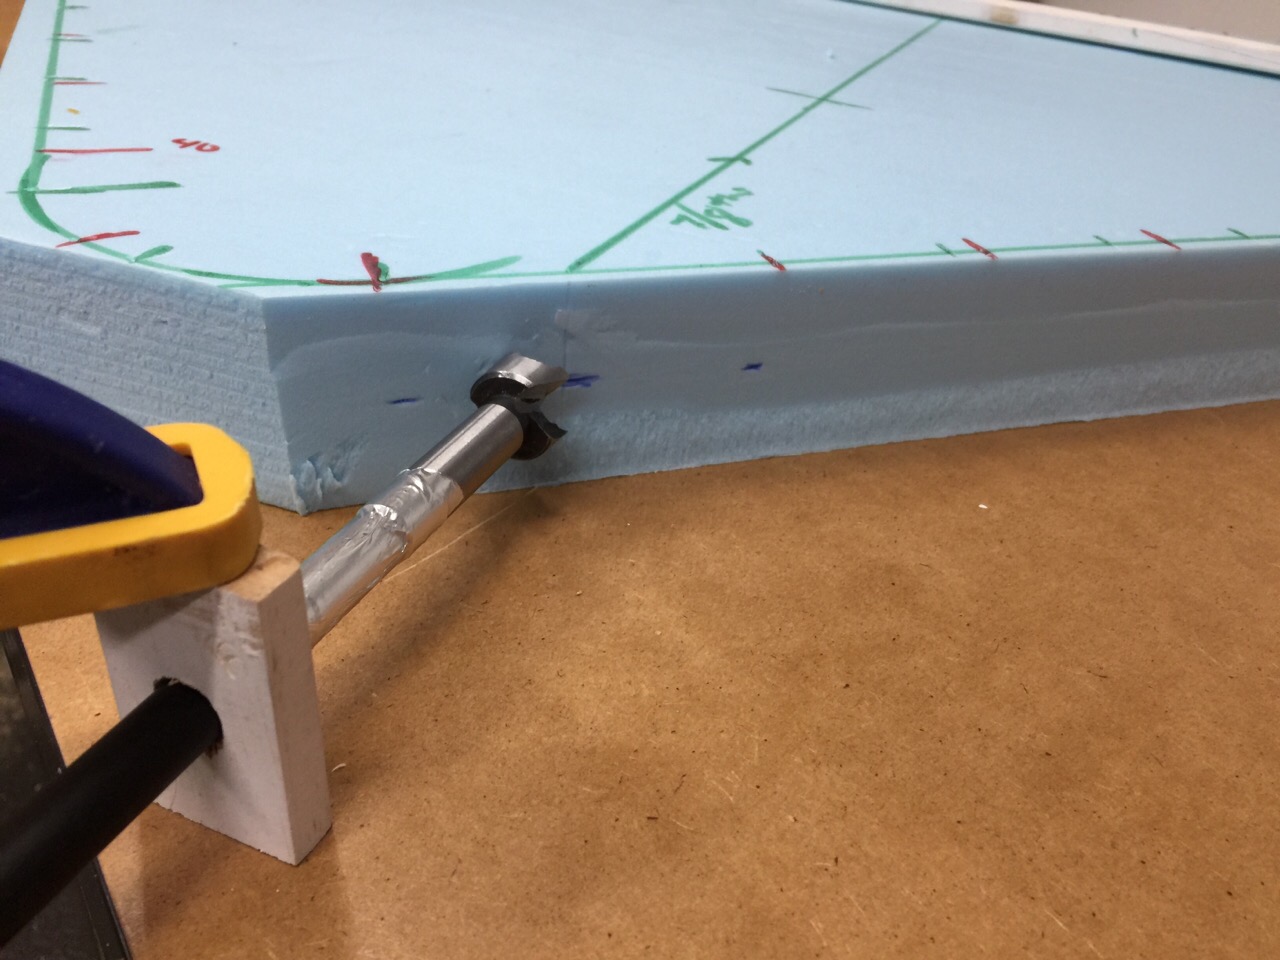
I traced a pattern for 1/4" steel from the same client-provided file I used in the Engraved Plywood "Big Jake" Horse and Shoes. I outsourced the cutting to Portland Waterjet, whose work was beautiful and crisp. Sadly I never took a photo of the pristine parts, and by the time I removed the pieces from the good ol' under-bench time-dilating corrosion pot, they already had a nice crusty patina.


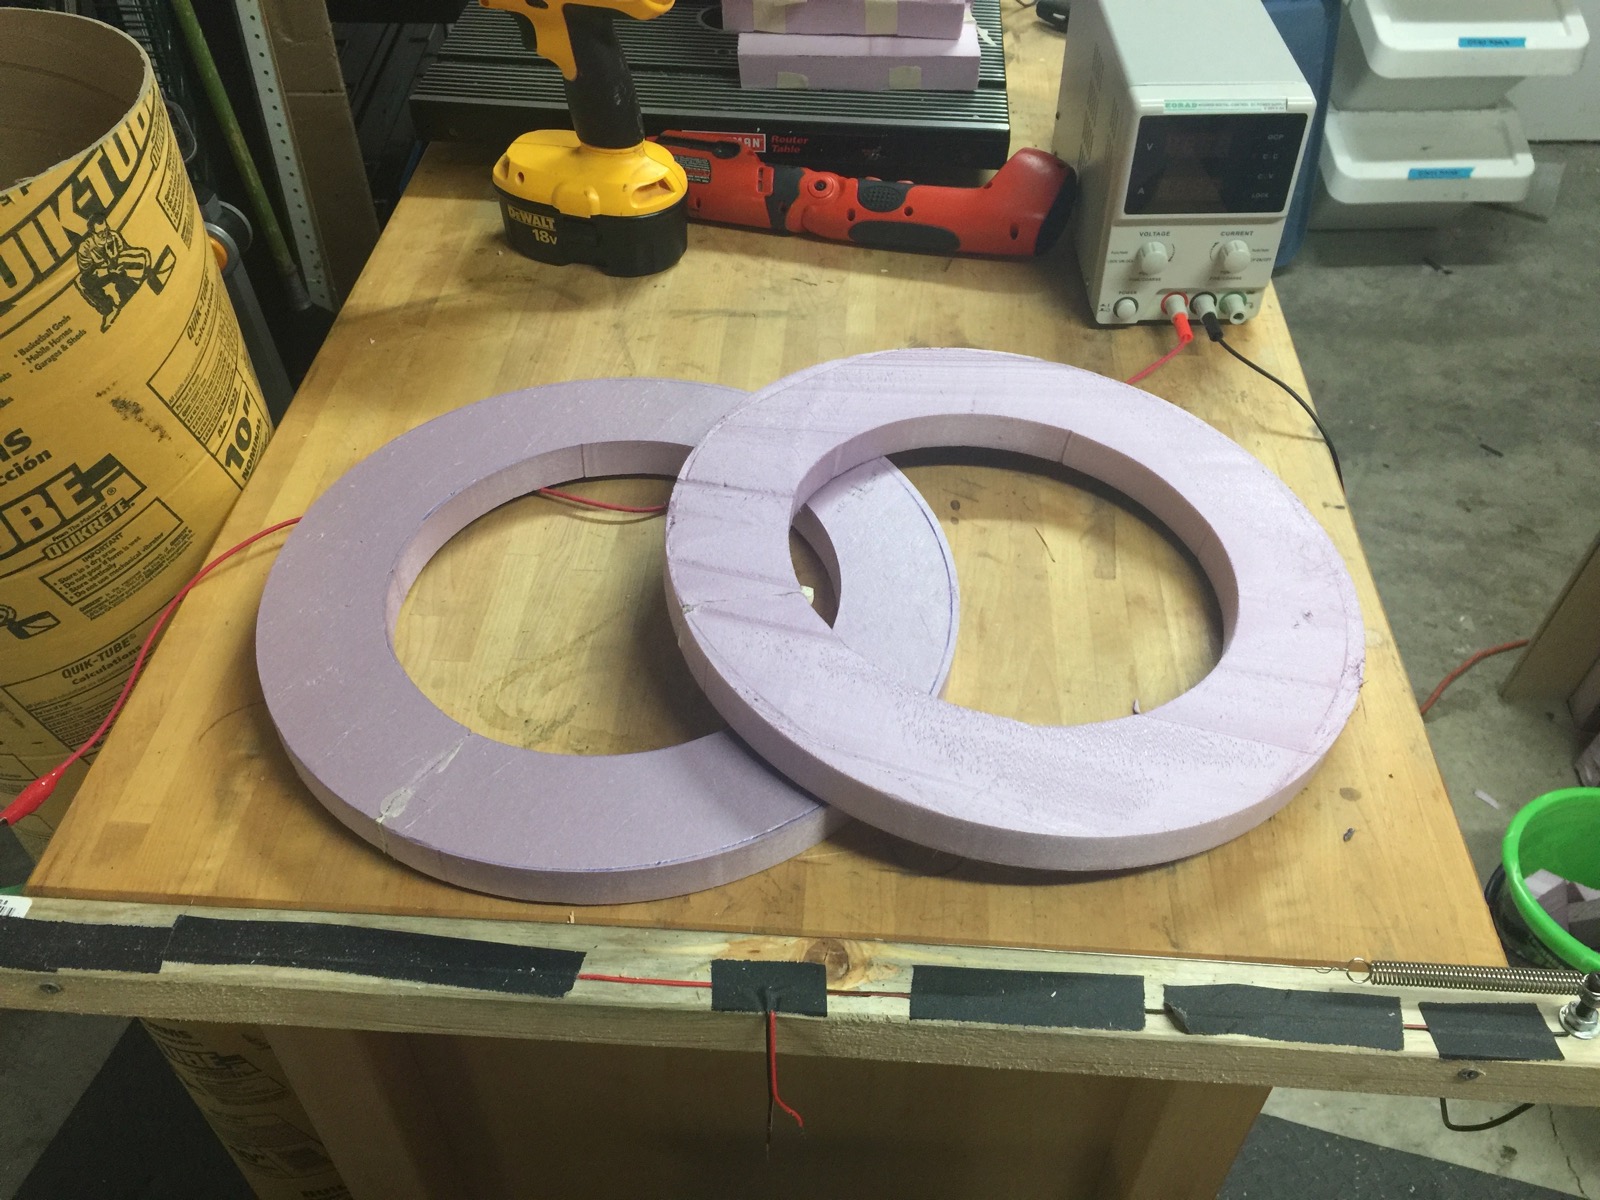
I based this pattern on the dimensions of common cedar fence pickets, which I knew to be cheap, readily available, and have a varied and interesting grain.
See Panel Assembly, Finishing, and more


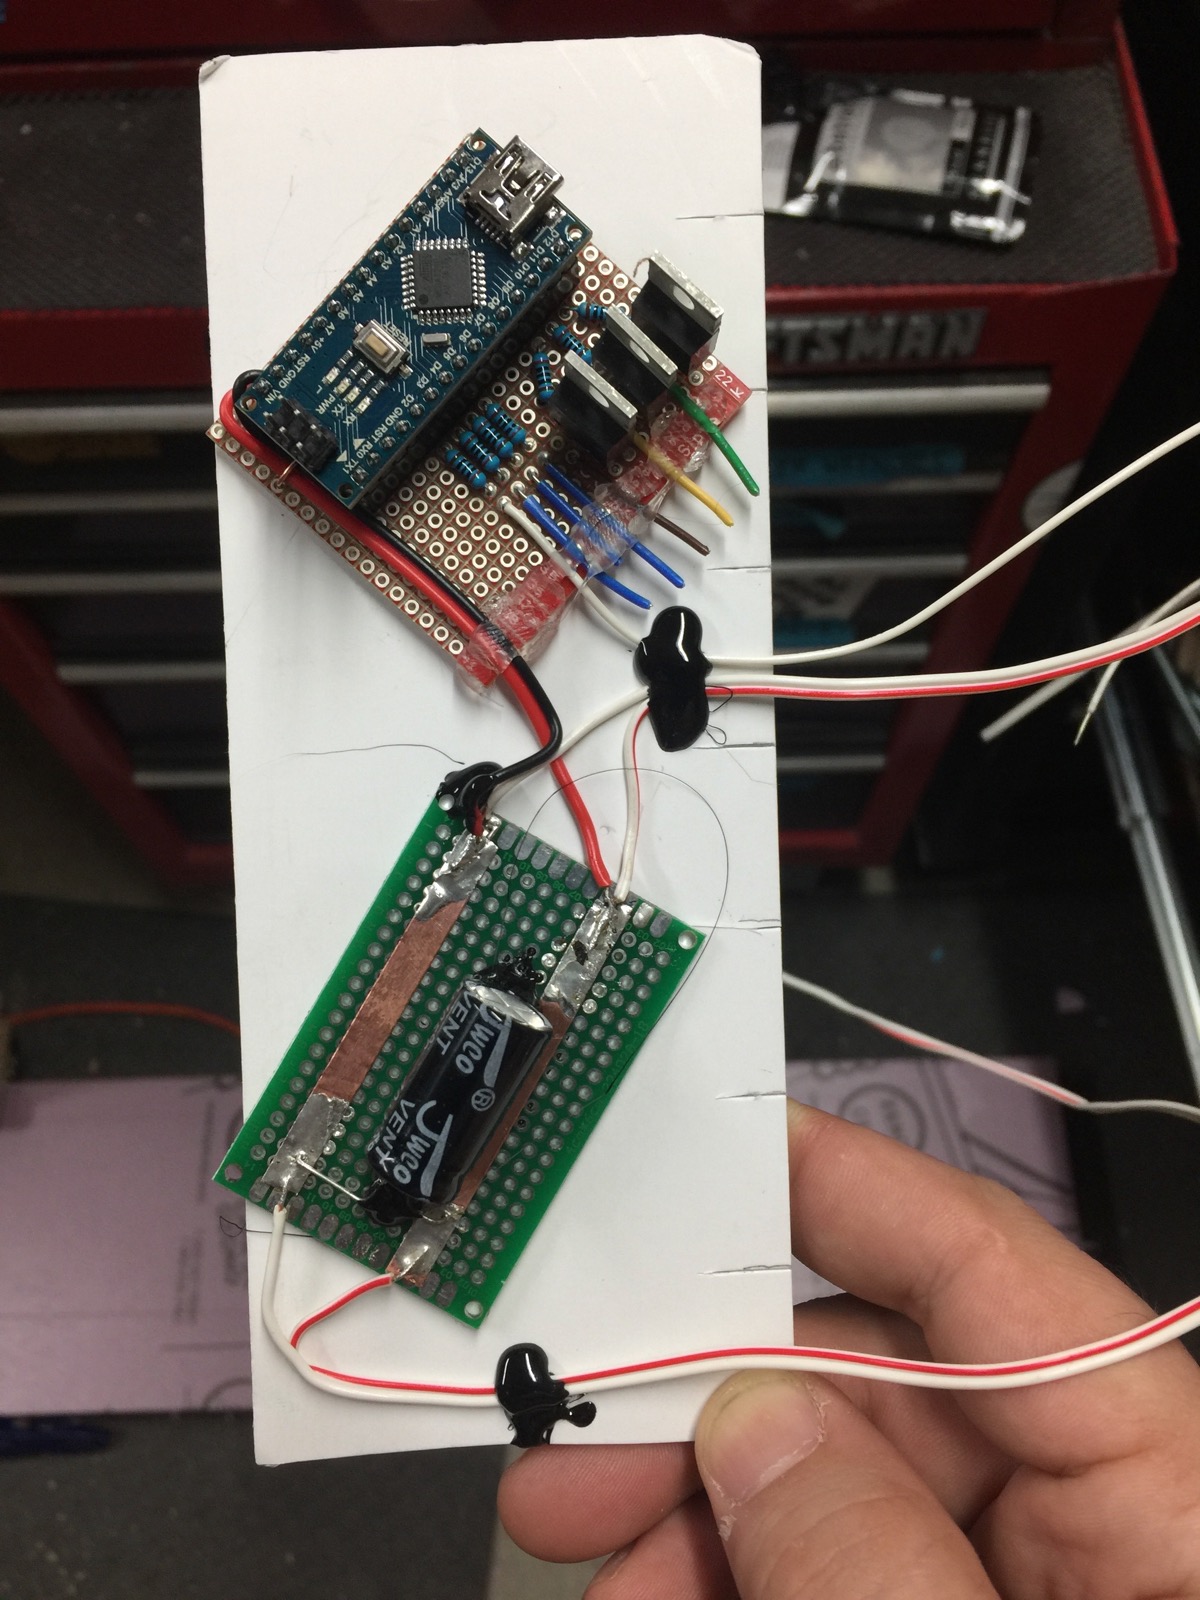
Here’s the code for the fire effect. It is repetitive but it’s easy to change as the prop develops as there’s a one-to-one relationship between the structure of the code and the wiring of the prop.


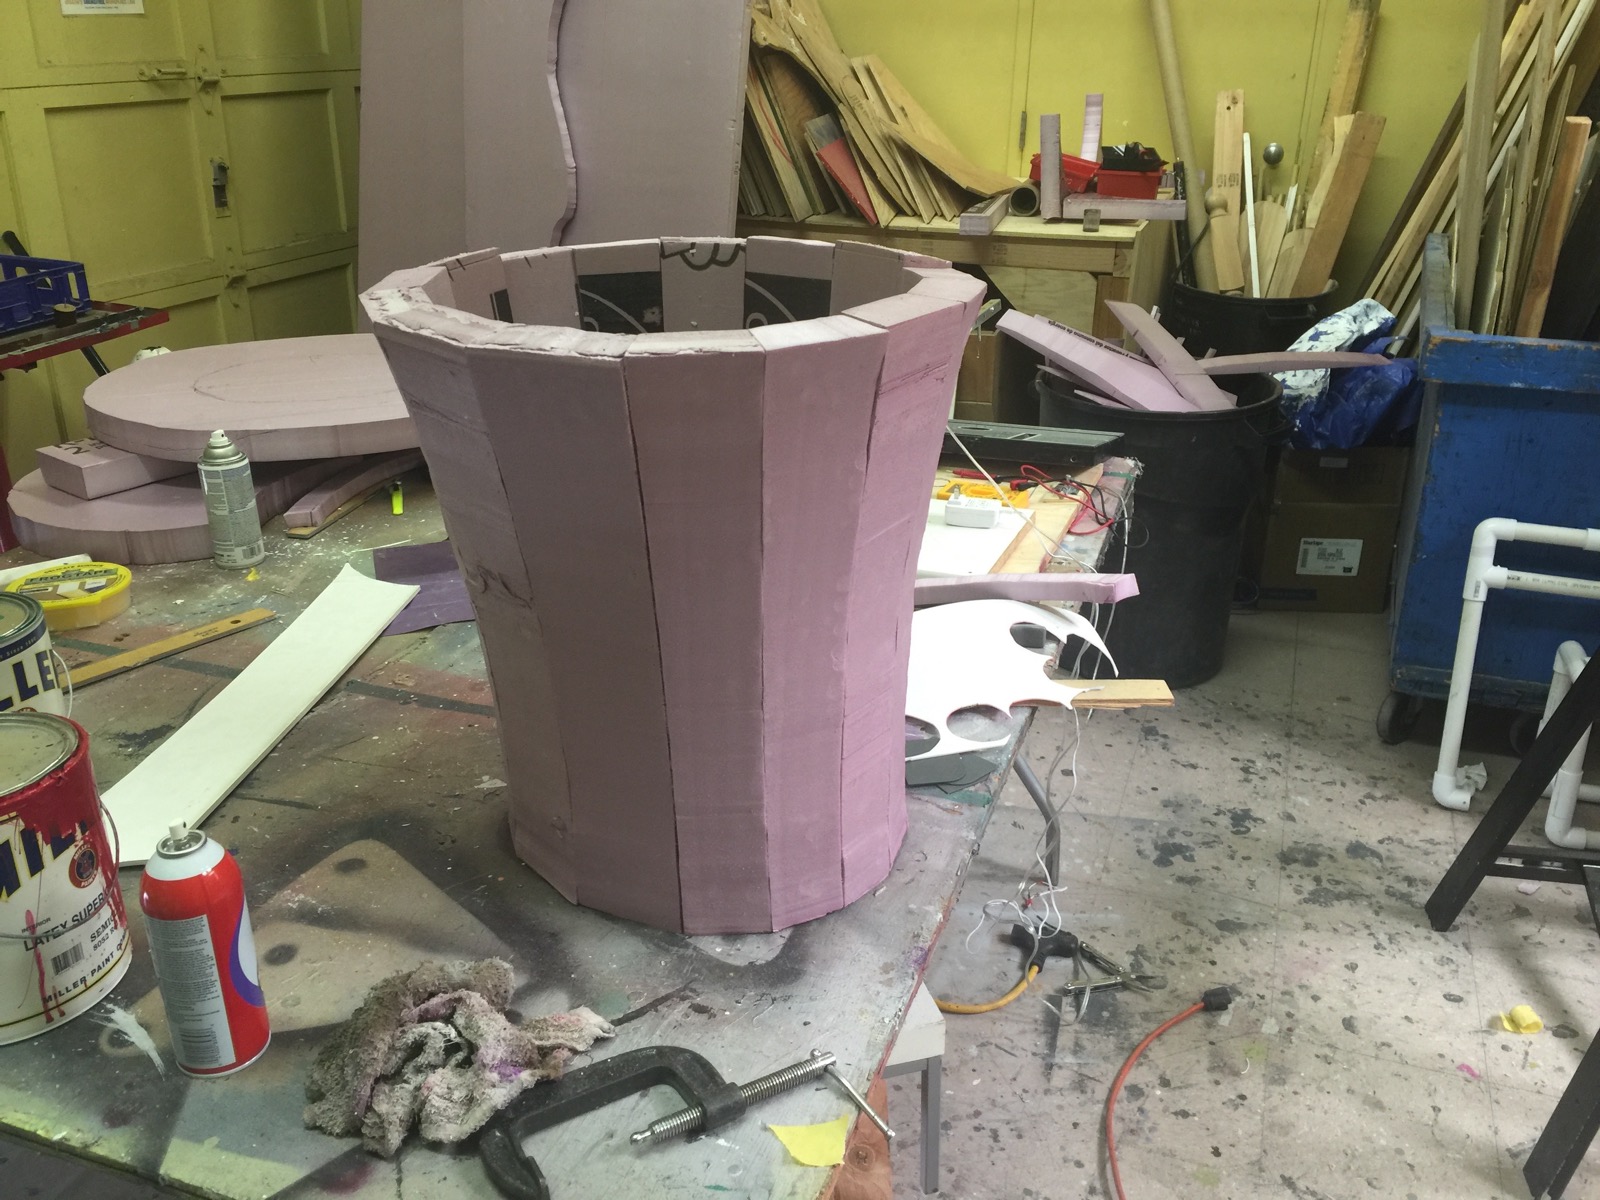
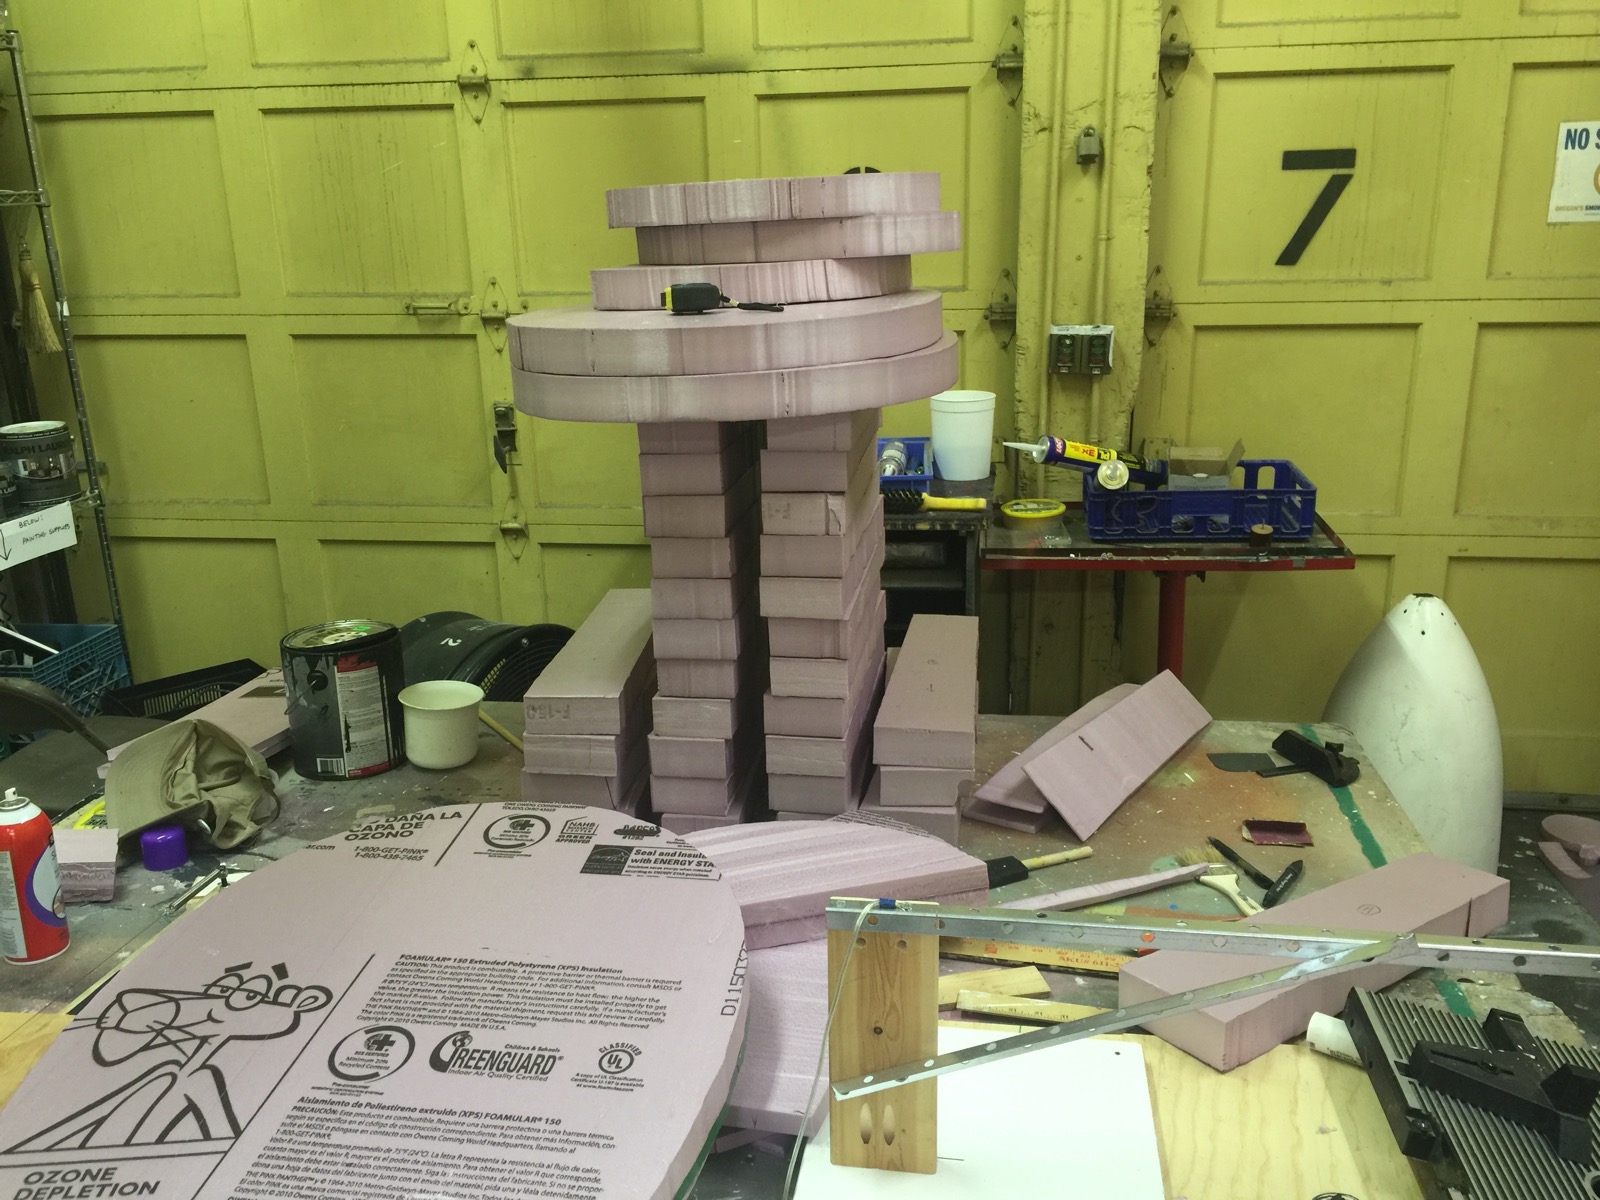
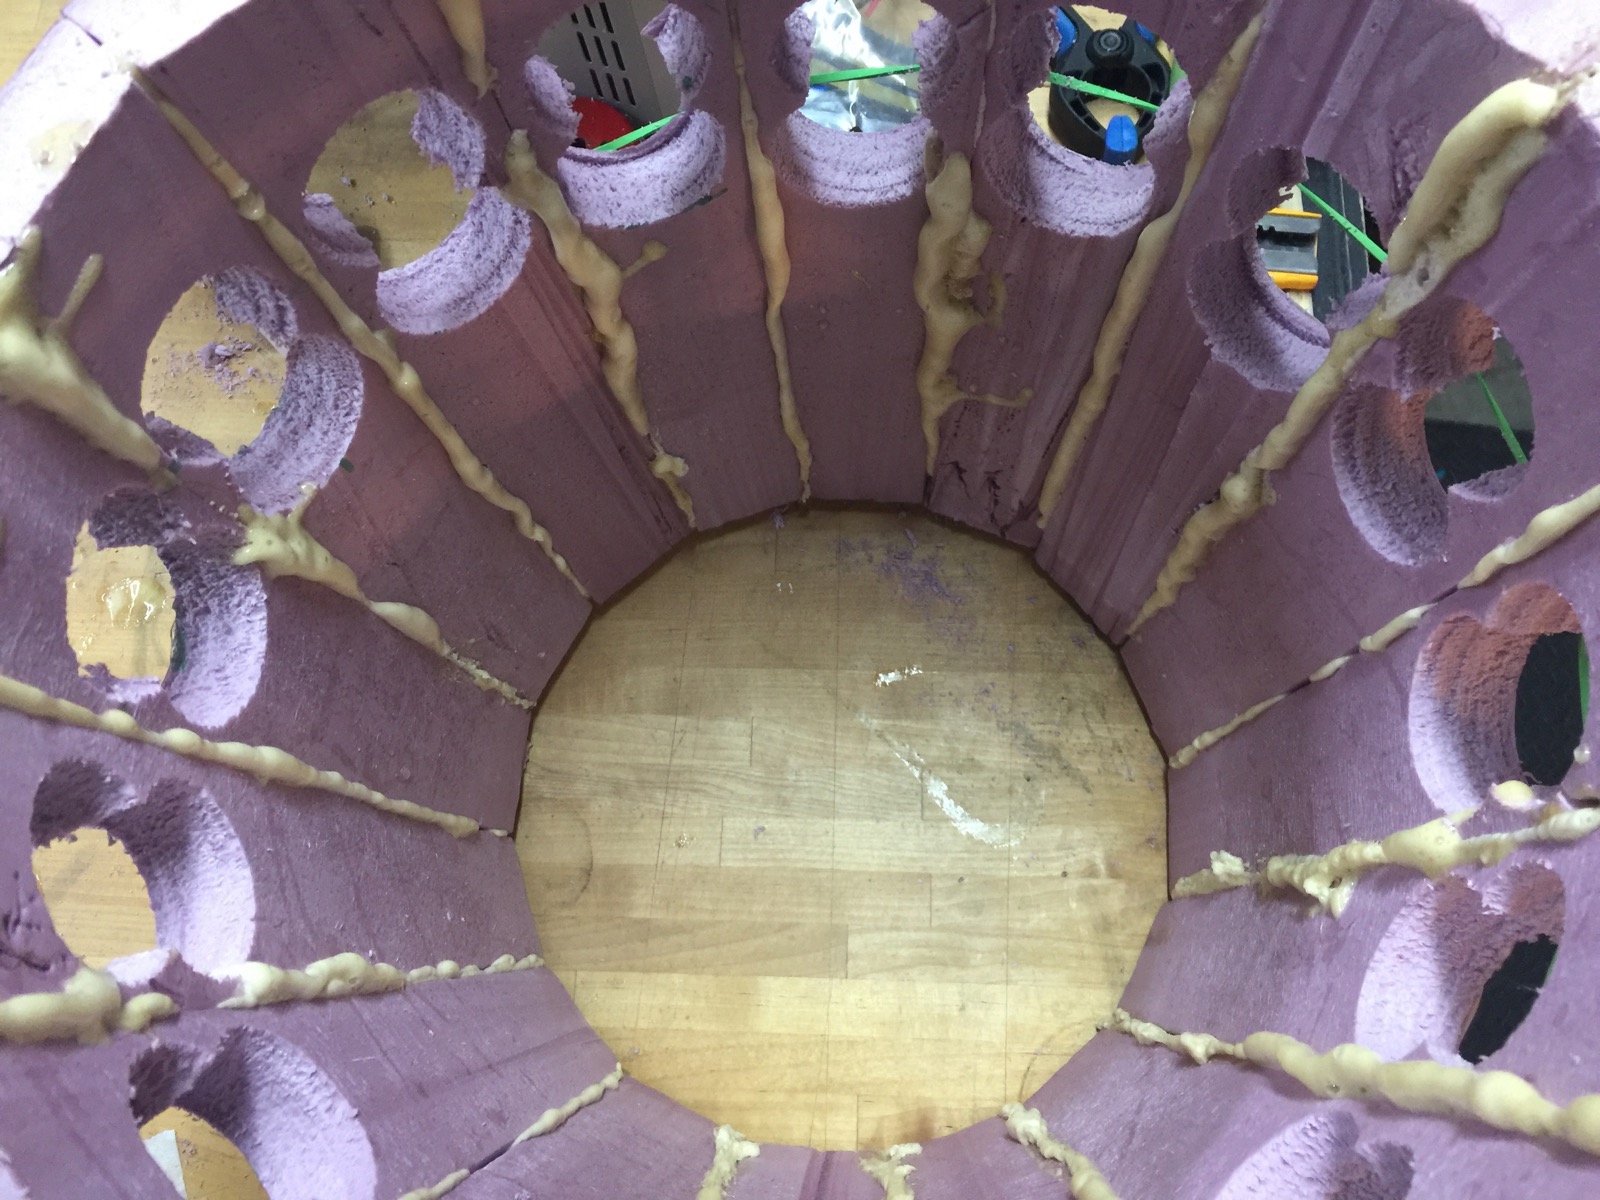
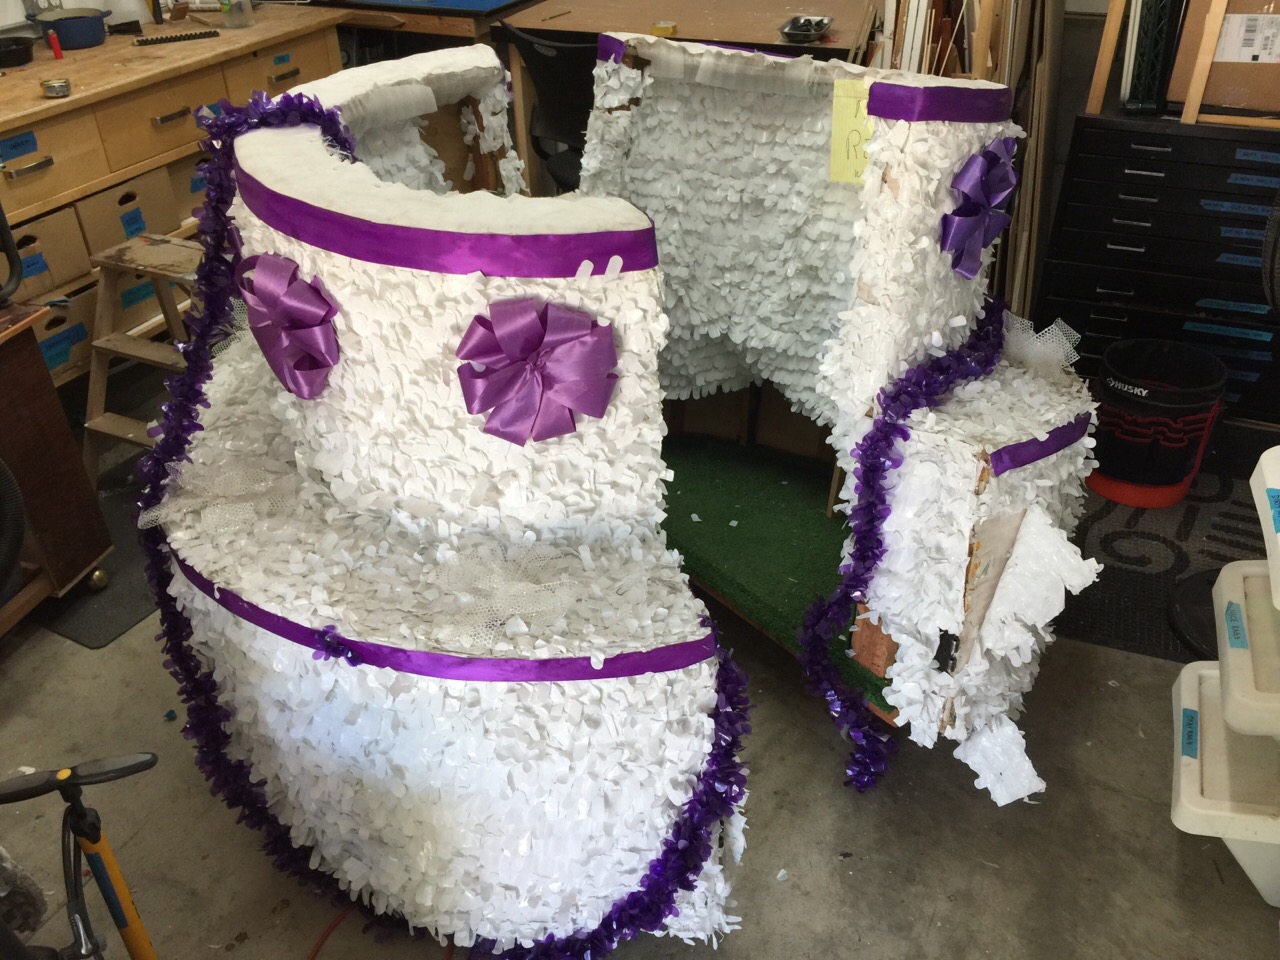
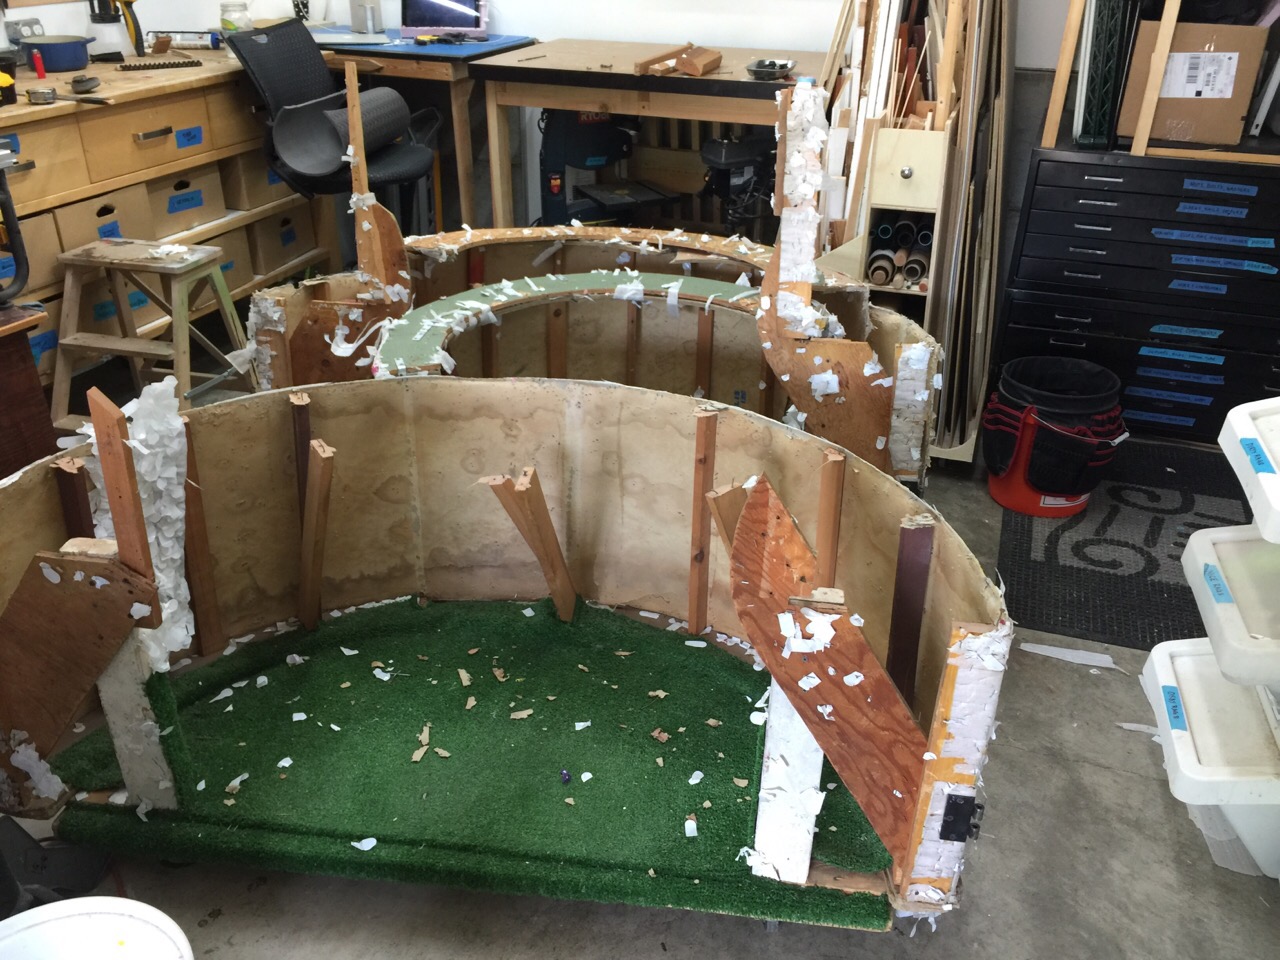
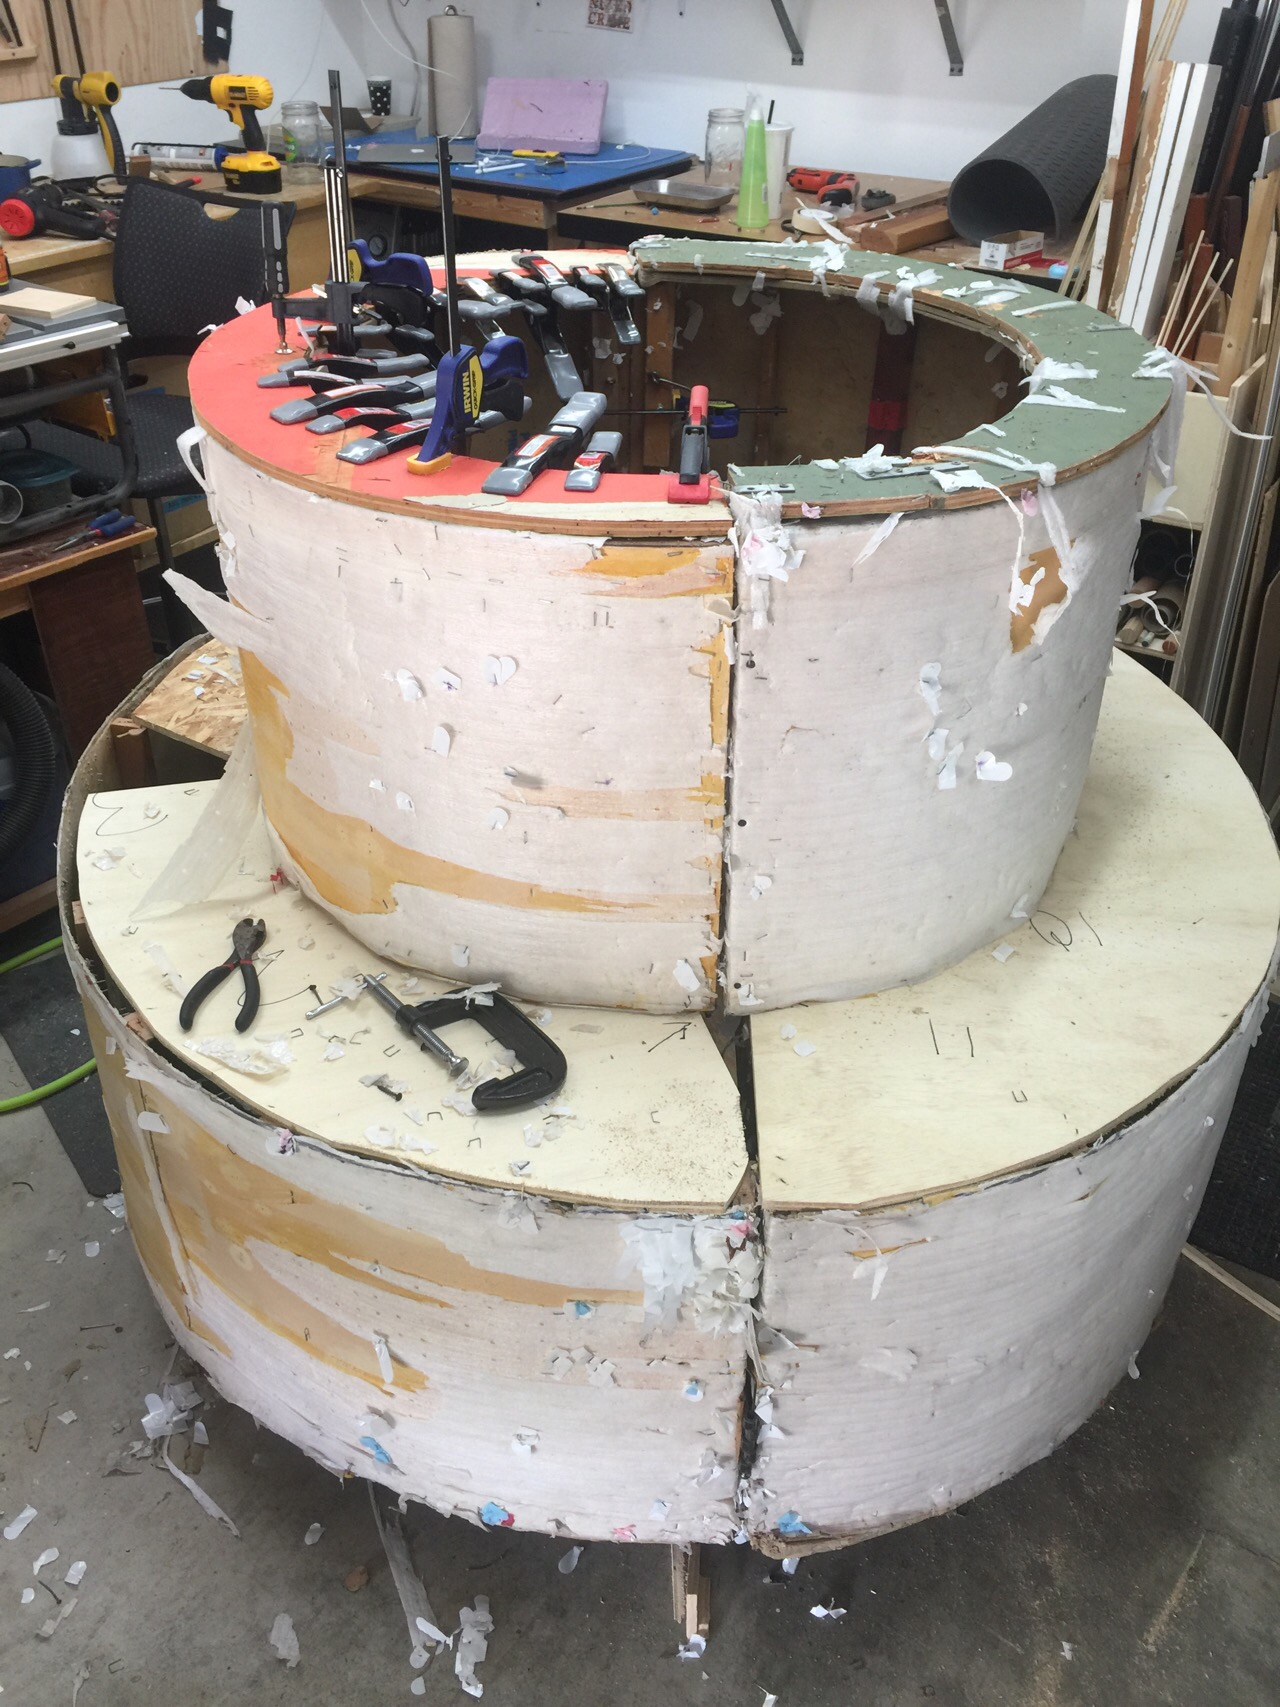
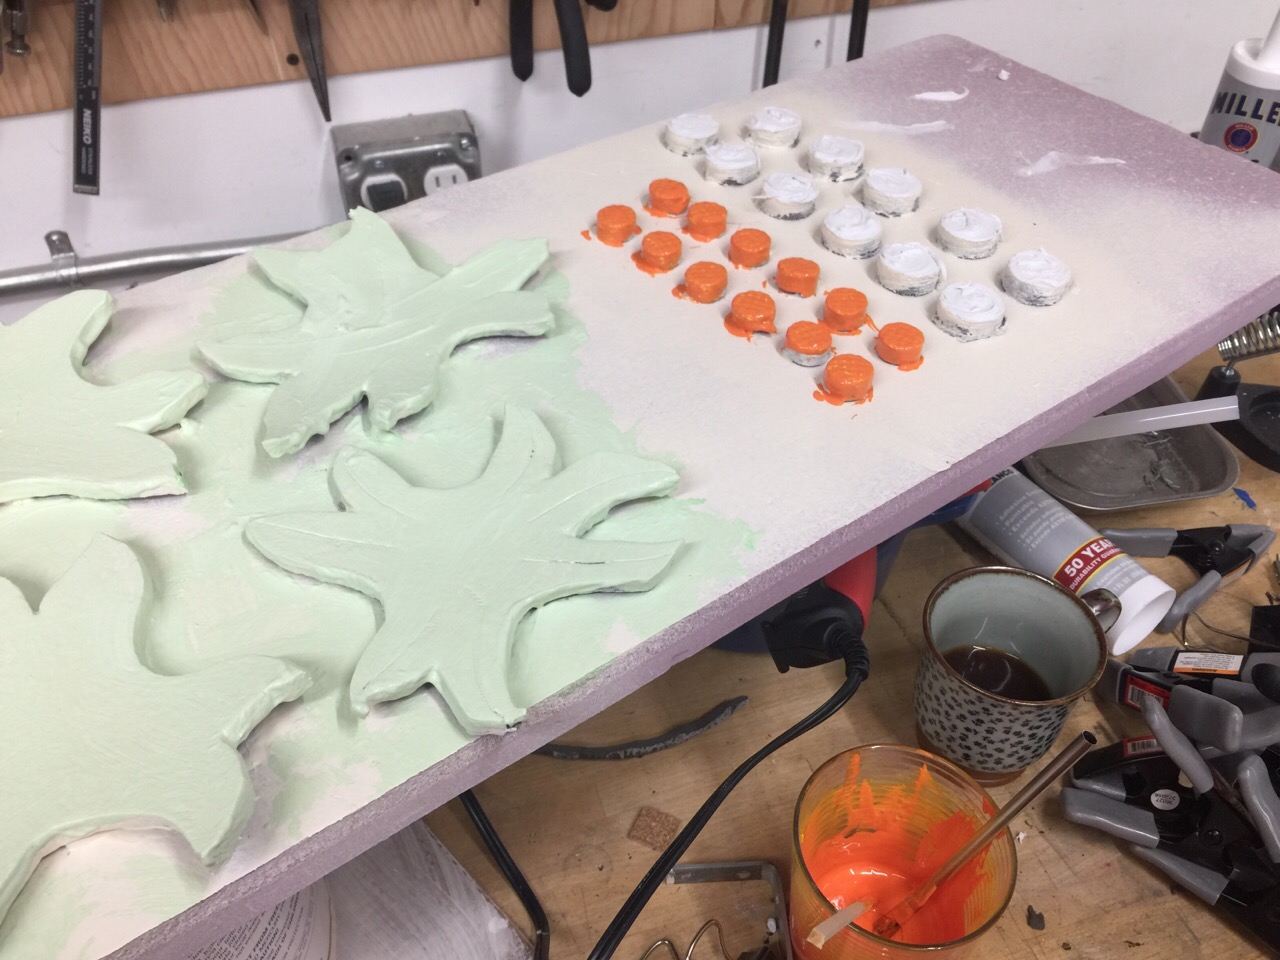
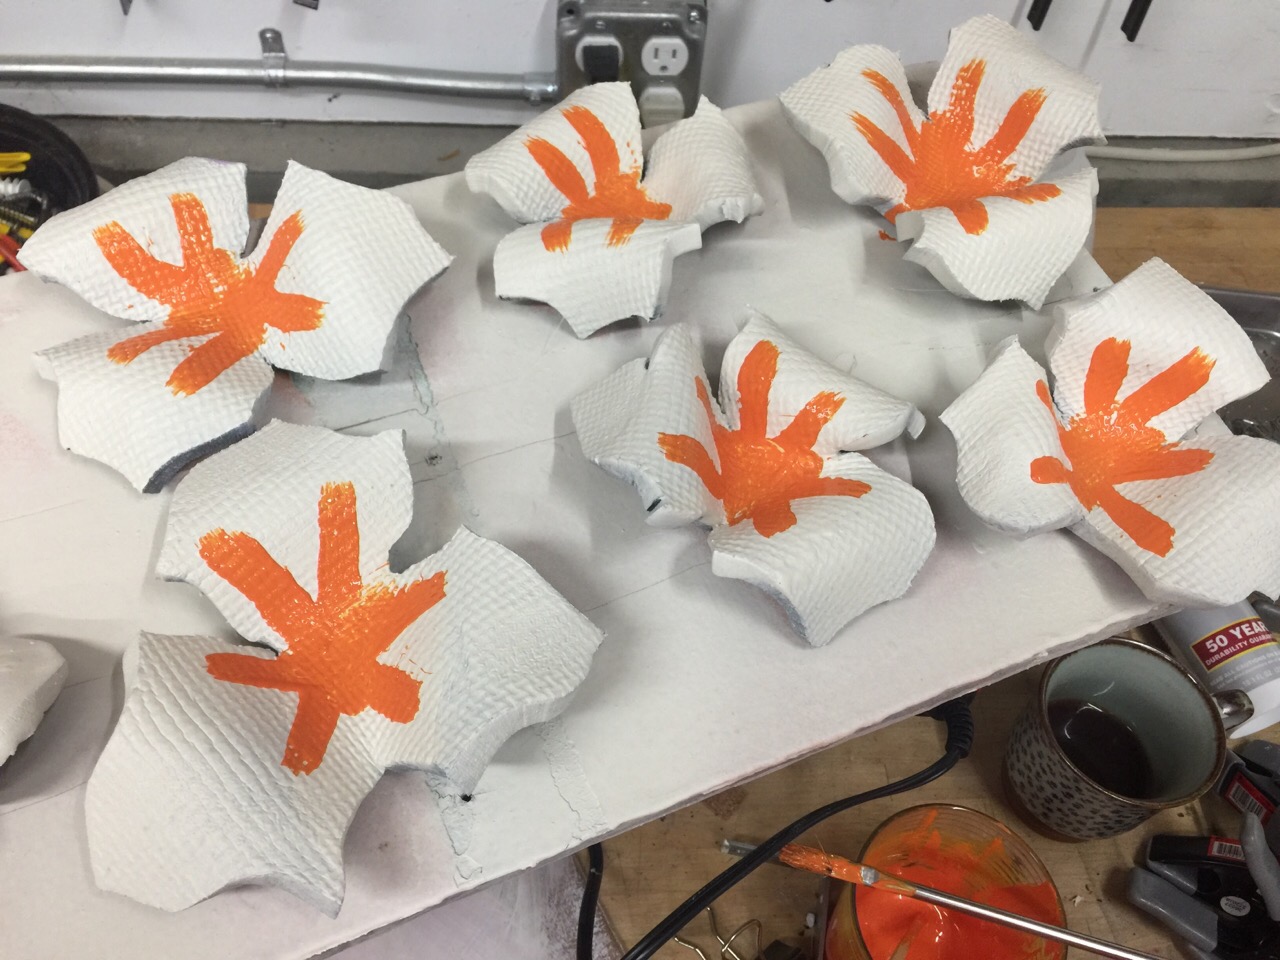
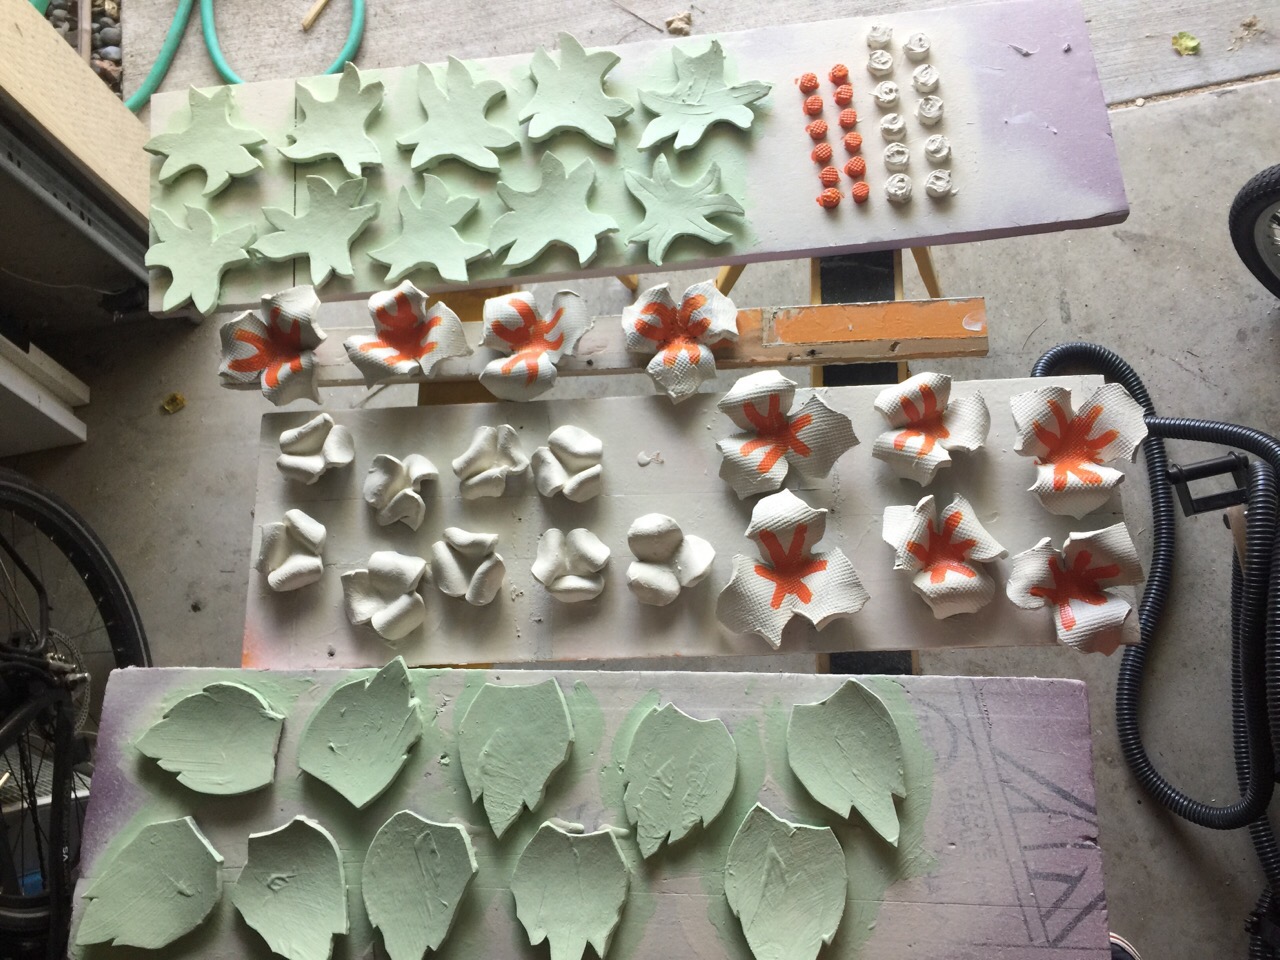
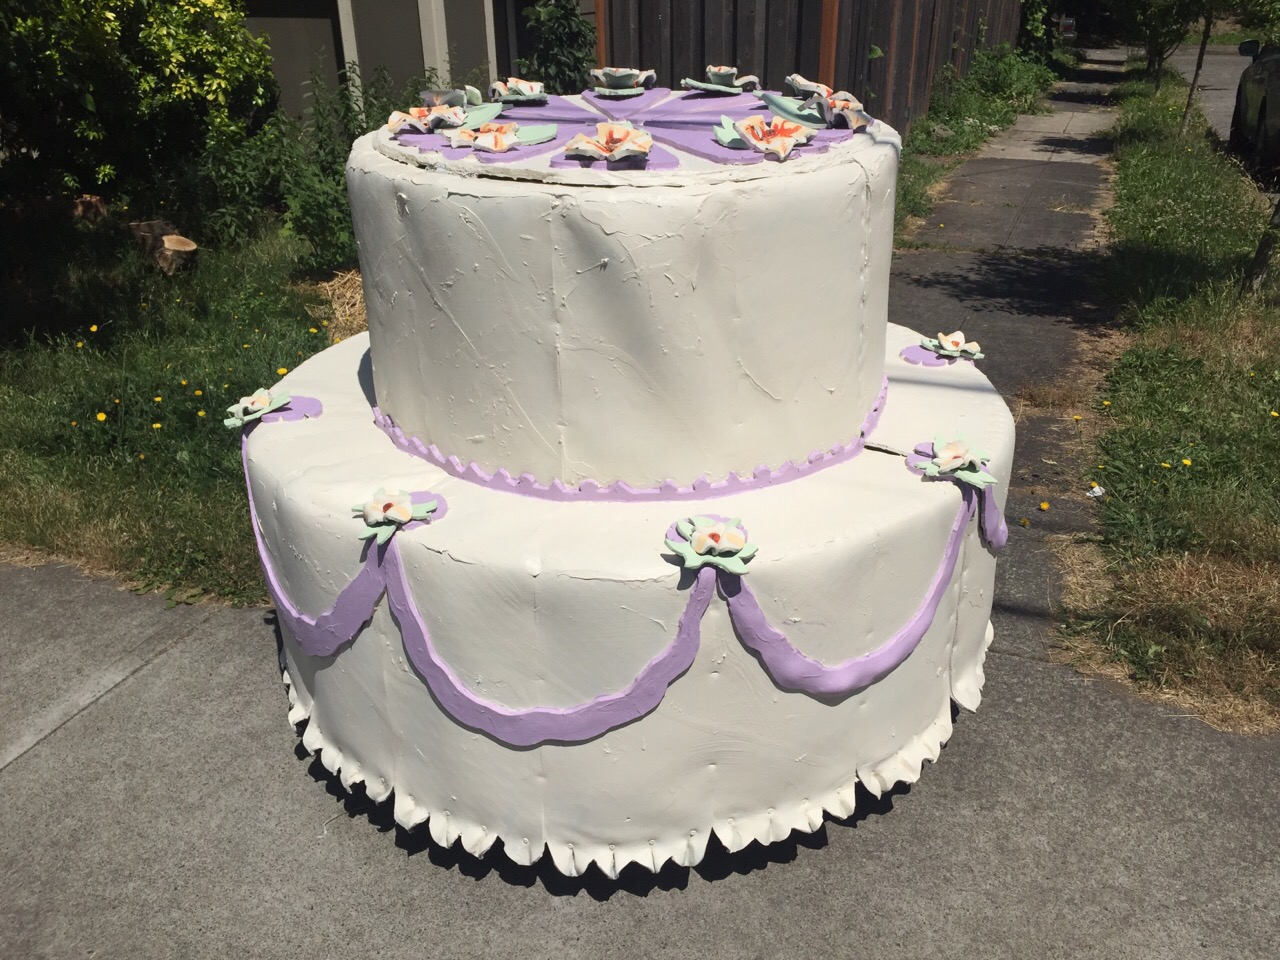
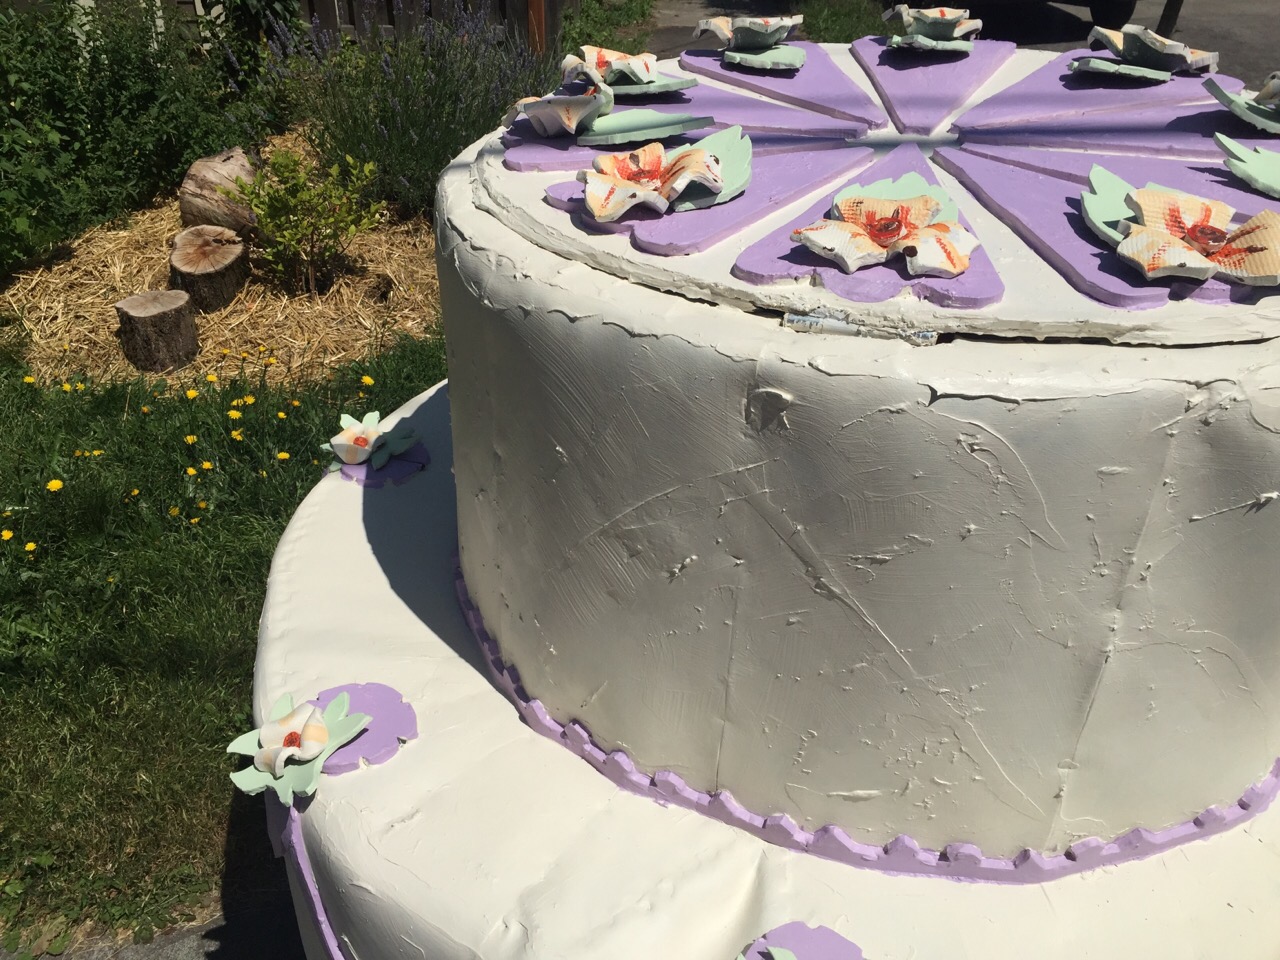
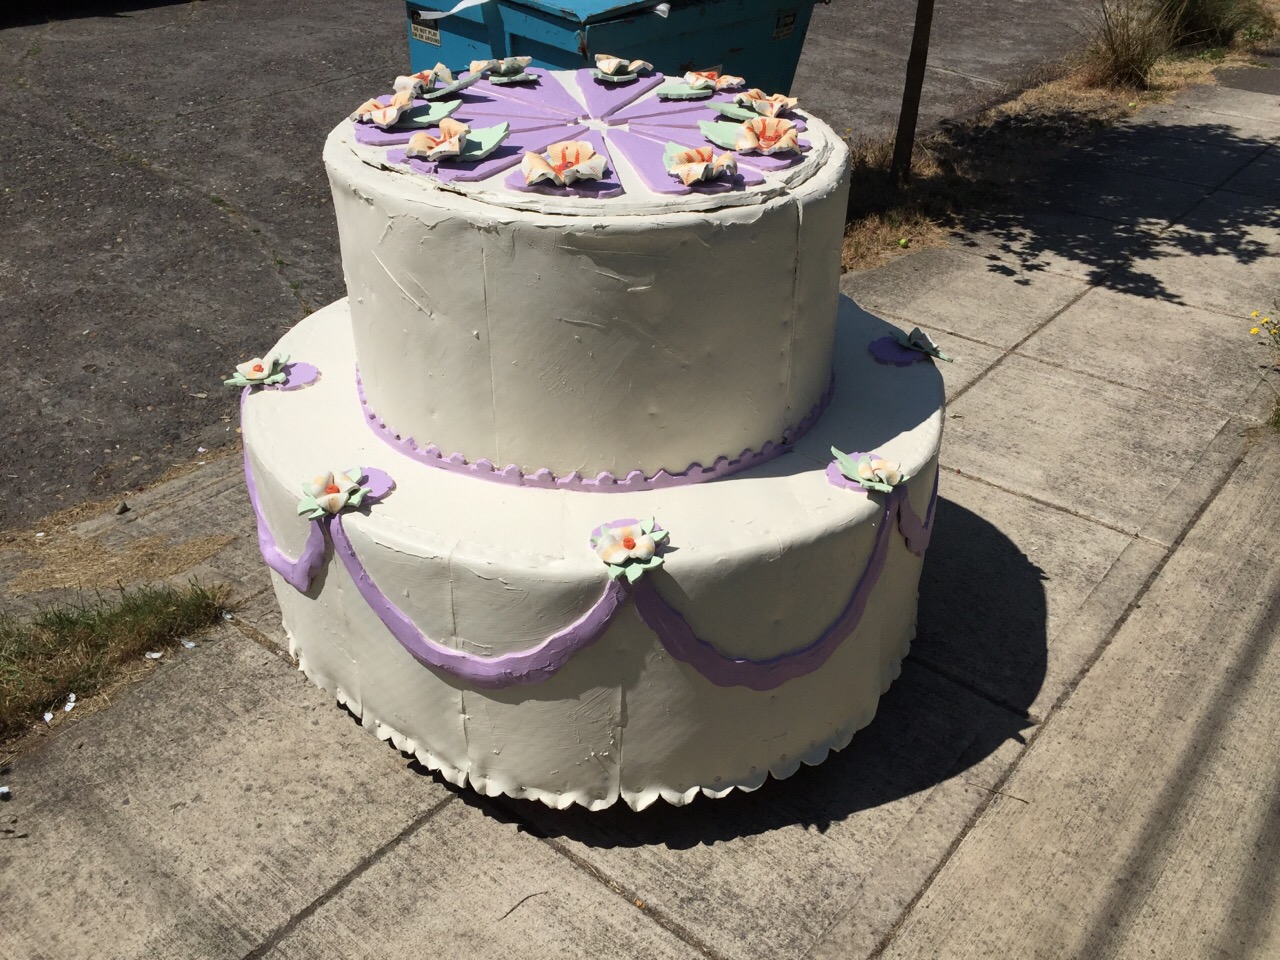
This prop has been in service around Portland for almost forty years. It had been recovered in a various materials over that time, and remnants of each iteration were inches thick in some places.
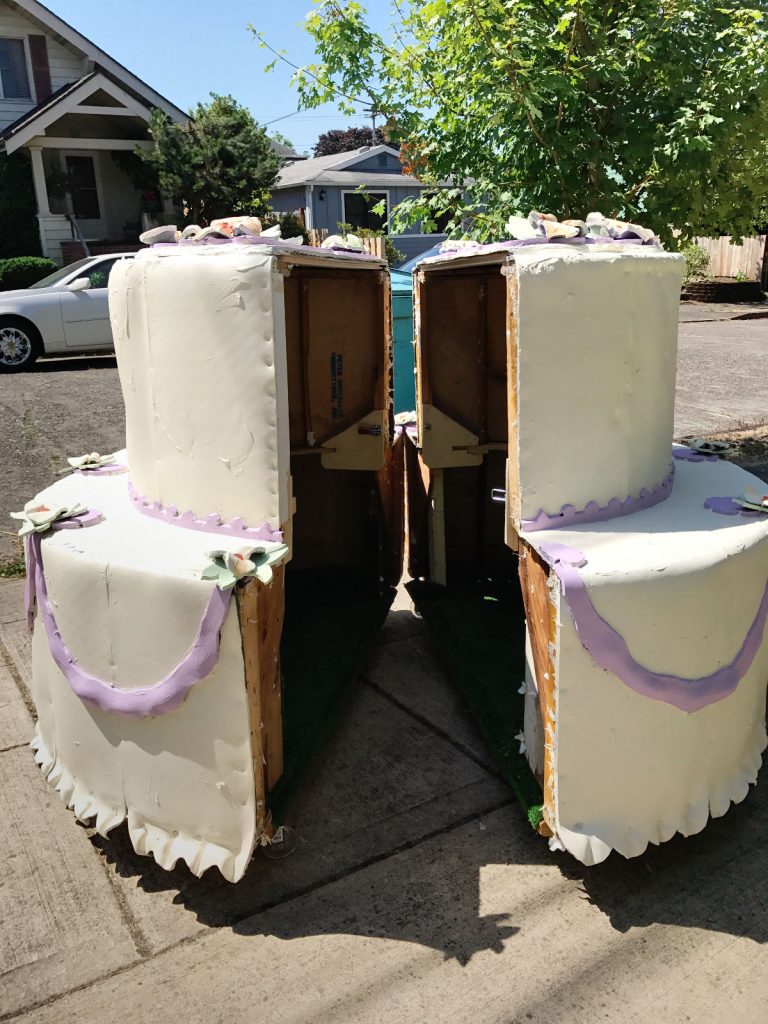

During the process of removing the top tier I discovered that it has been surreptitiously signed by various inhabitants over the years. The earliest mark I could find reads 1980.
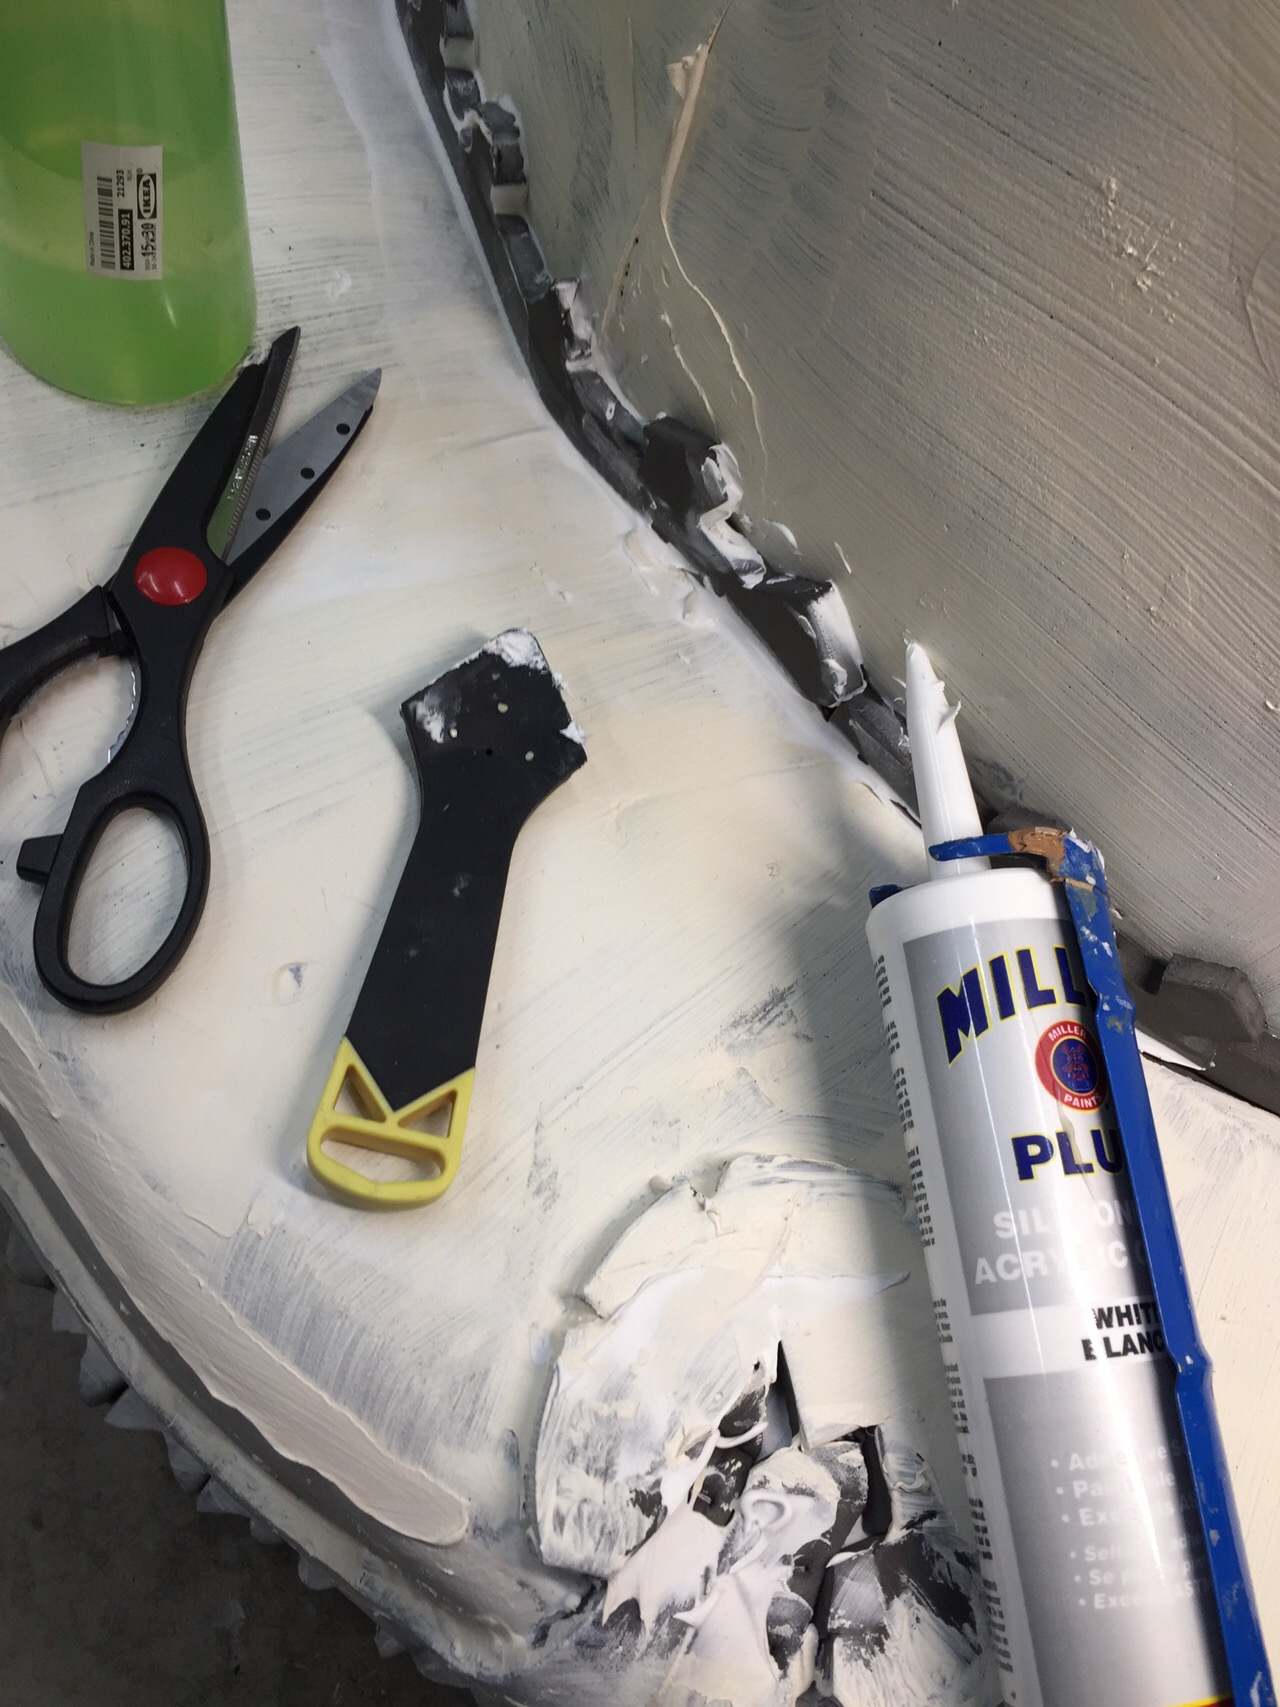
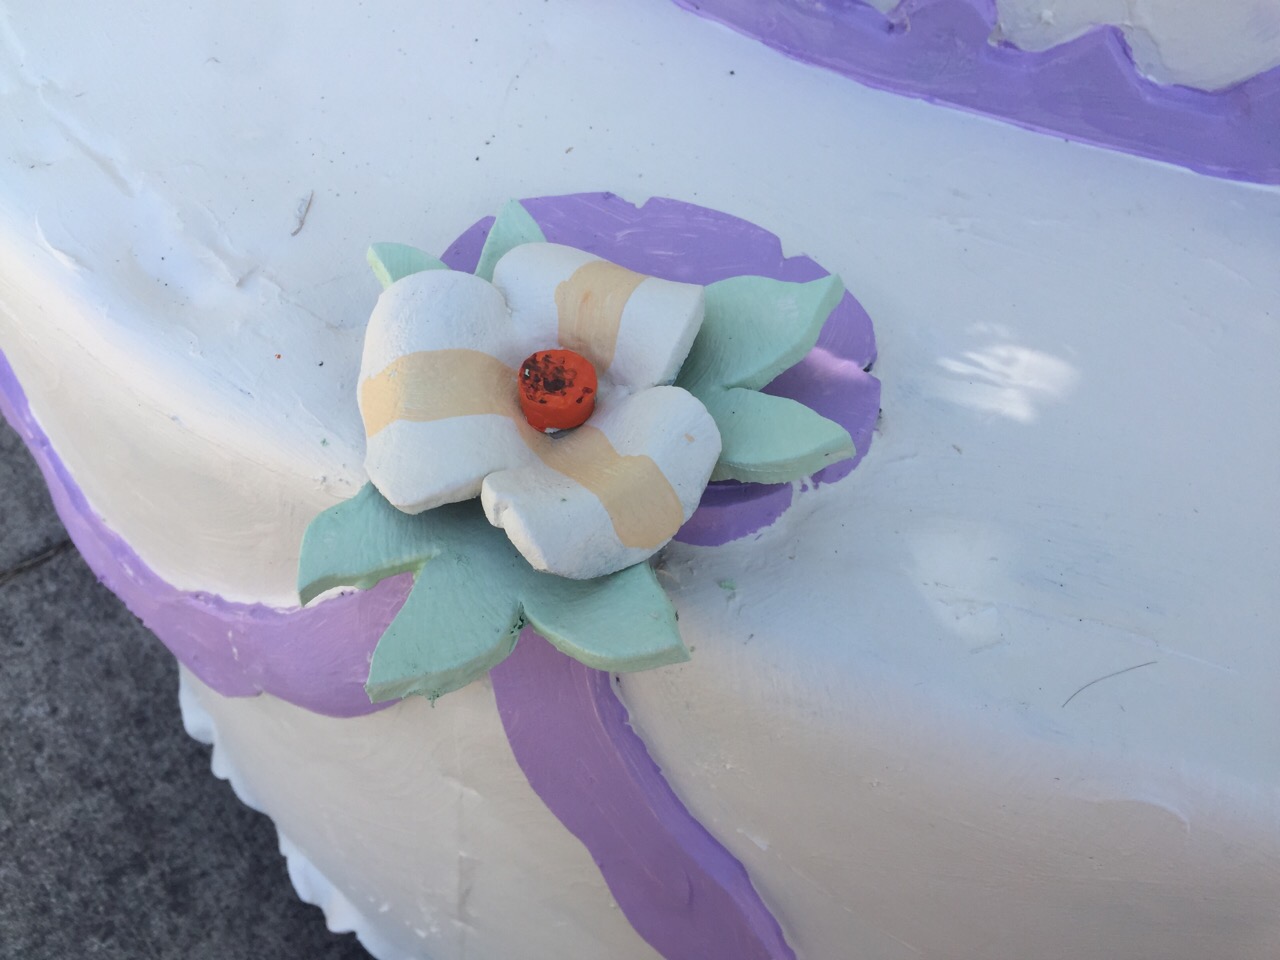
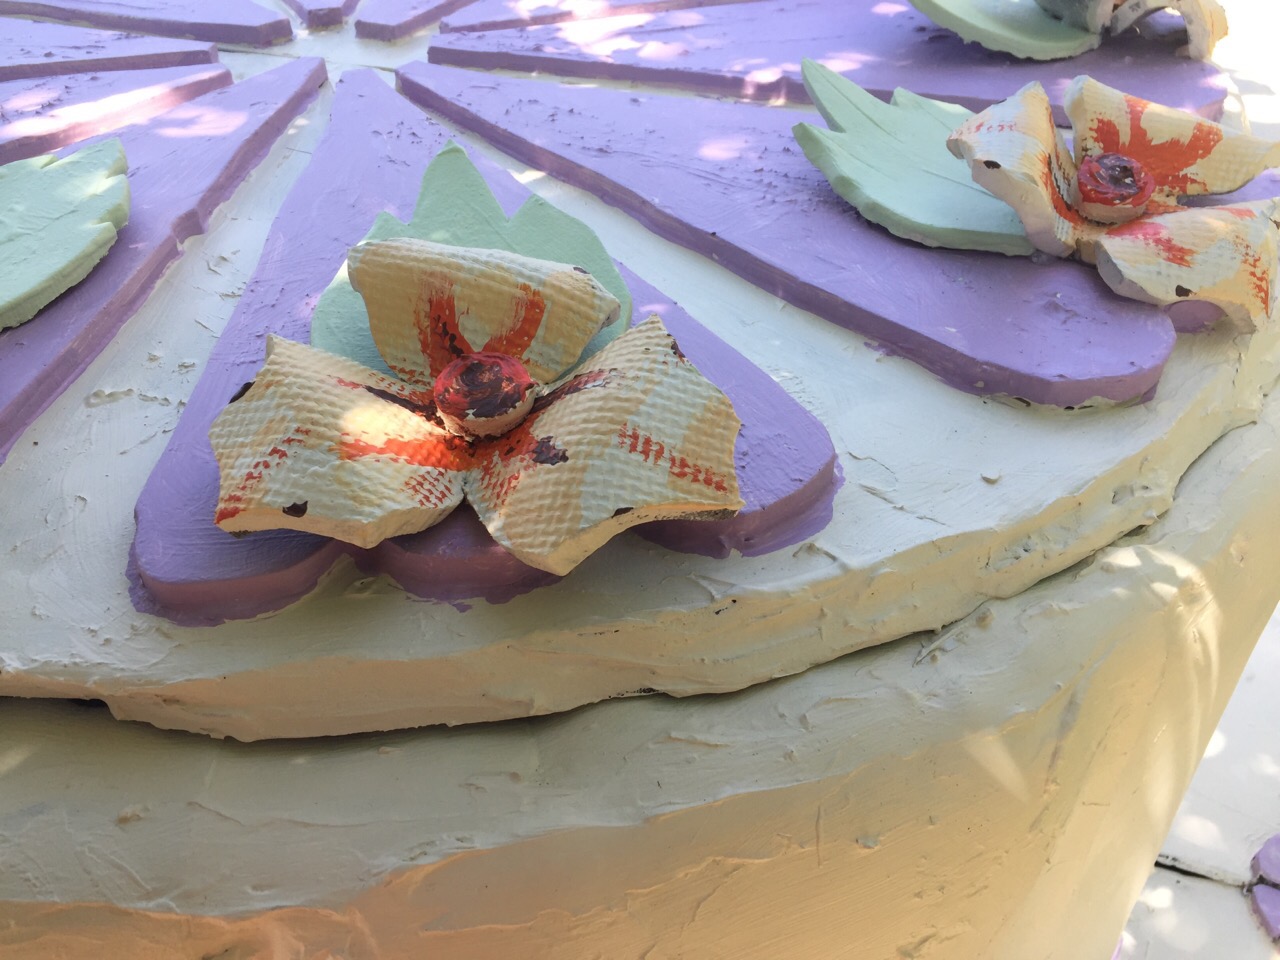
I used EVA foam floor mats to form the base layer of frosting. Then caulk and an auto-body filler spreader create the frostingy texture.
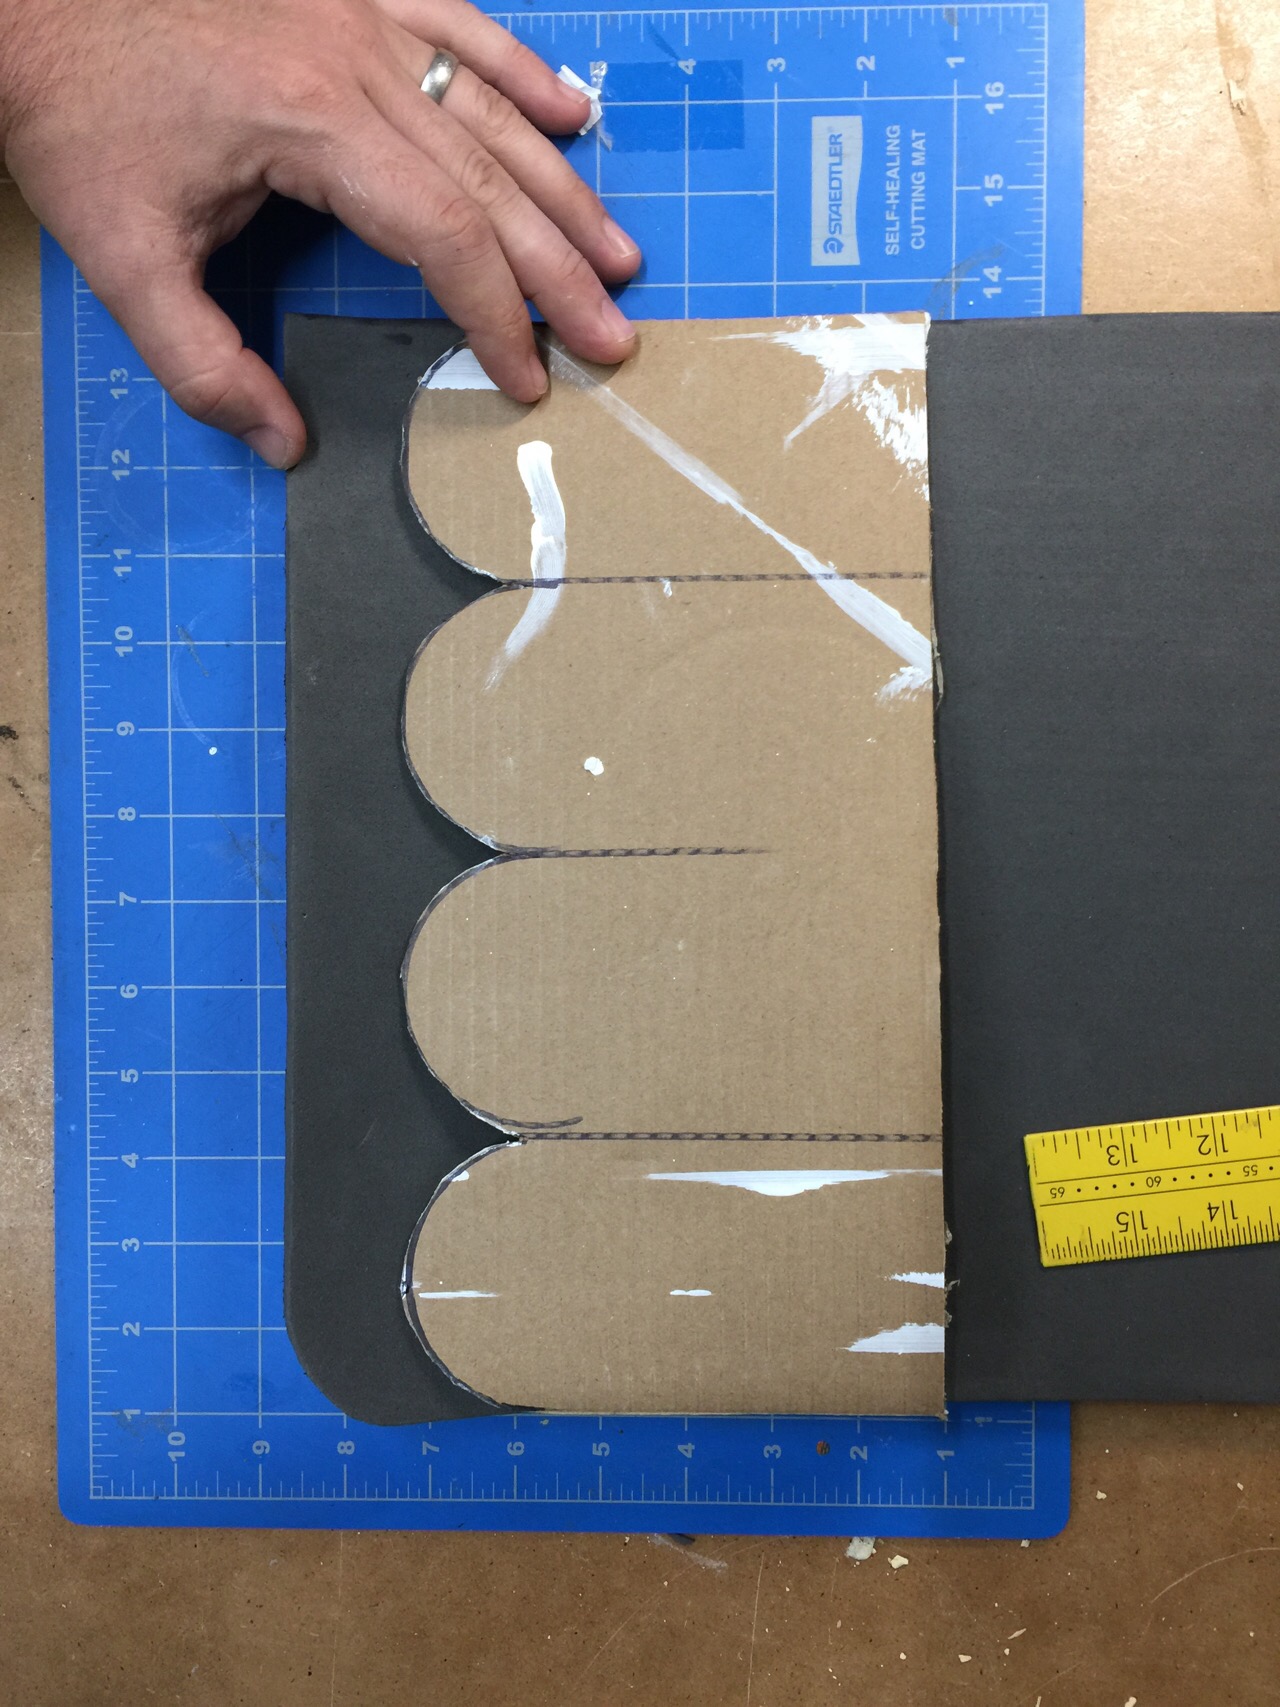
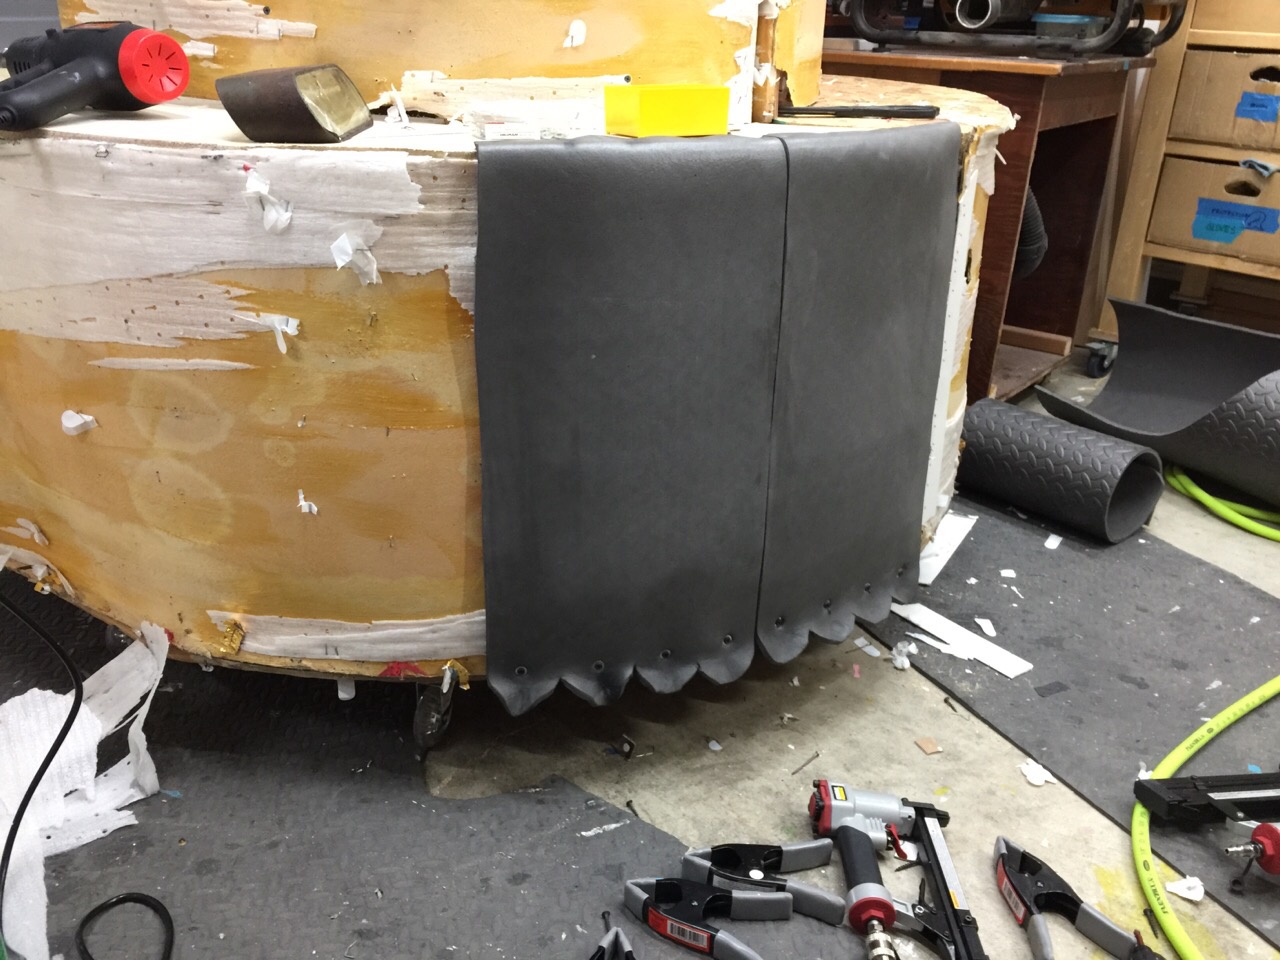


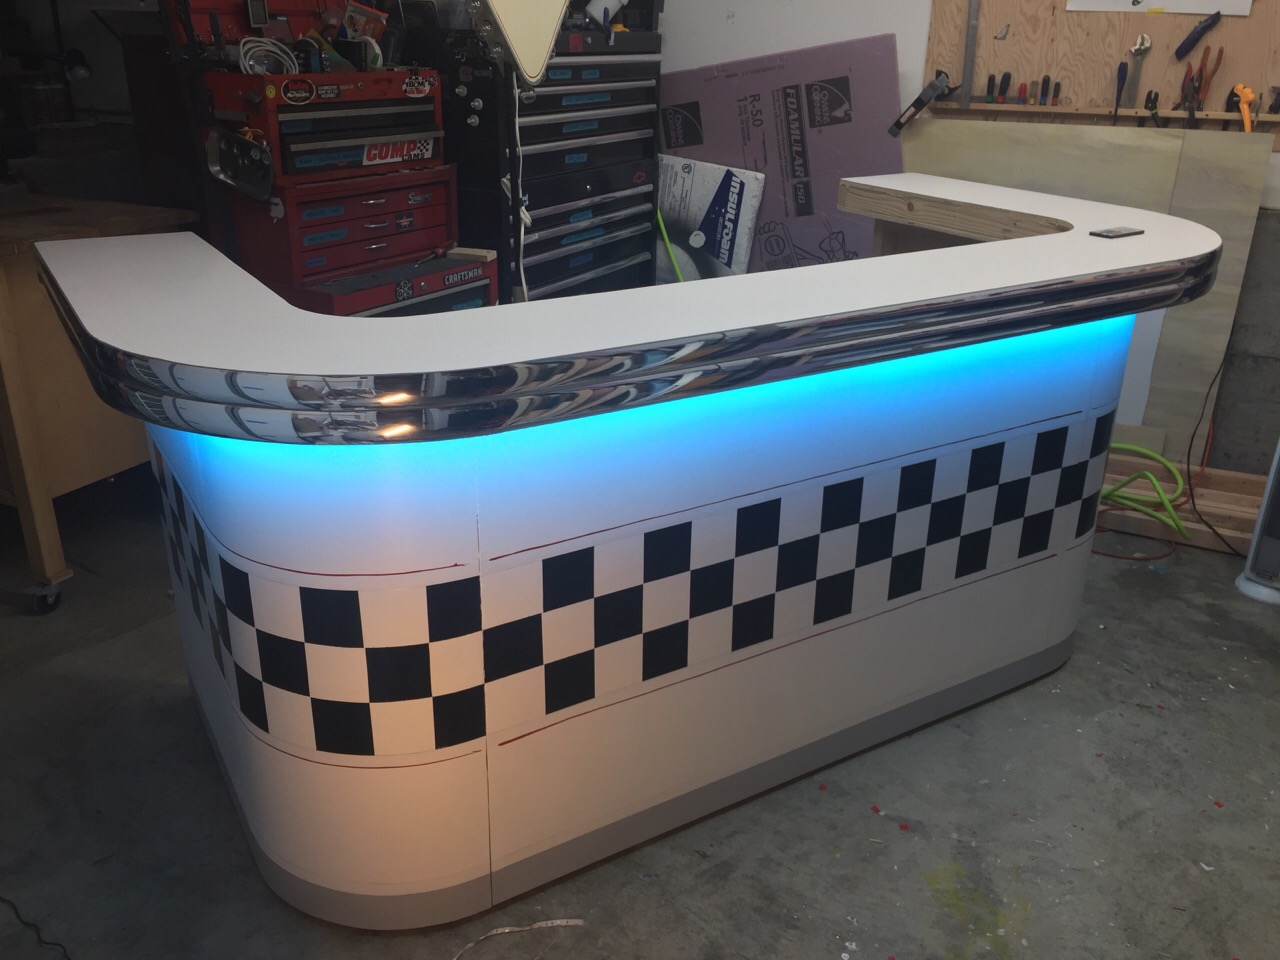
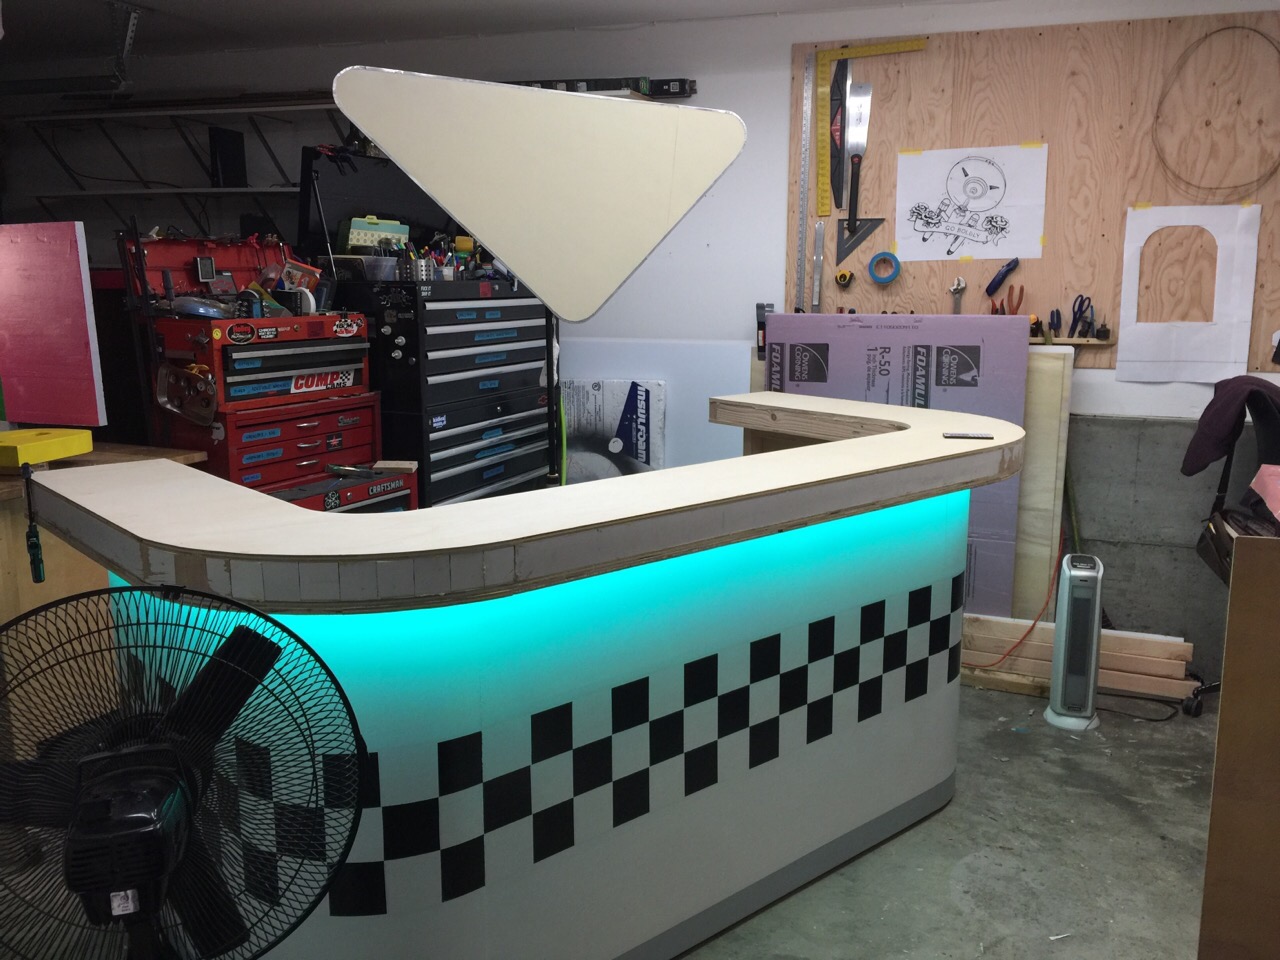
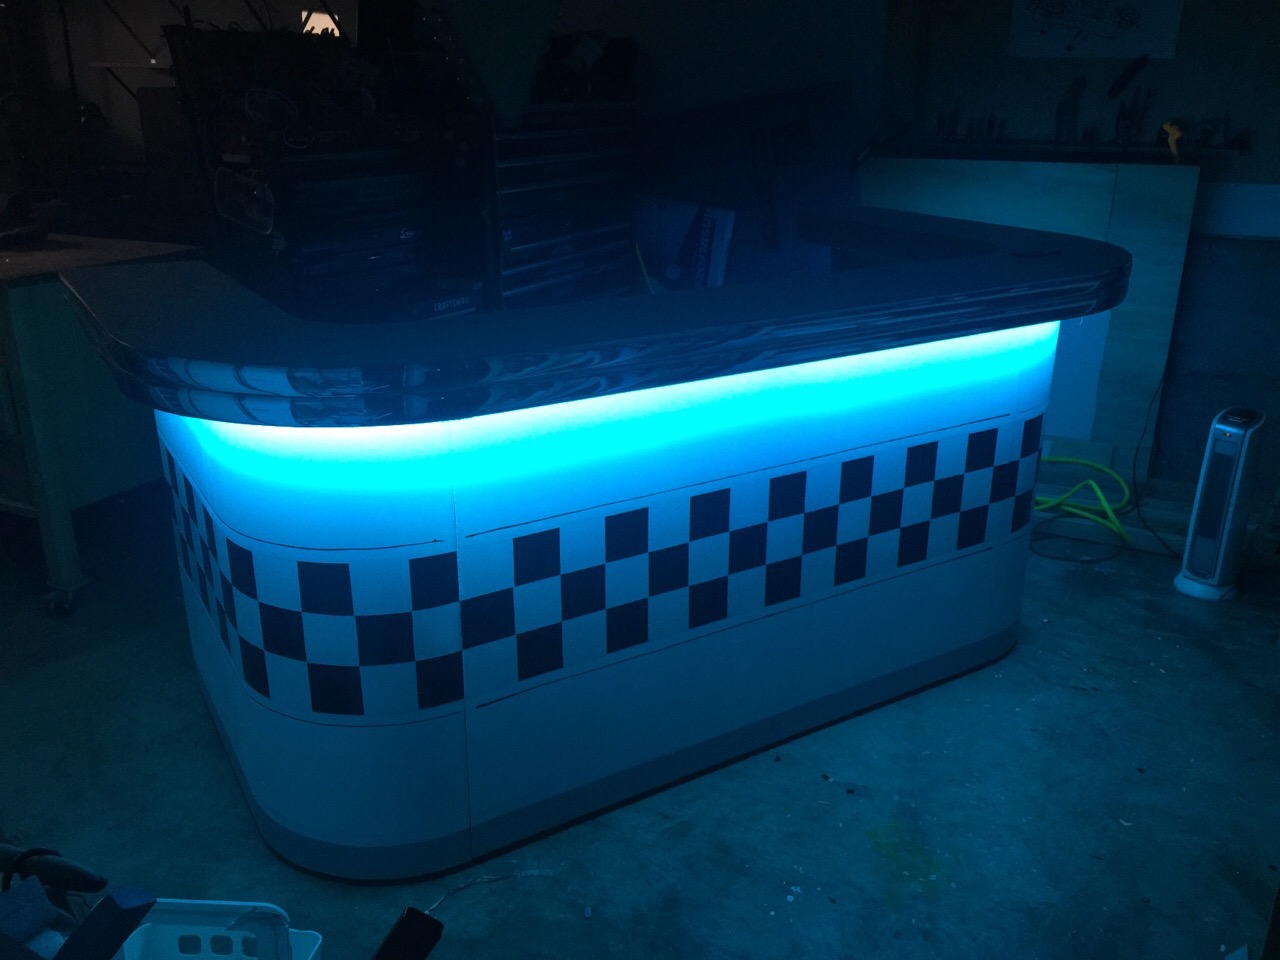
This bar was designed as four pieces: the top, left and right ends, and the center panel. Pictured above is a rendering from SketchUp I made to verify my figures for general proportions and the corner radius.


The center and end pieces attach to each other with latches, so one person can assemble this bar in about three minutes.


This was made as a costume for my daughter. She said she wanted to be an eyeball. Shrugs. I cut strips cut from an old plastic barrel to define the basic sphere fixing them together with high-temperature hot glue. I removed center from a bucket-size lid to form the front of the eyeball. I covered it with sections from an old sheet, again using hot glue to hold the fabric in place.


I started by painting all the sheets with runny white acrylic paint. Then I mixed a dilute warm yellow and worked from the back to the front with a mouth atomizer to variate the surface a little and make it look fleshier and less like a cue ball. I went to cool blue, and then added red and worked through violet to purple red at the back. While that was still wet I used a marker to draw in some vascularity, and then I let it dry a while. I came back later with a dusting of white Krylon to even things out and tie it all together.
I drew the iris and pupil on a paper plate and taped in behind the bucket lid ring. I cut a circle from some clear vinyl and attached it to the front with double-sided tape.
For the optic nerve I used a few strands of blue- and red-insulated solid-core copper wire. I twisted them around each other and around the inner structure so they would stick out sturdily.

The video is like eleven seconds long and not to loud or obnoxious and you should definitely watch it to see how the optic nerve boinged around behind her.

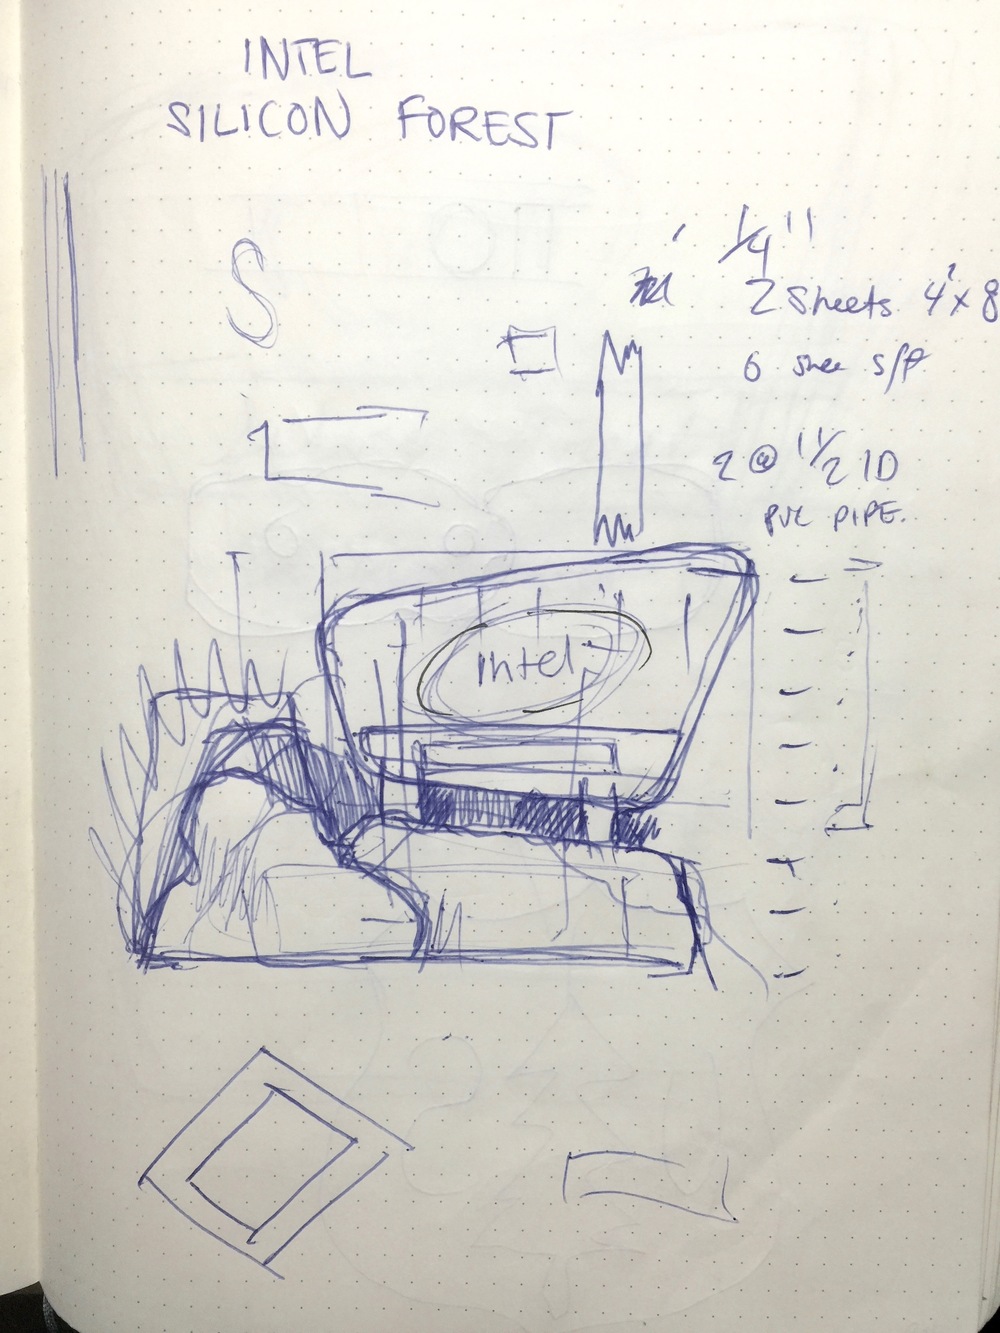
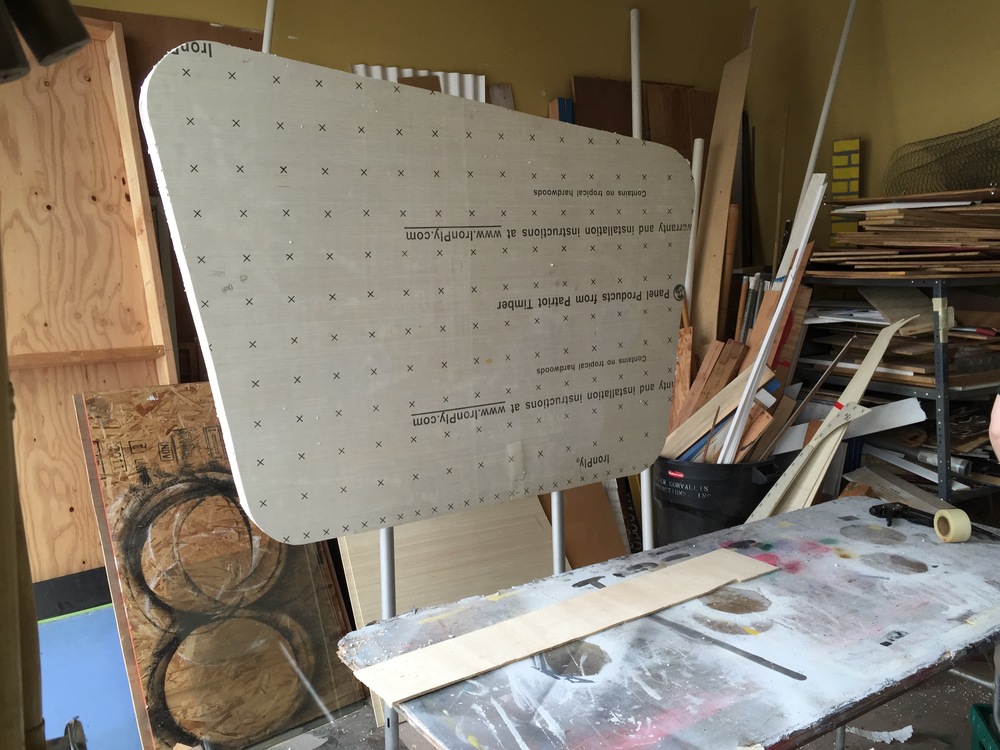
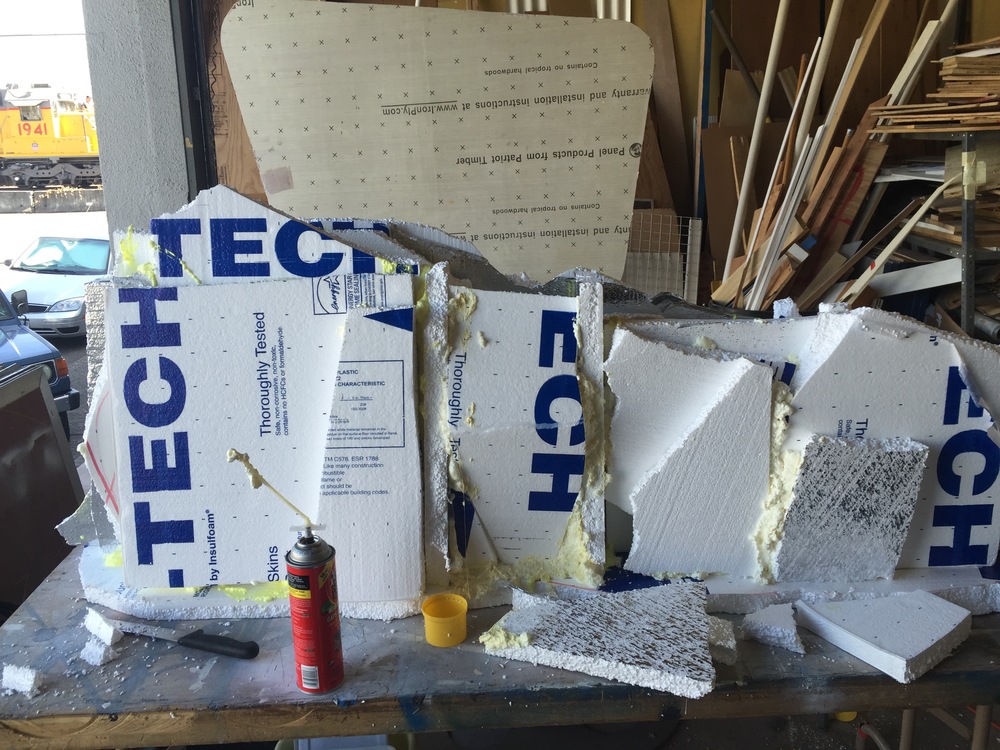
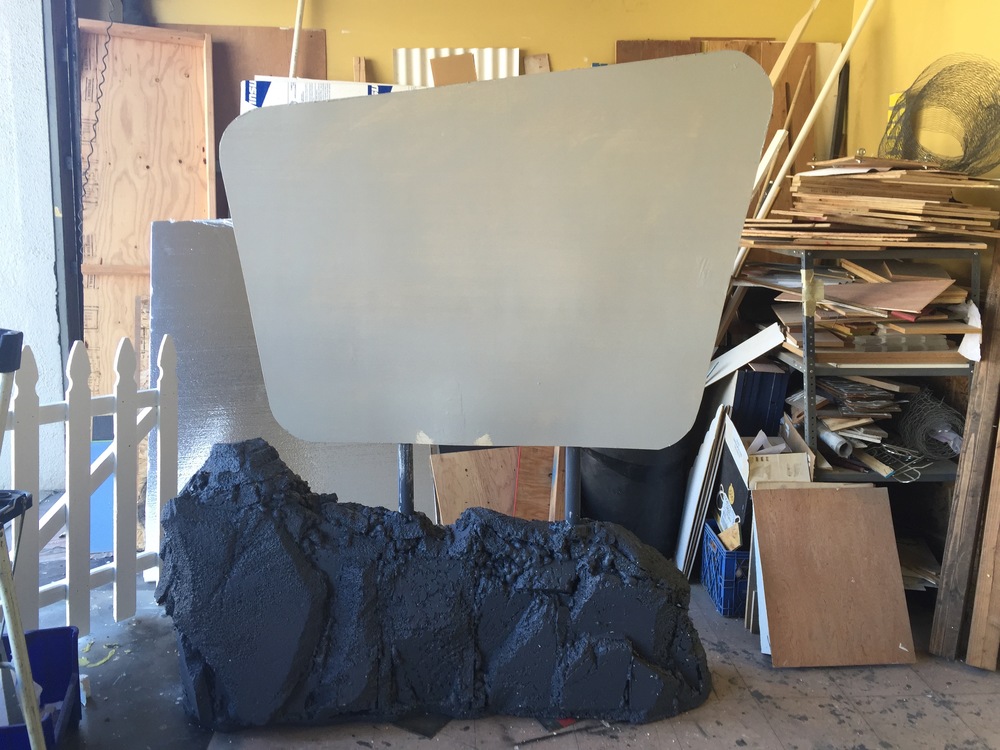
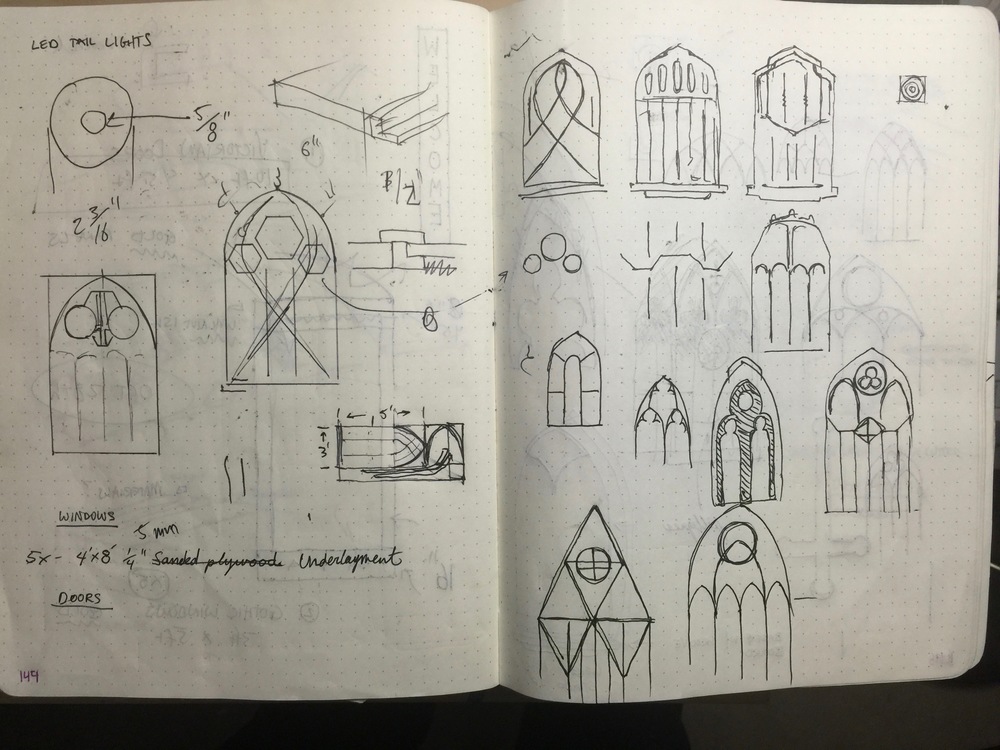
On order were gothic window props, five at three by five feet. I reviewed some reference material with the requirements and budget in mind, sketching ideas and making notes about materials.
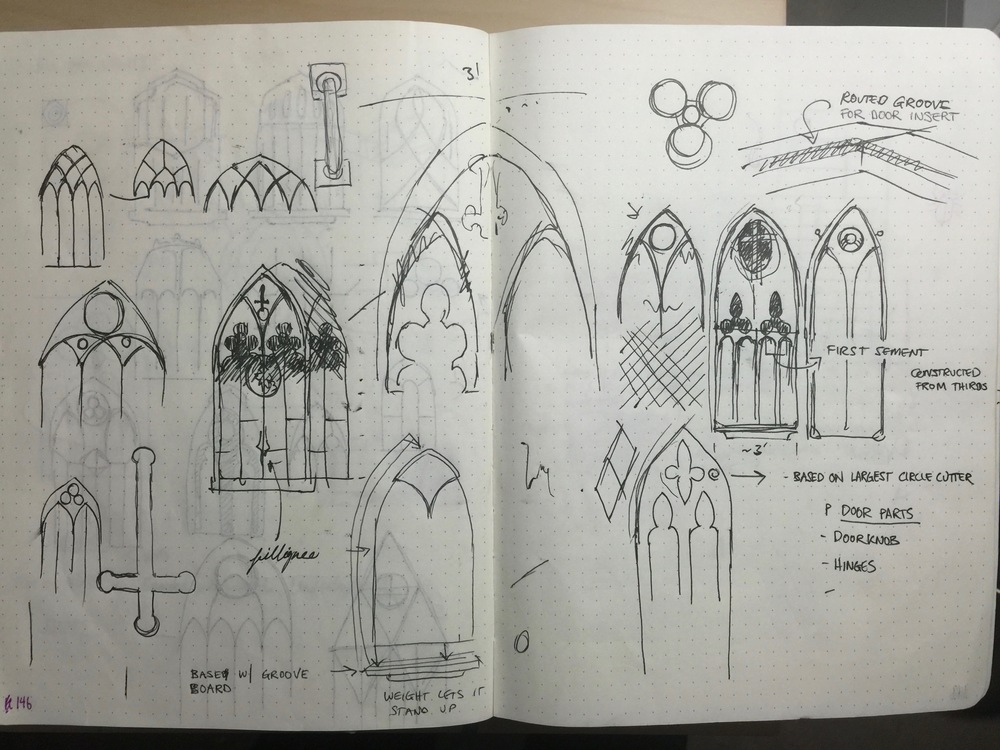
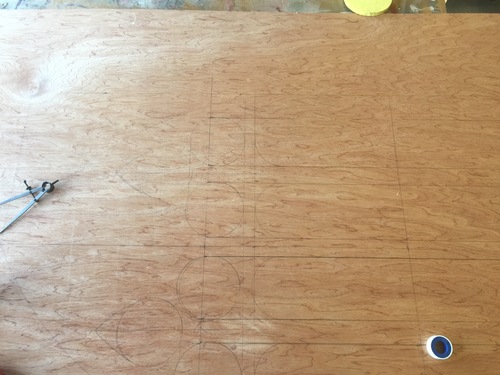
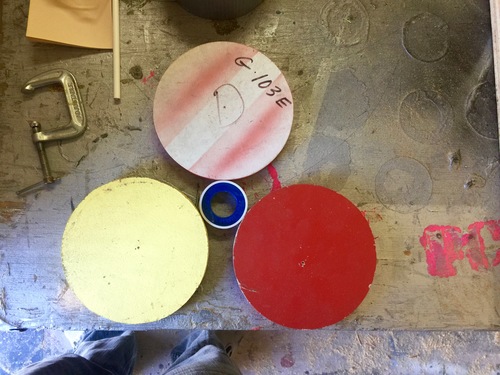
I found a few objects laying around the workshop with roughly the correct relative diameters and used them to lay out the first panel, which cut out with a a jigsaw—its brushes worn down the nerve, ozone and plywood dust in my nostrils.


I clamped the second panel in place over some 1″ spacers and fixed them in place with pin nails. These panels were built to be reversible, so they’re fleshed out the same way on both sides. At the base they sit on a piece of 2″ square material from the reuse pile that I hogged out a groove in with a circular saw. I cut some long strips of 5mm plywood and and pin nailed them at the base and to the central spacer at the top.