
This sign features animated whorls of color controlled by custom code on an Arduino. The main body of the sign is CNC-cut and hand-finished expanded PVC. The clear lenses are were CNC-cut from clear acrylic and frosted by hand.


Here’s a peek at the sign’s innards. This intermediate plate was also CNC-cut to ensure perfect alignment between the side-firing LED strips and the acrylic lenses that mount into the sign face.


This rocket was inspired by Art Deco designs and the retro-futurism of 1950’s sci-fi. Sleek aluminum panels are glued in place over a base shape defined by lasercut bulkheads and narrow birch plywood spars.
The rocket uses a microcontroller to light three “engines,” each composed of a 7-LED disc surrounded a 16-LED ring. From a code perspective, this uses a different approach than the last time I created an LED flame effect. This prop depends on code written by Mark Kriegsman, and I’ve shared my version in pubic gist here.
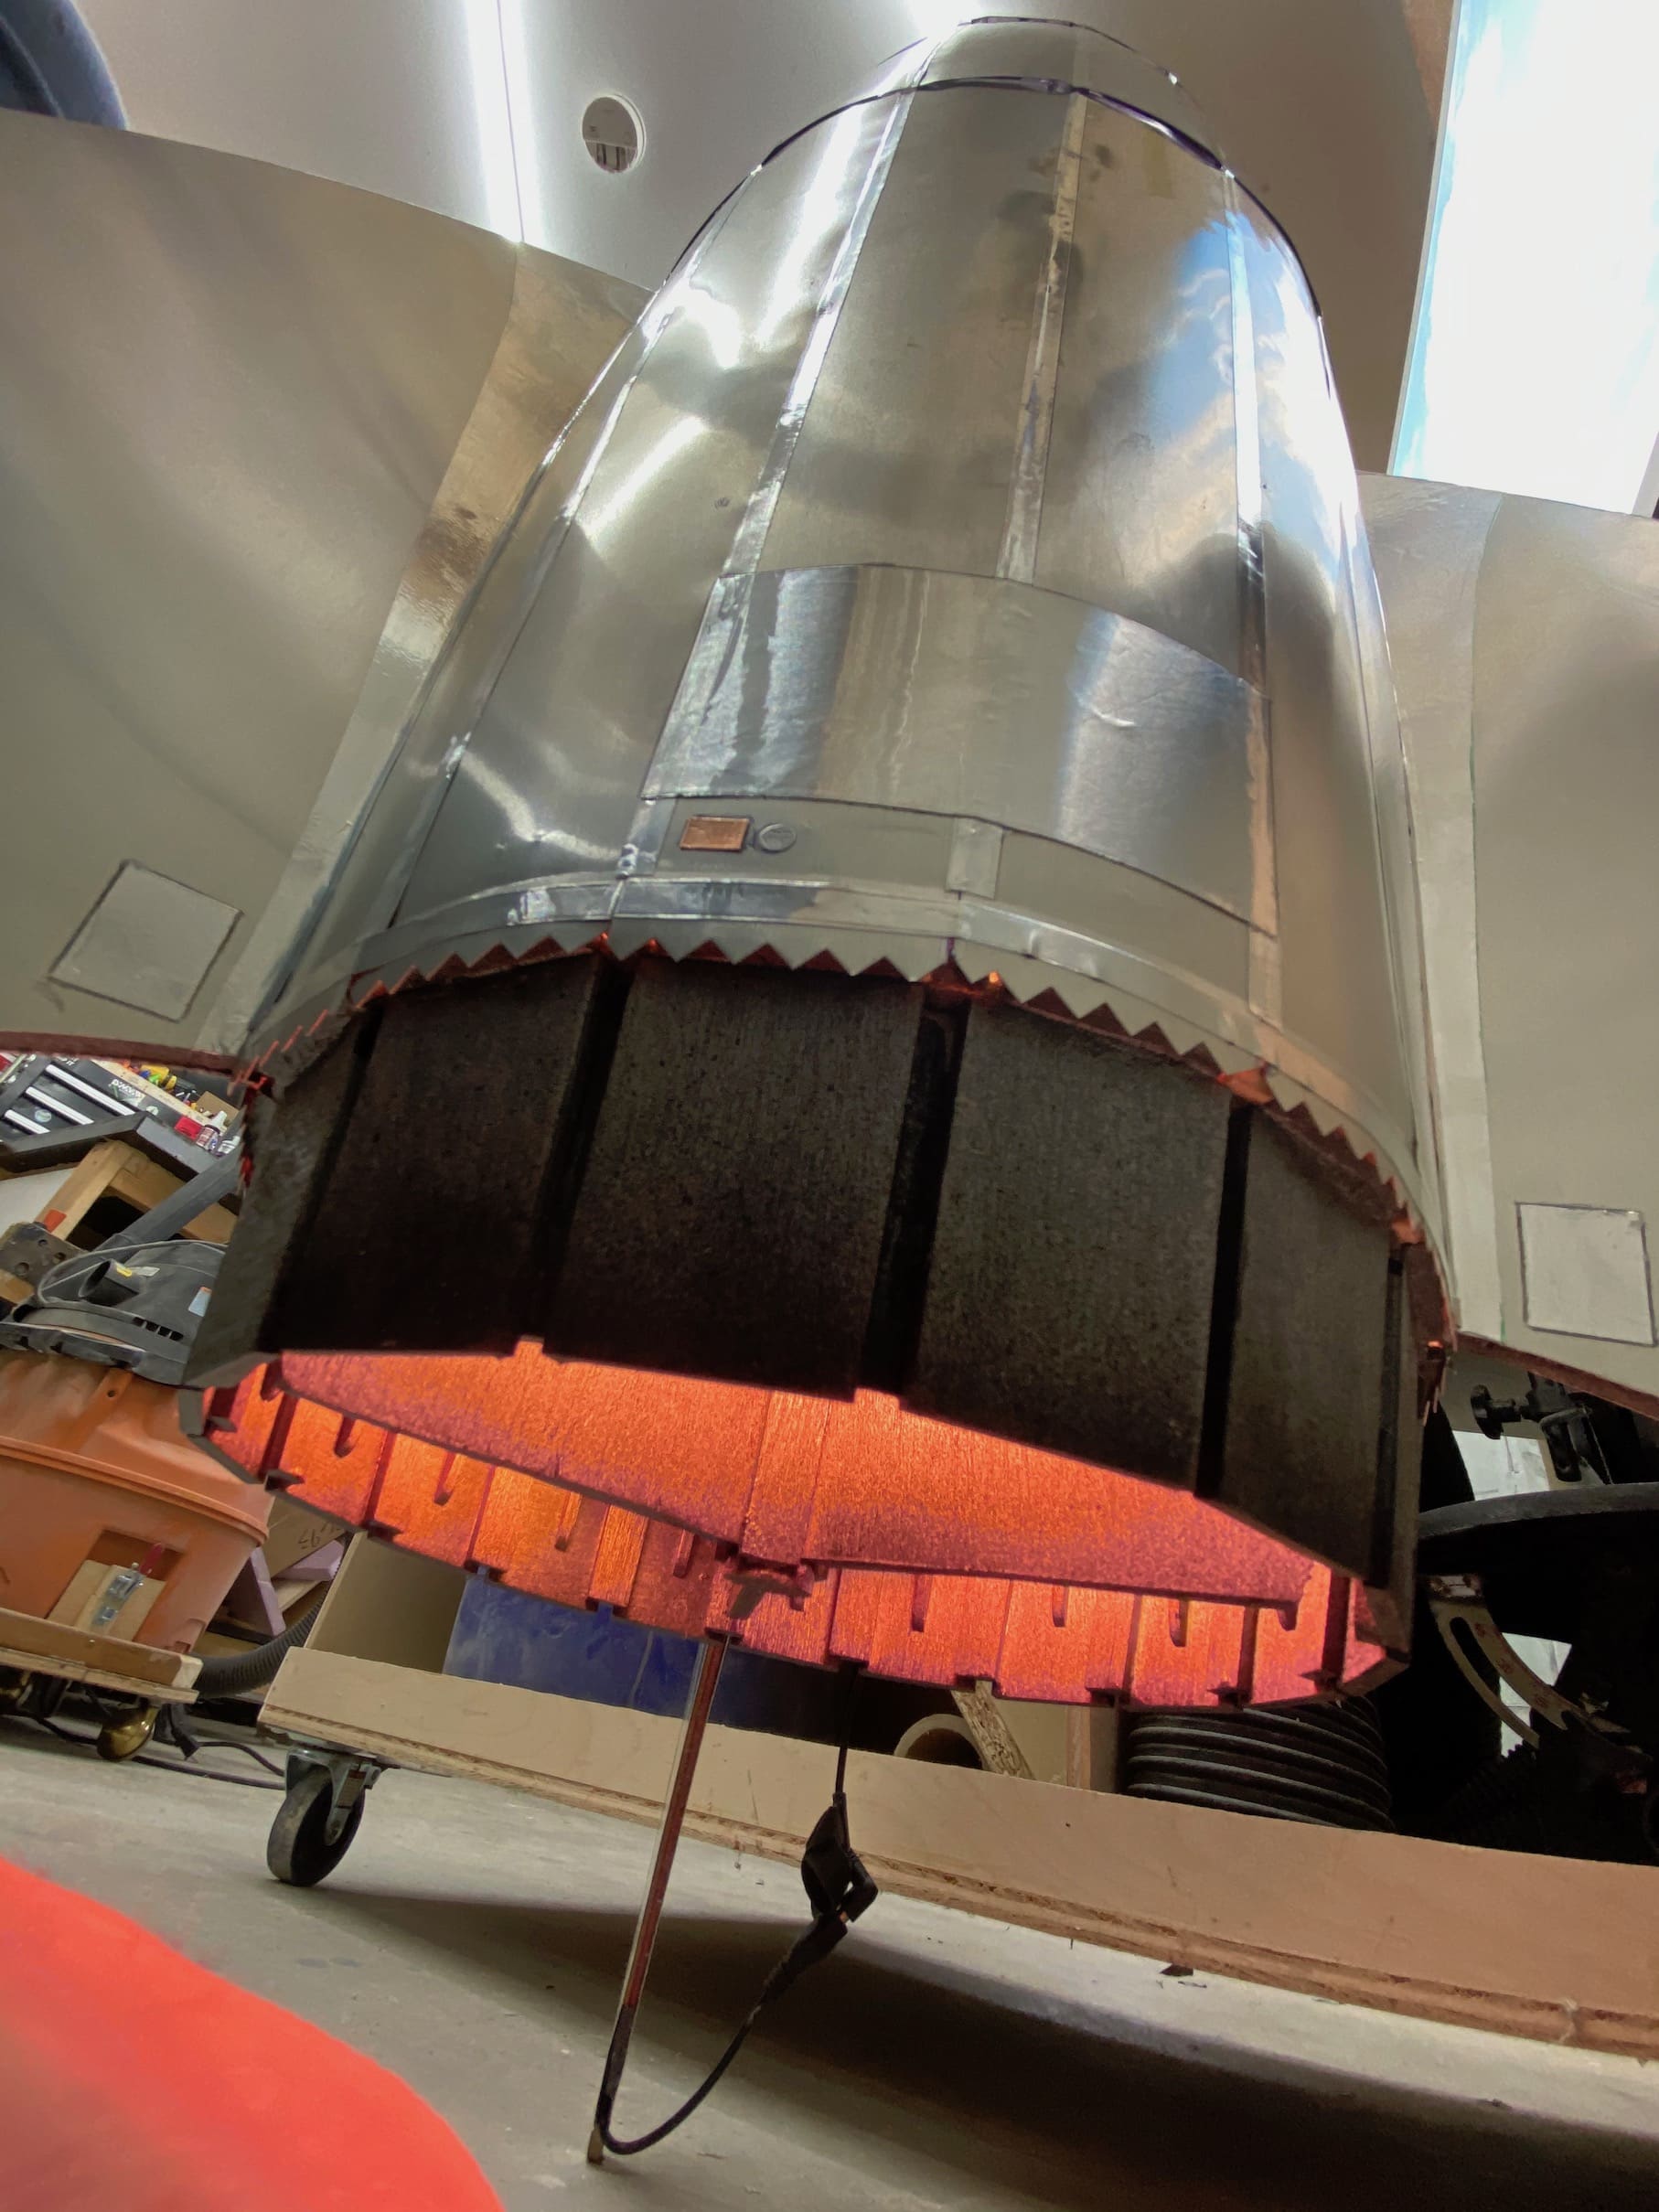
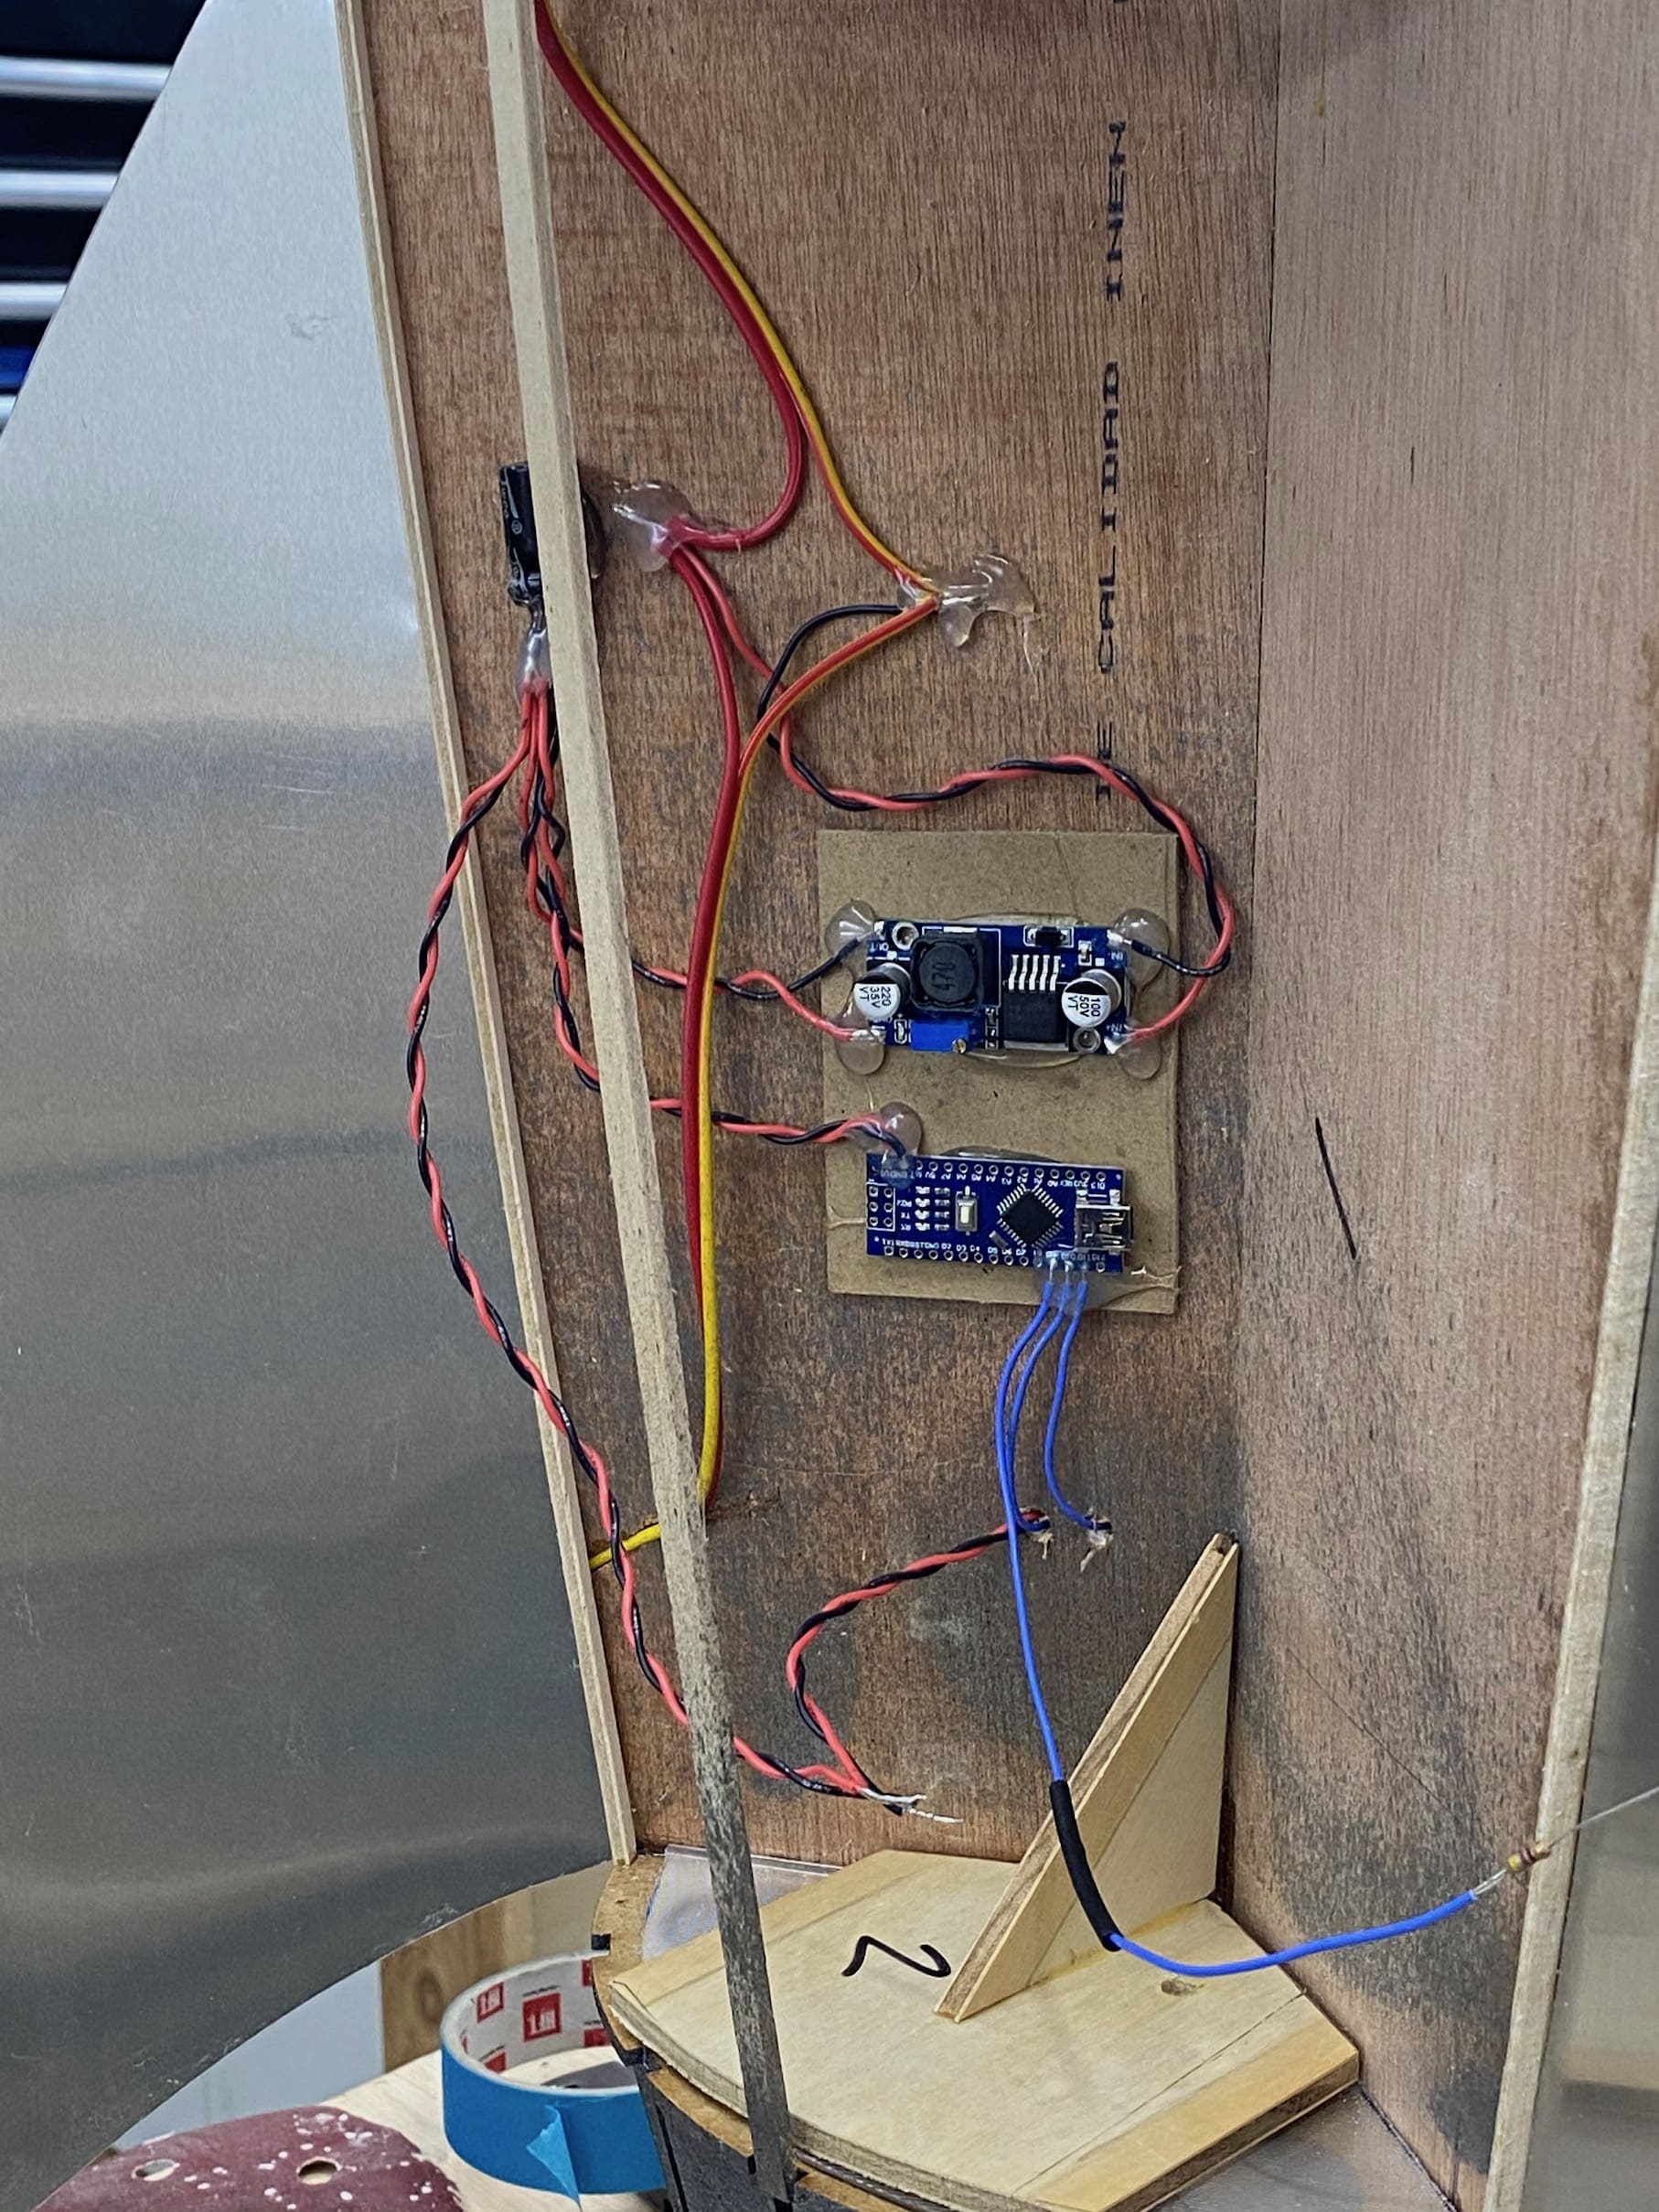
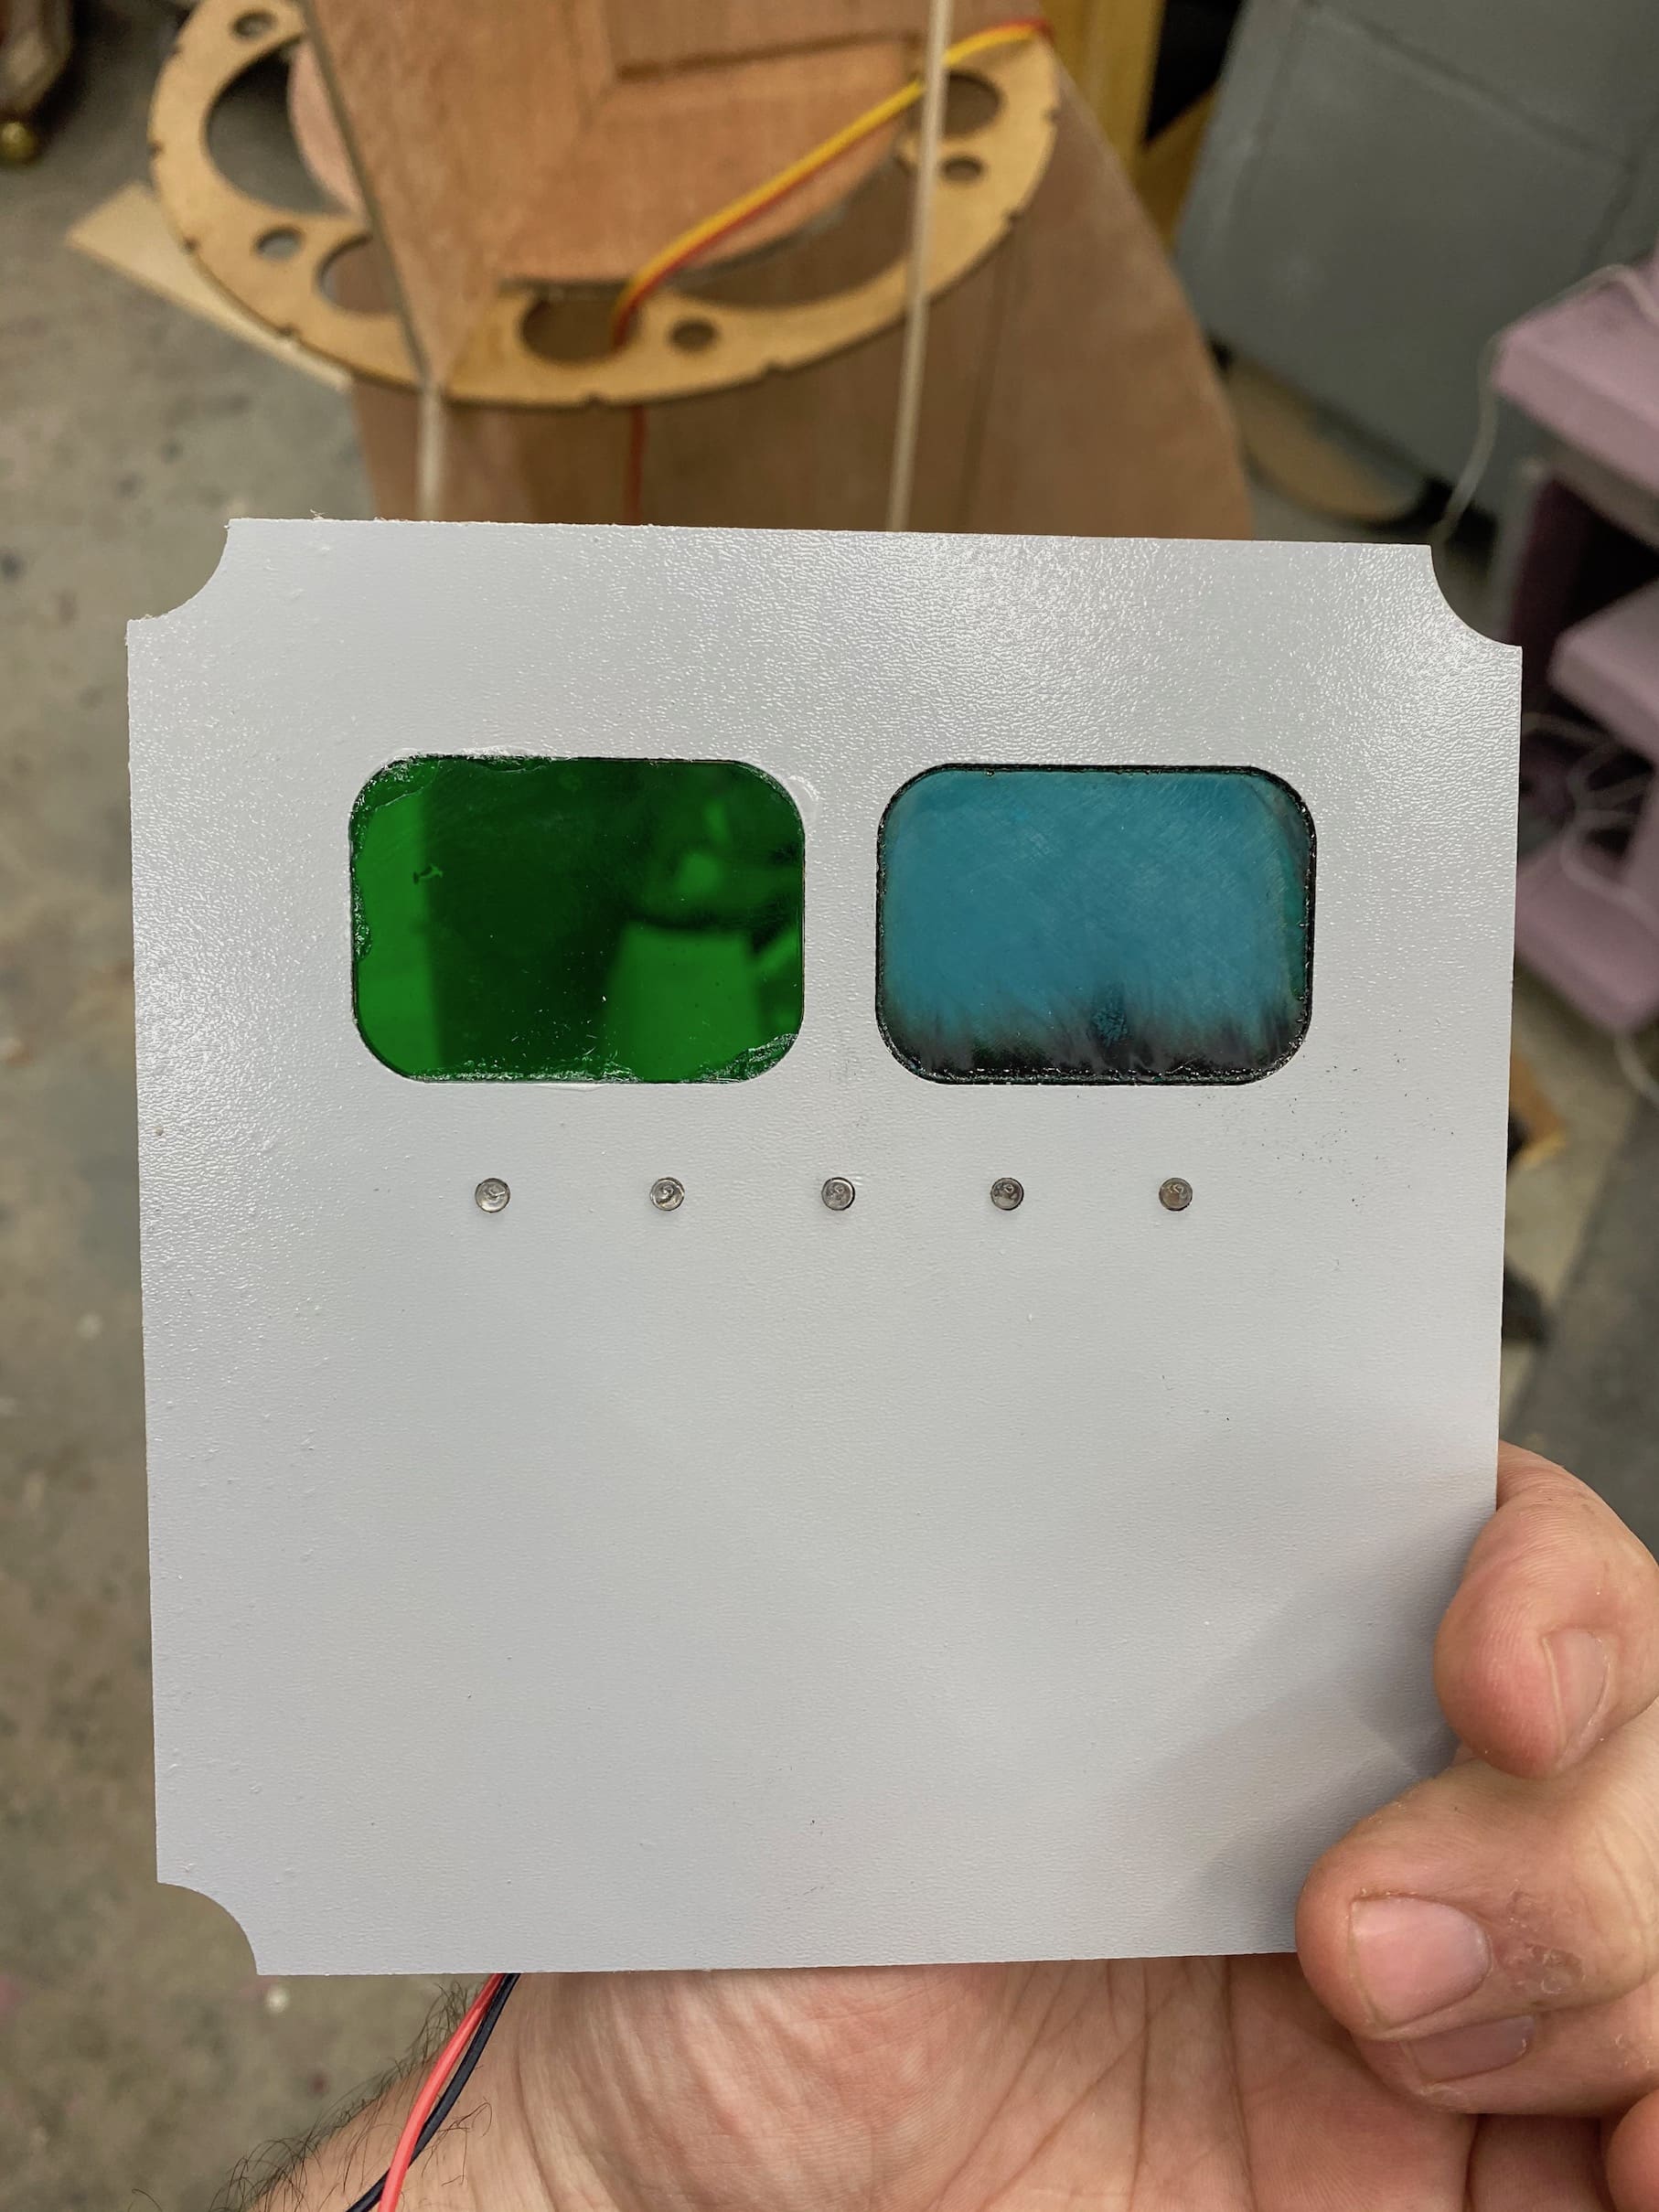
I thought simple illuminated portholes may be a little bland on a prop this size, so I made small panels to create some “screens” and subtle blinking lights you can see inside the rocket.
These are mounted deep enough to give a nice parallax effect through the softly frosted plastic portholes.


Hand cut from quarter-inch Baltic birch plywood with crisp painted numbers and linework.


The linework was created with narrow vinyl masking tape. To make the number, I laser-cut masks in tape and trimmed around the outside by hand.

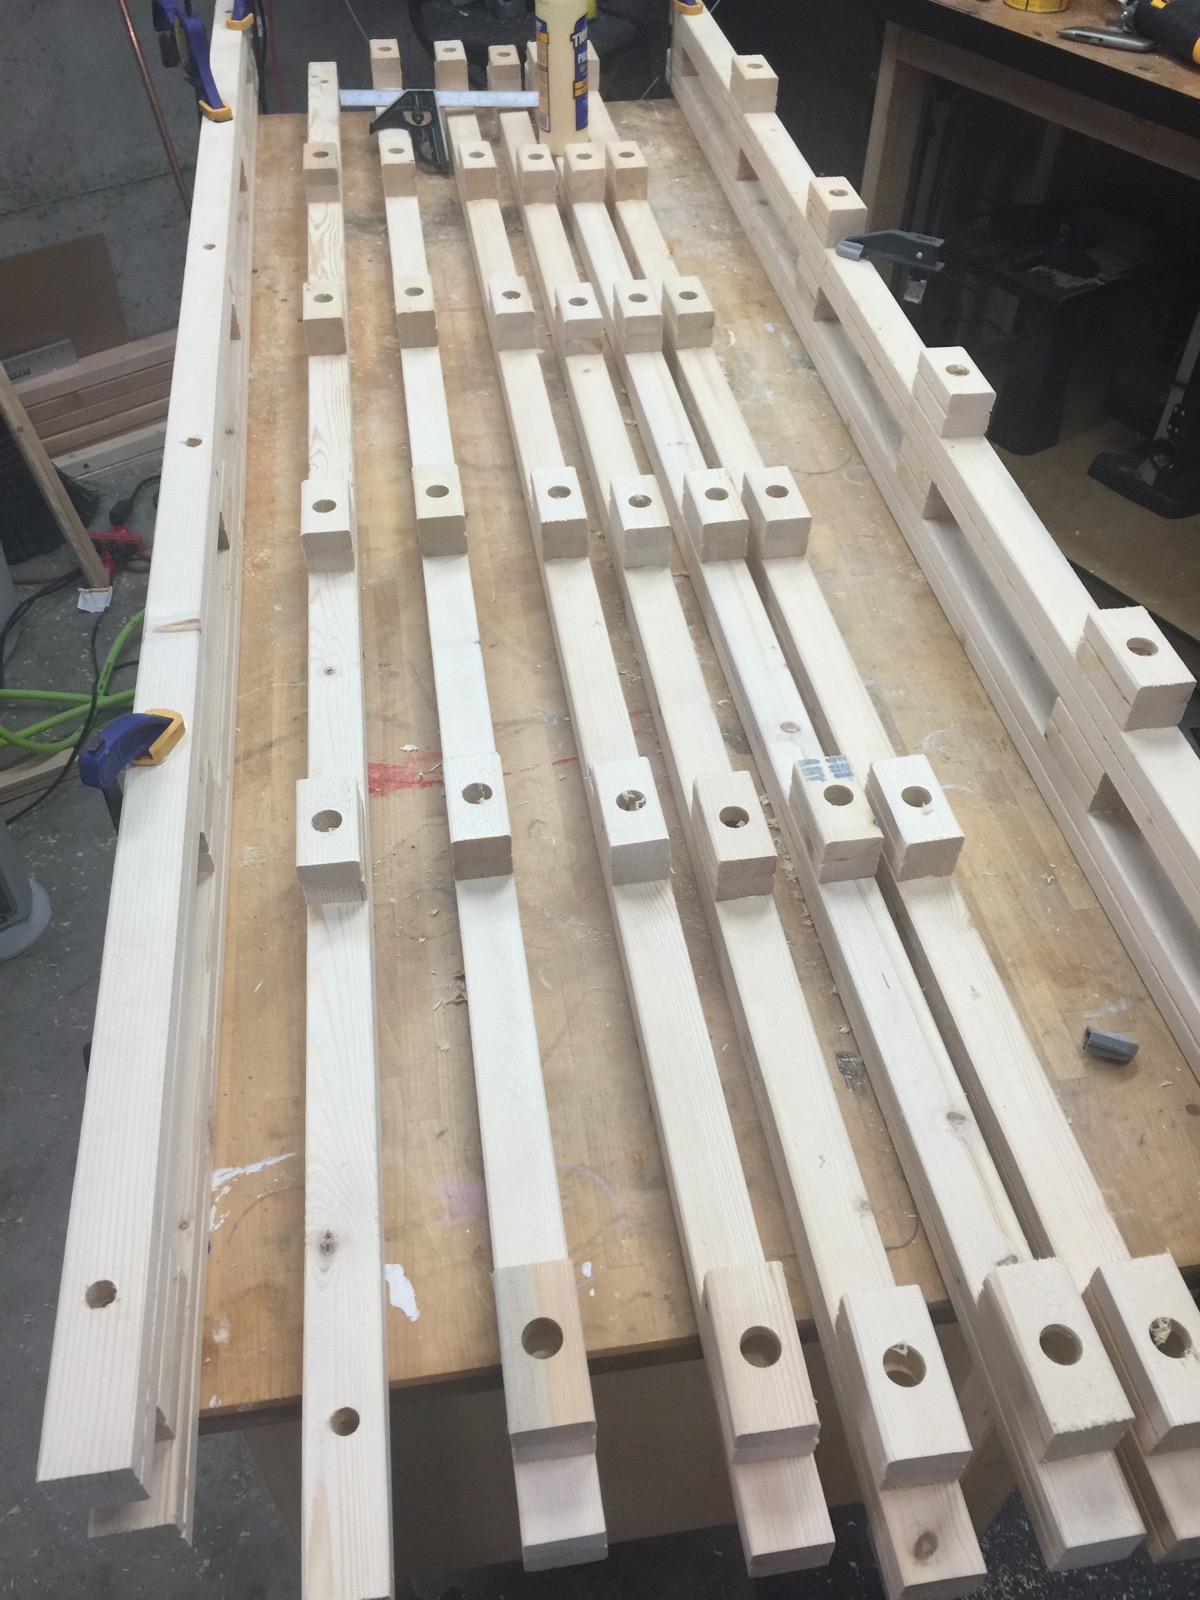
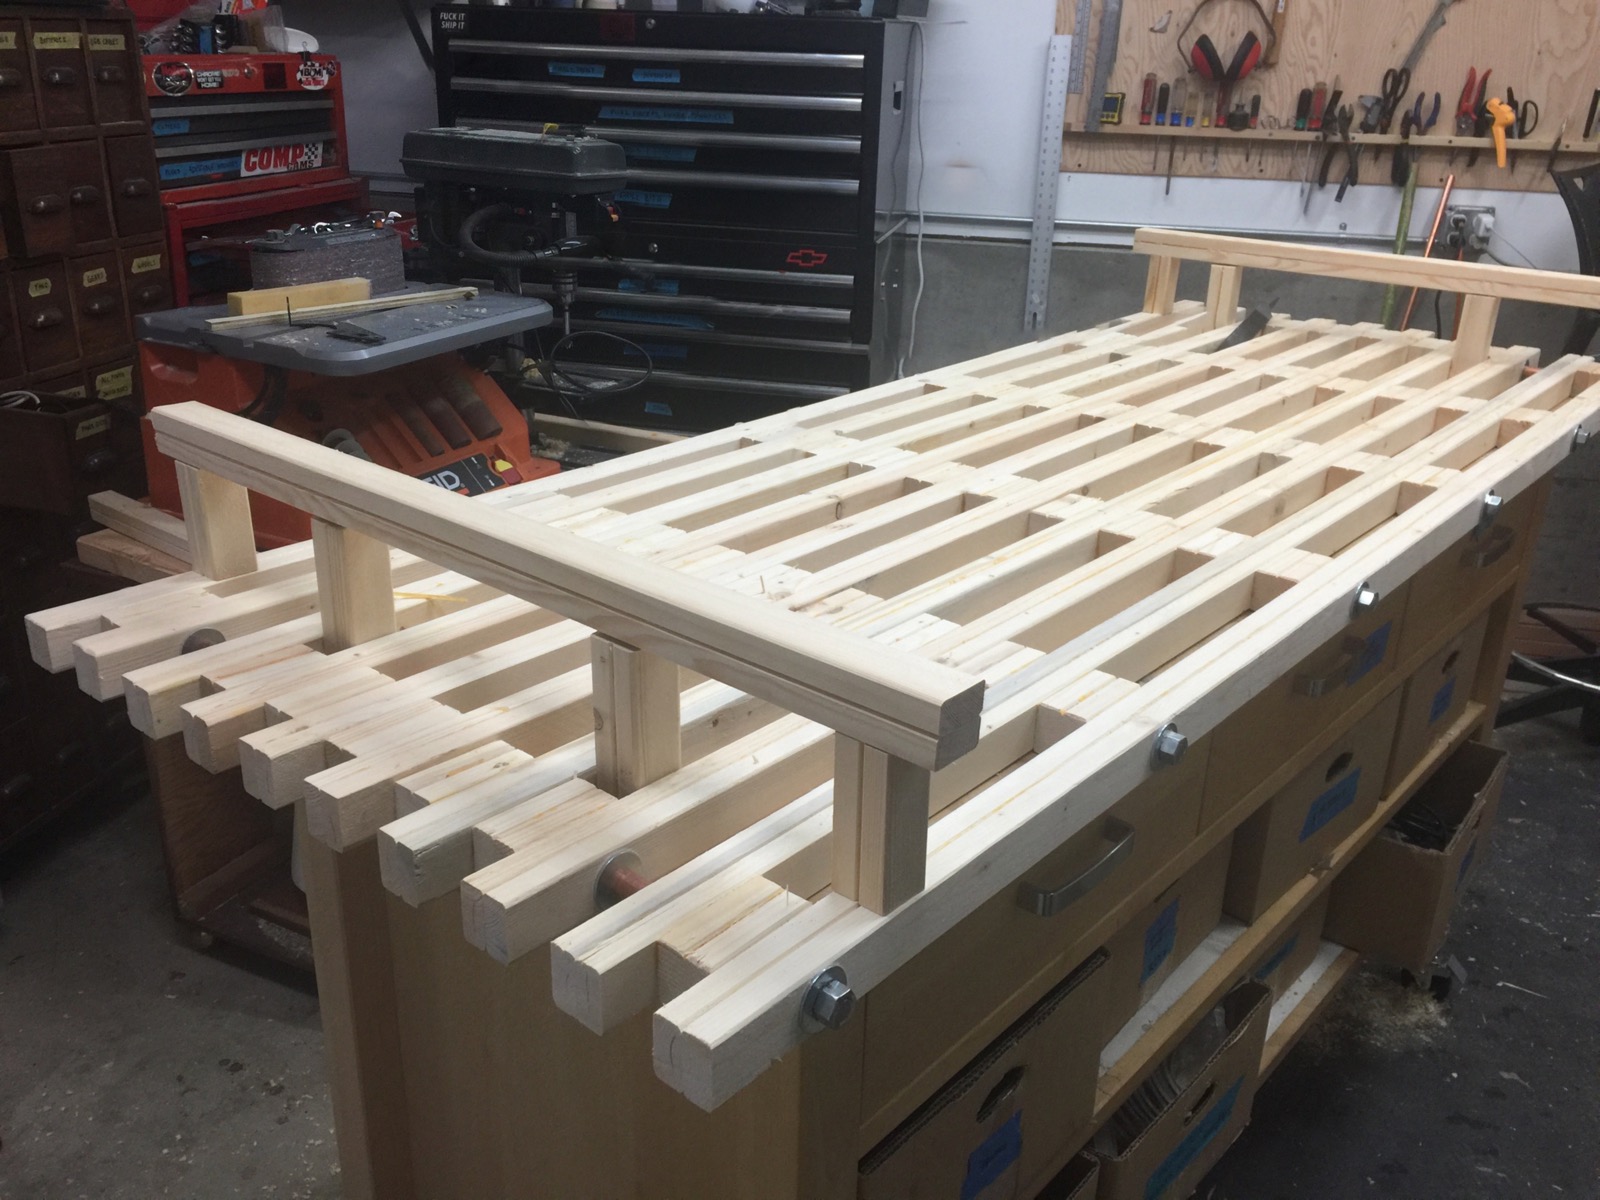
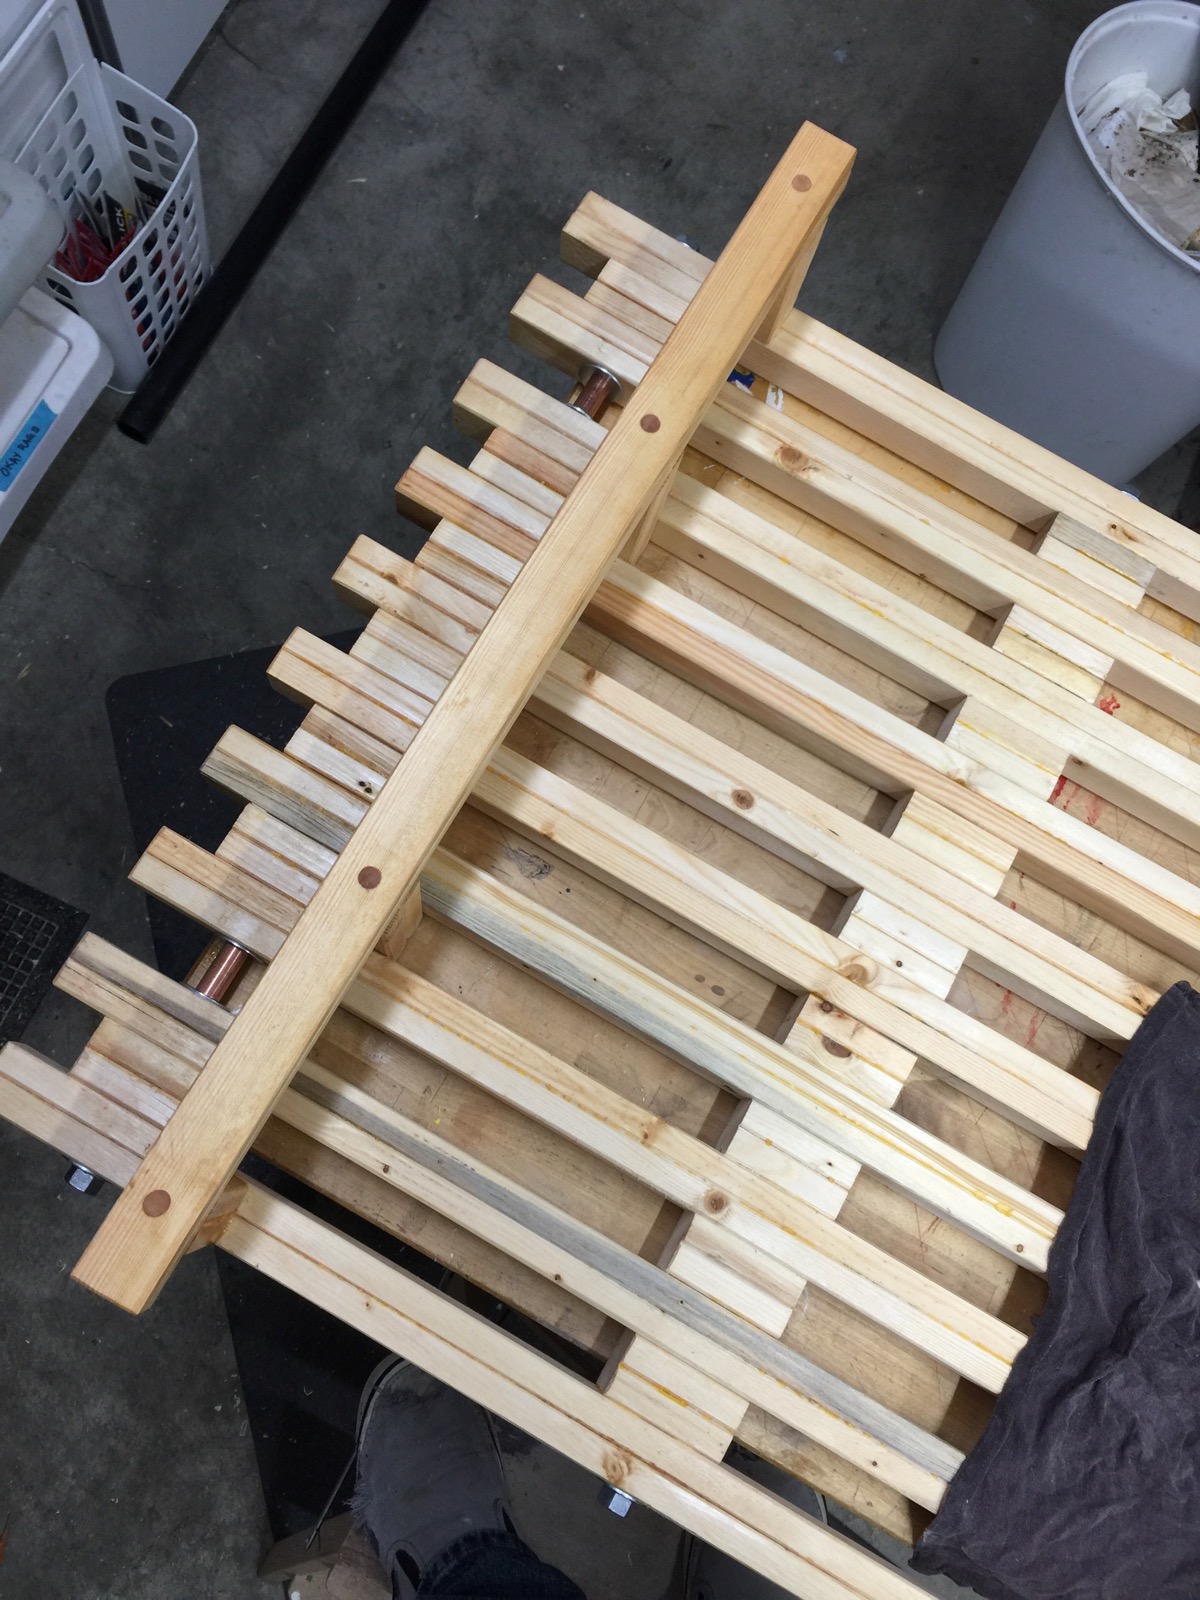
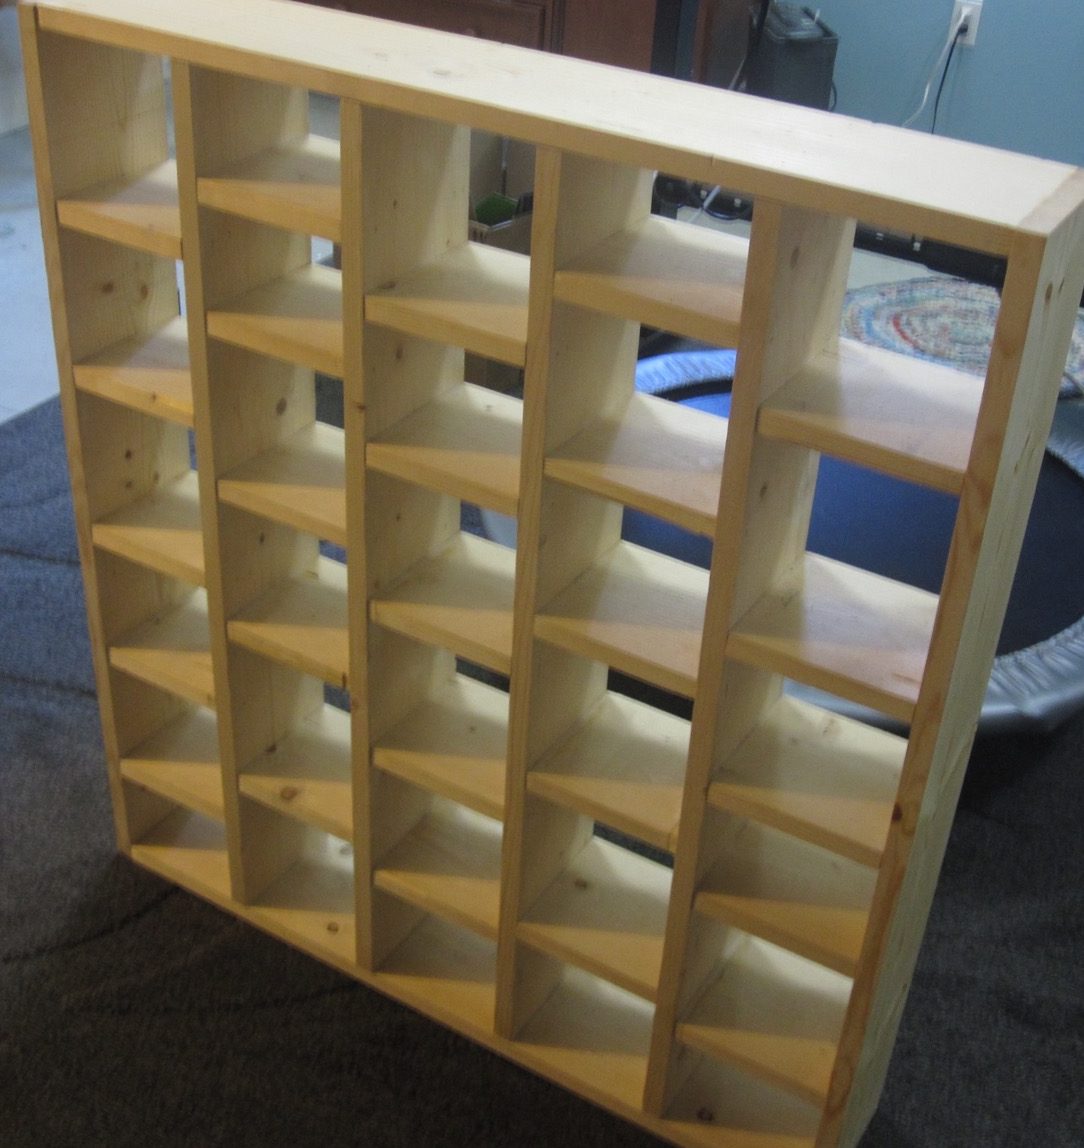
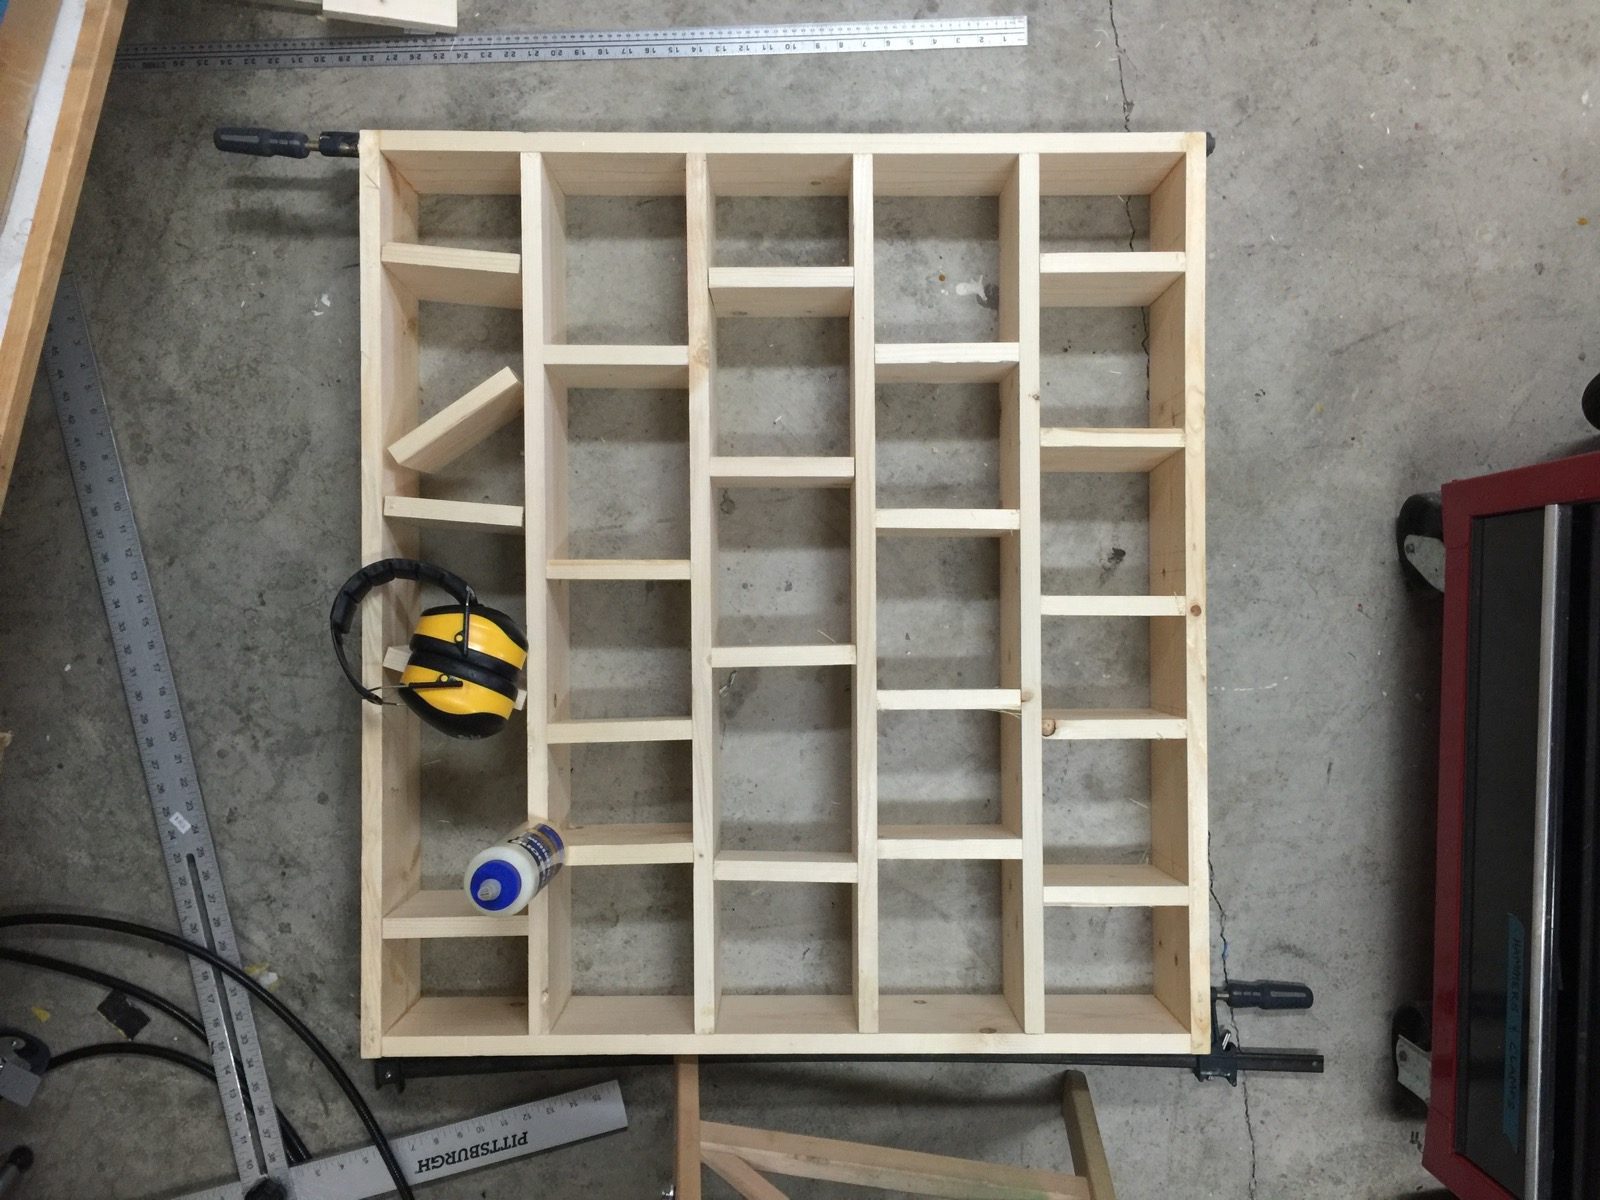
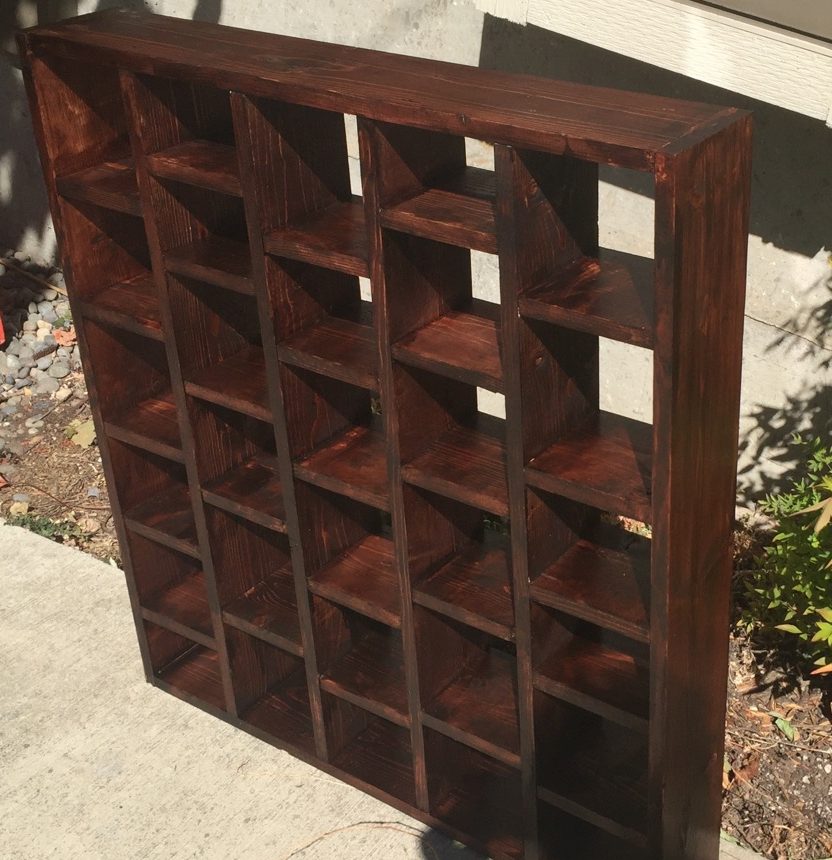
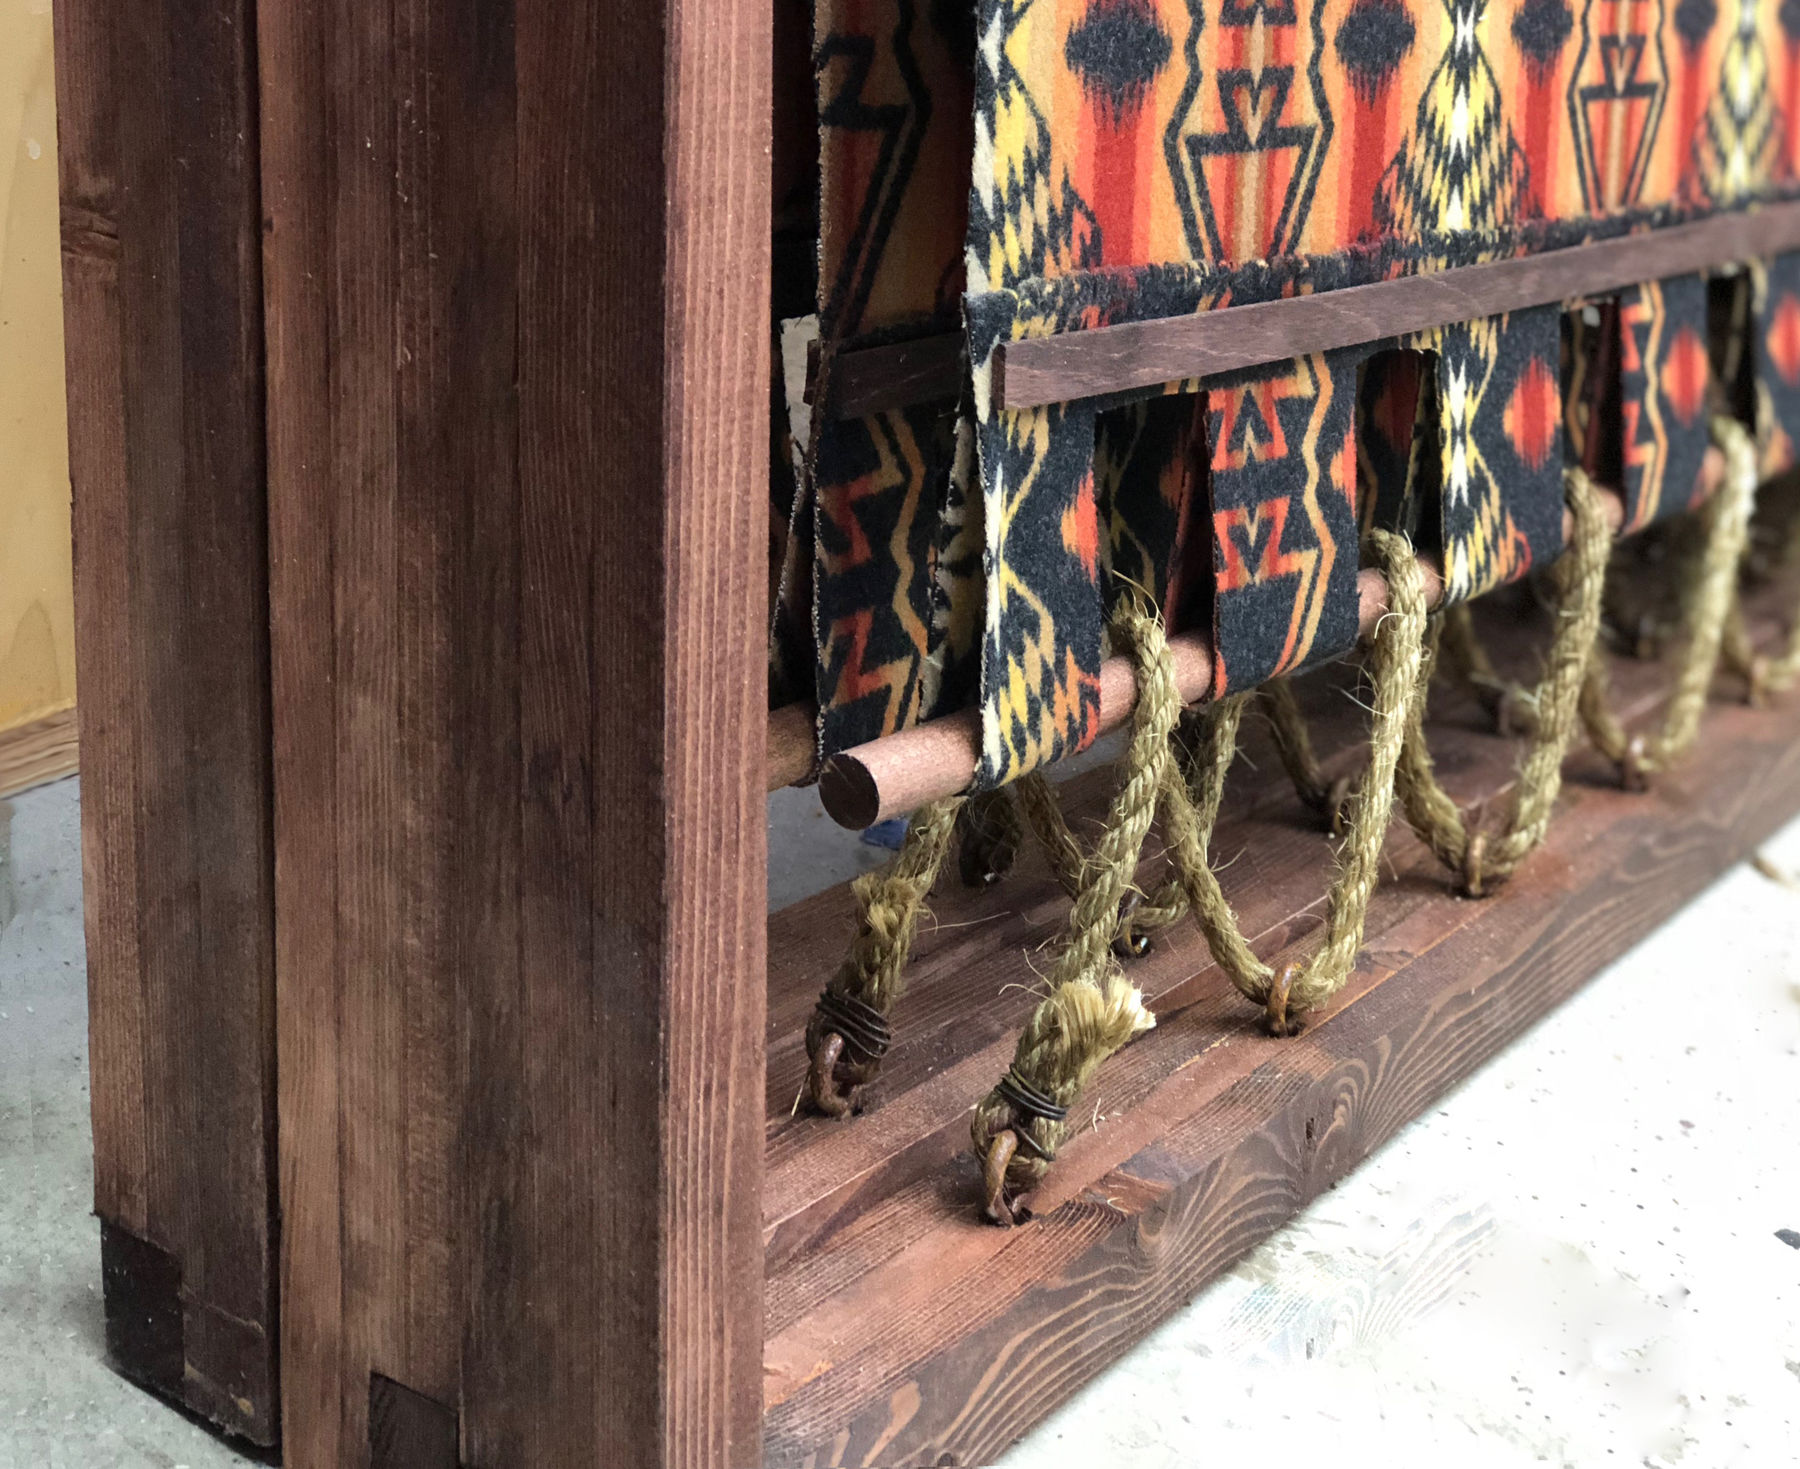
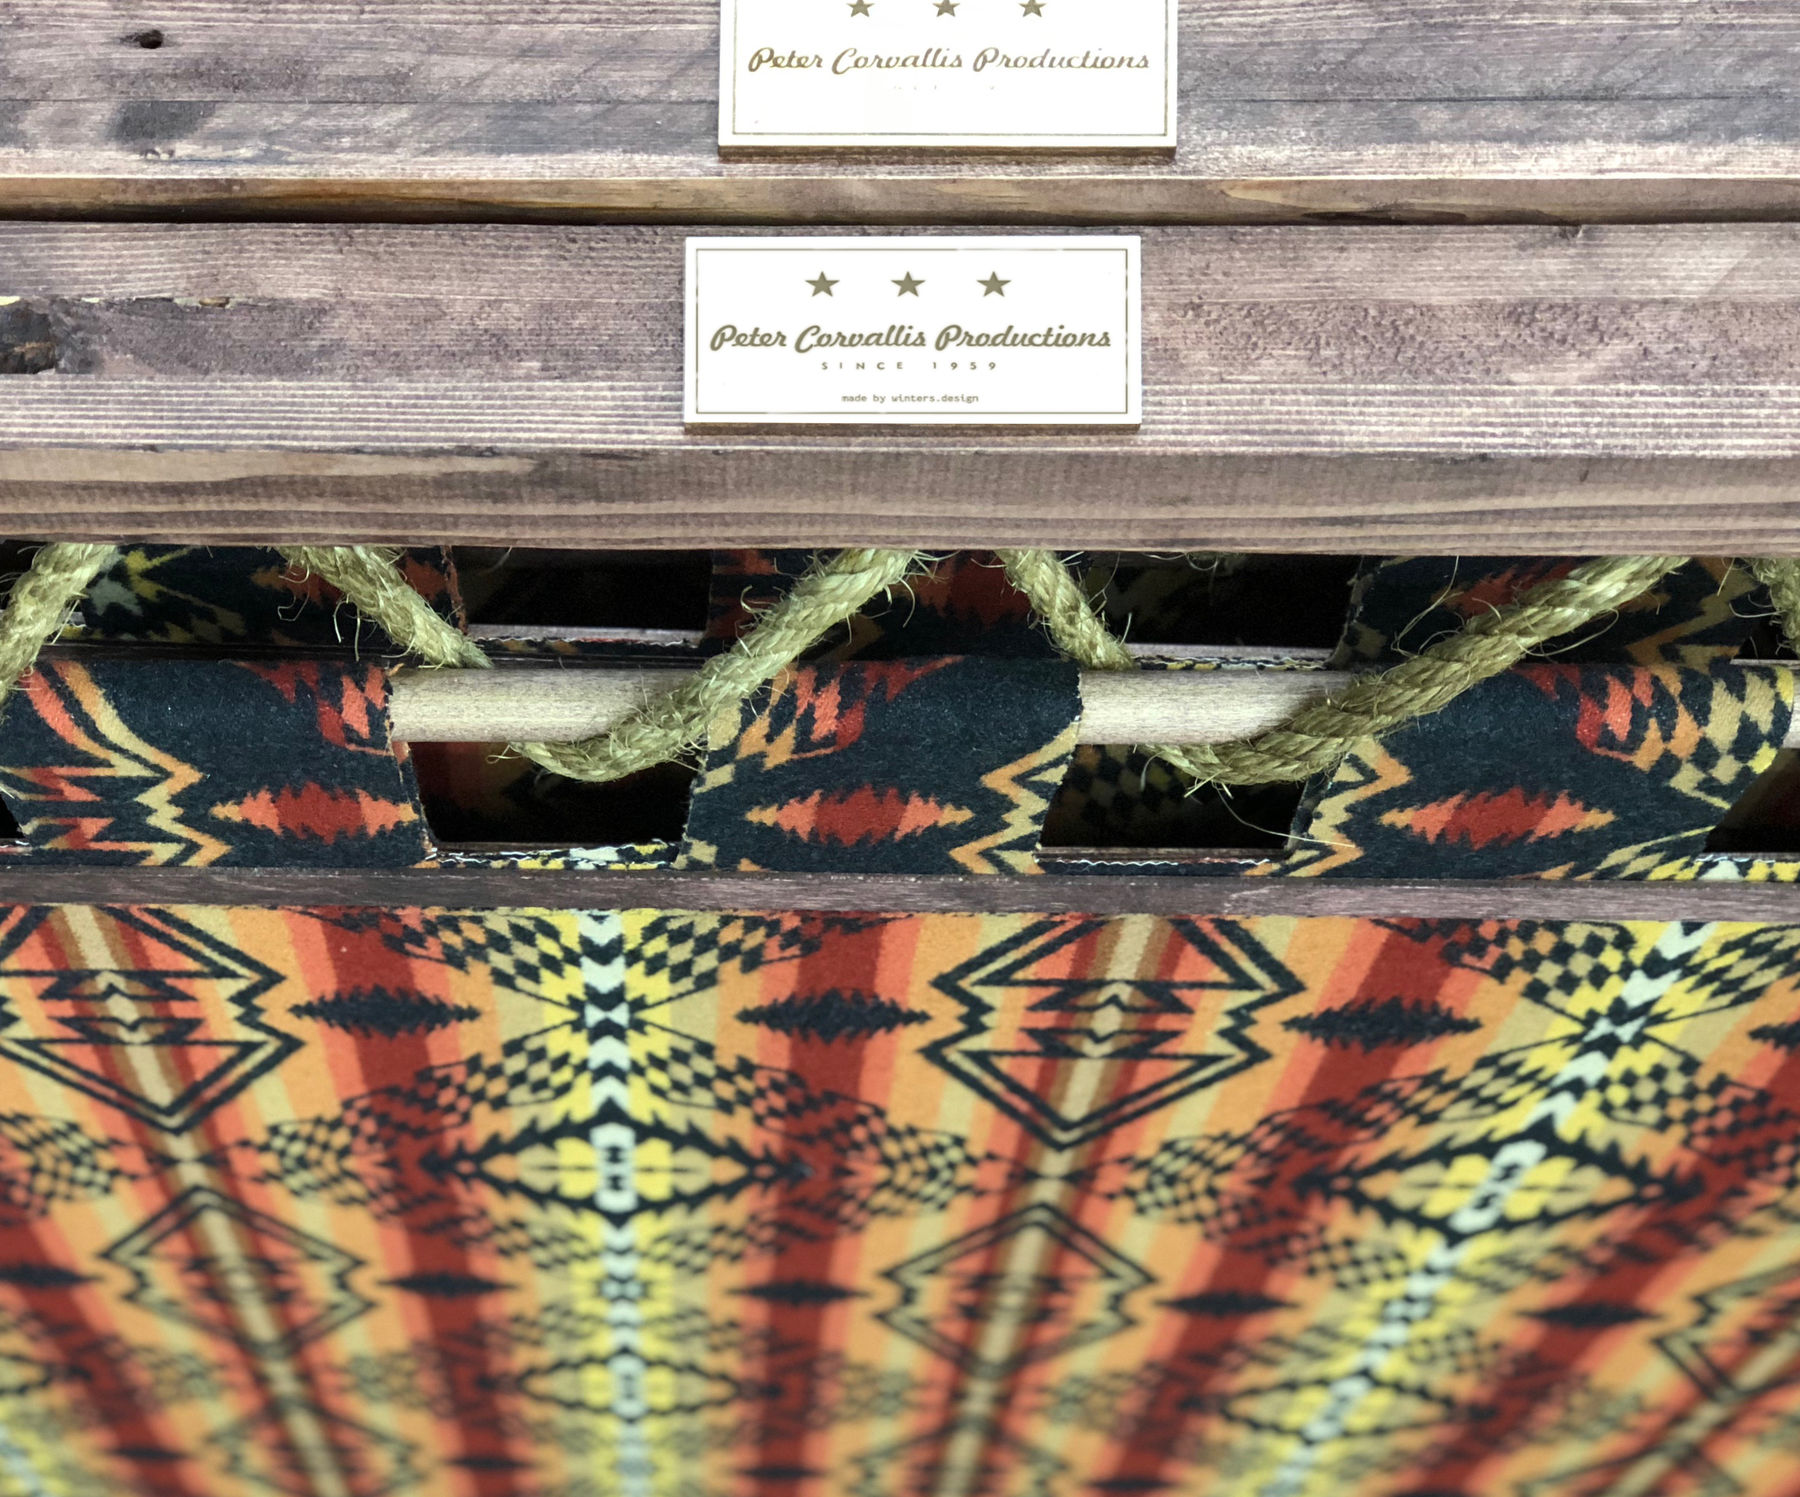
My client wanted a rack to hold a wall of beer. A corporate logo would be painted on huge grid of bottles, which would then be dramatically and variably backlit. The rack therefore needed to have a very narrow profile and a largely open back.
(more…)
All projects evolve during the journey from concept to completion. Some transform so completely that the initial sketches are of something completely different from what (if anything) gets built. Sometimes things change in arbitrary ways. This isn’t one of those projects: this project changed in a few simple ways that reflect the constraints of time and budget.
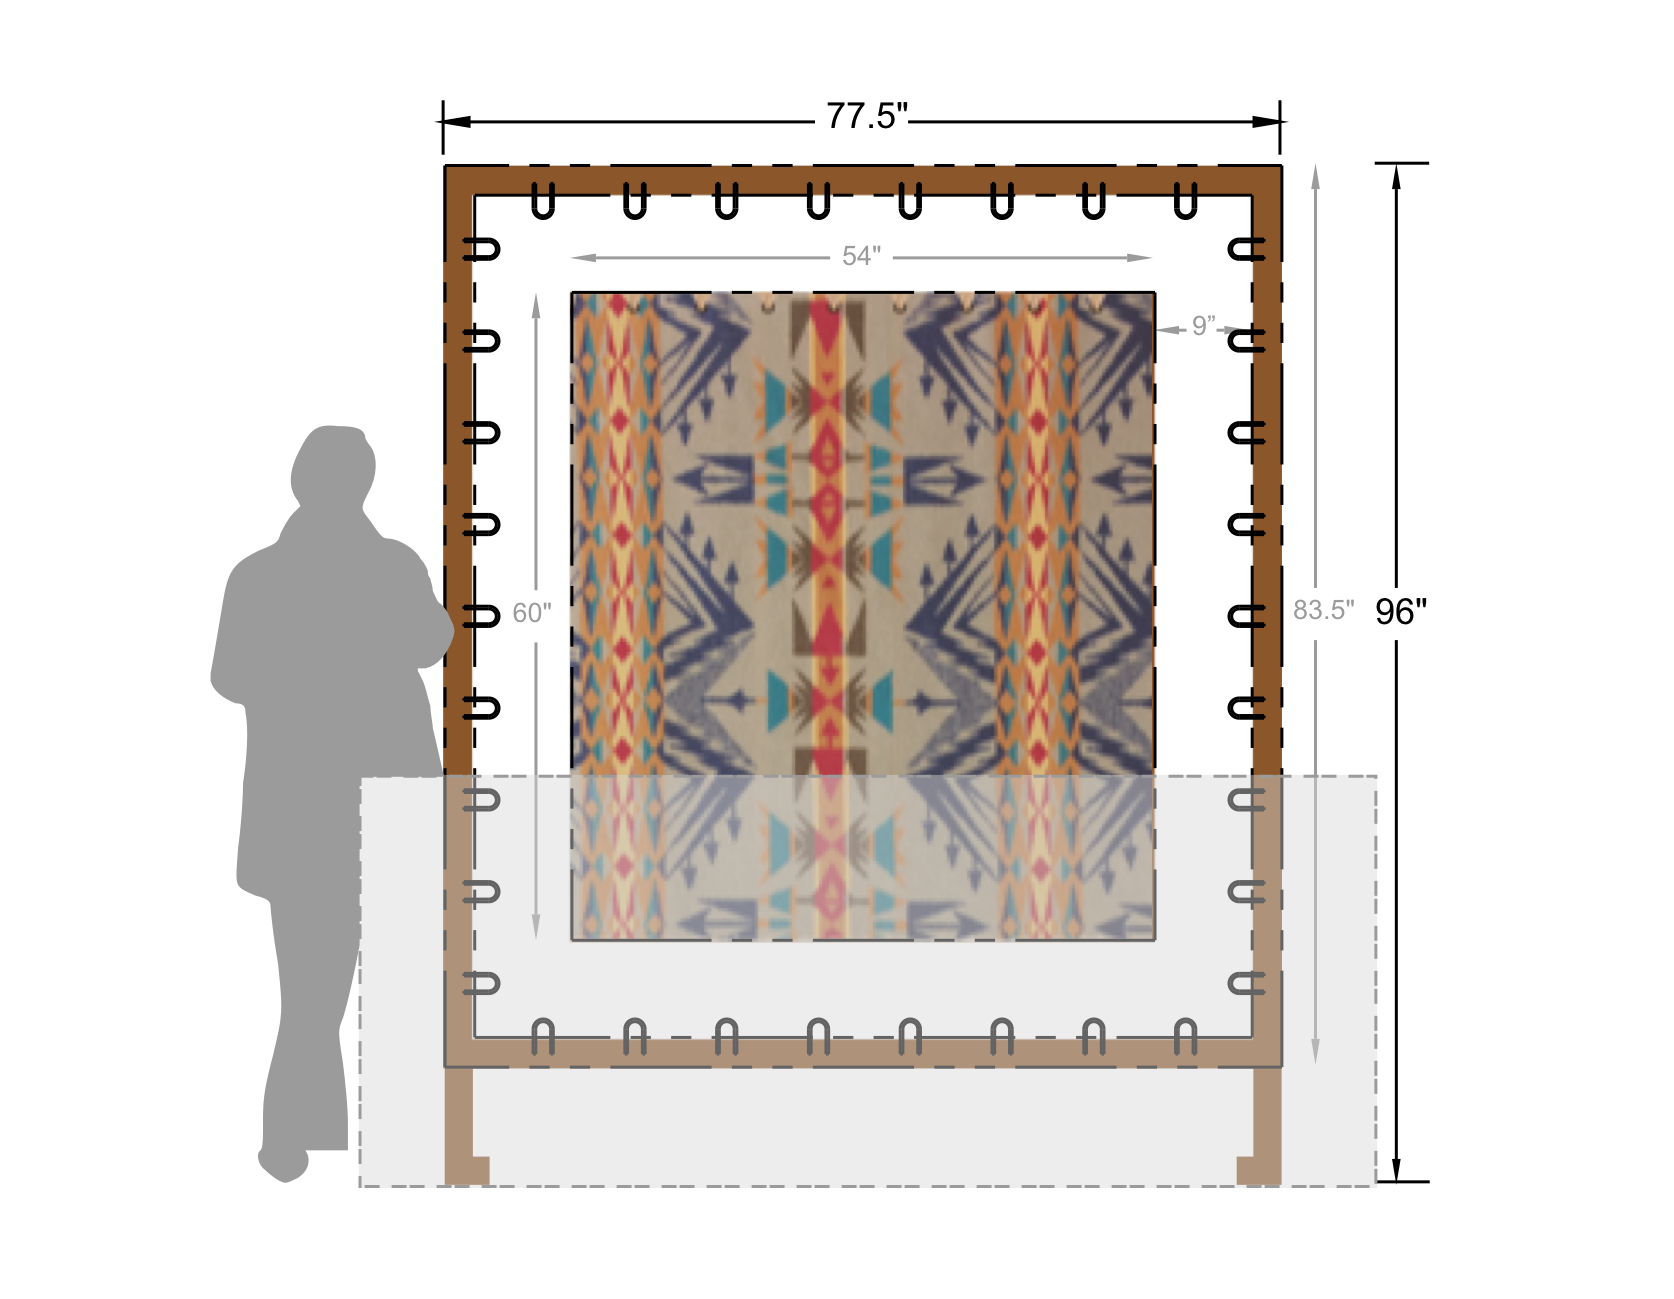
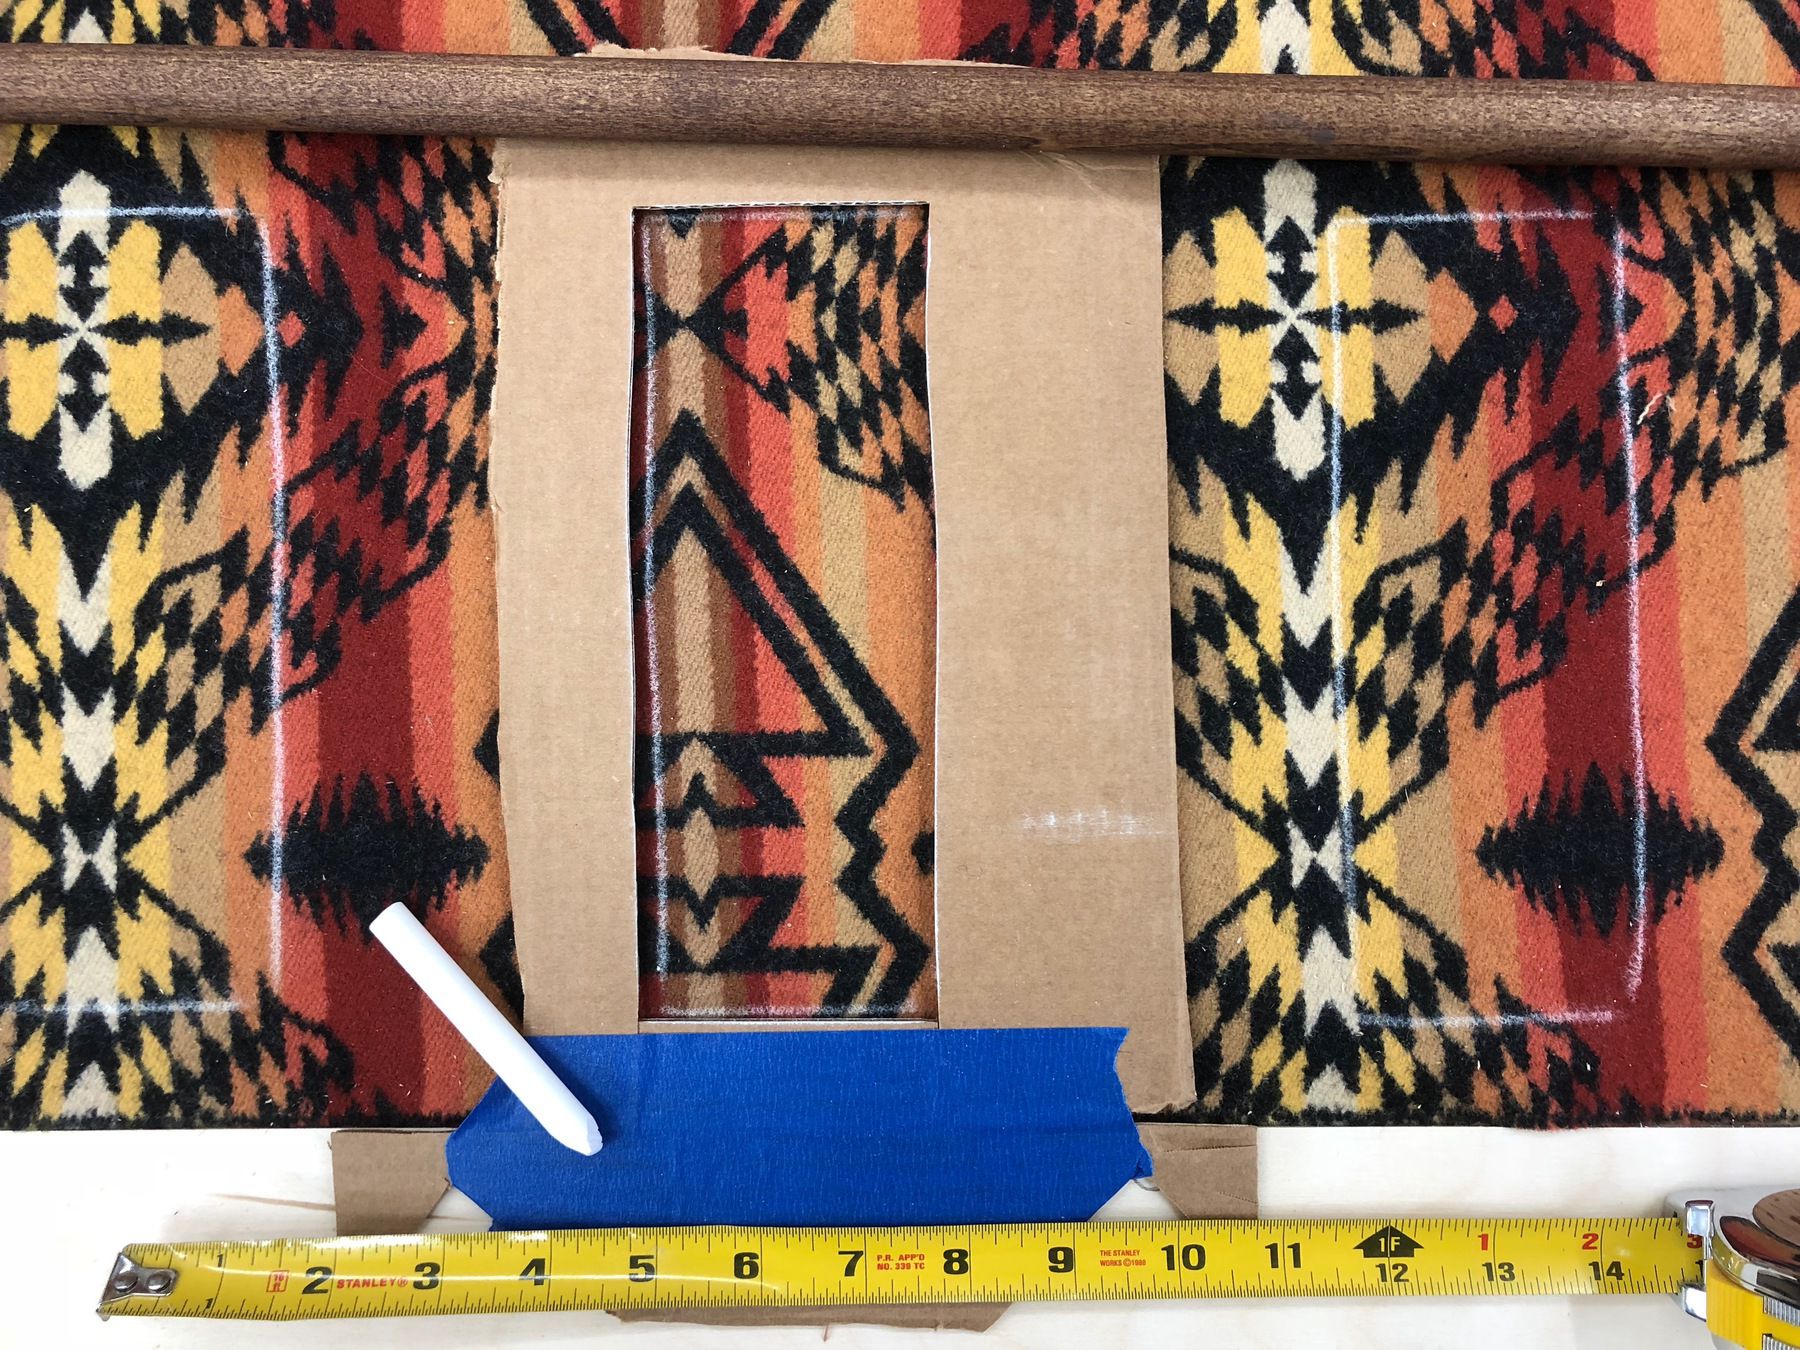
The original idea was to to use grommets in the blanket and u-bolts in the frame. We also planned to make the zigzag rope go around all four sides of the suspended blanket.
But the needs of the event, budget, and lead time conspired to bring about the following changes:


I traced a pattern for 1/4" steel from the same client-provided file I used in the Engraved Plywood "Big Jake" Horse and Shoes. I outsourced the cutting to Portland Waterjet, whose work was beautiful and crisp. Sadly I never took a photo of the pristine parts, and by the time I removed the pieces from the good ol' under-bench time-dilating corrosion pot, they already had a nice crusty patina.


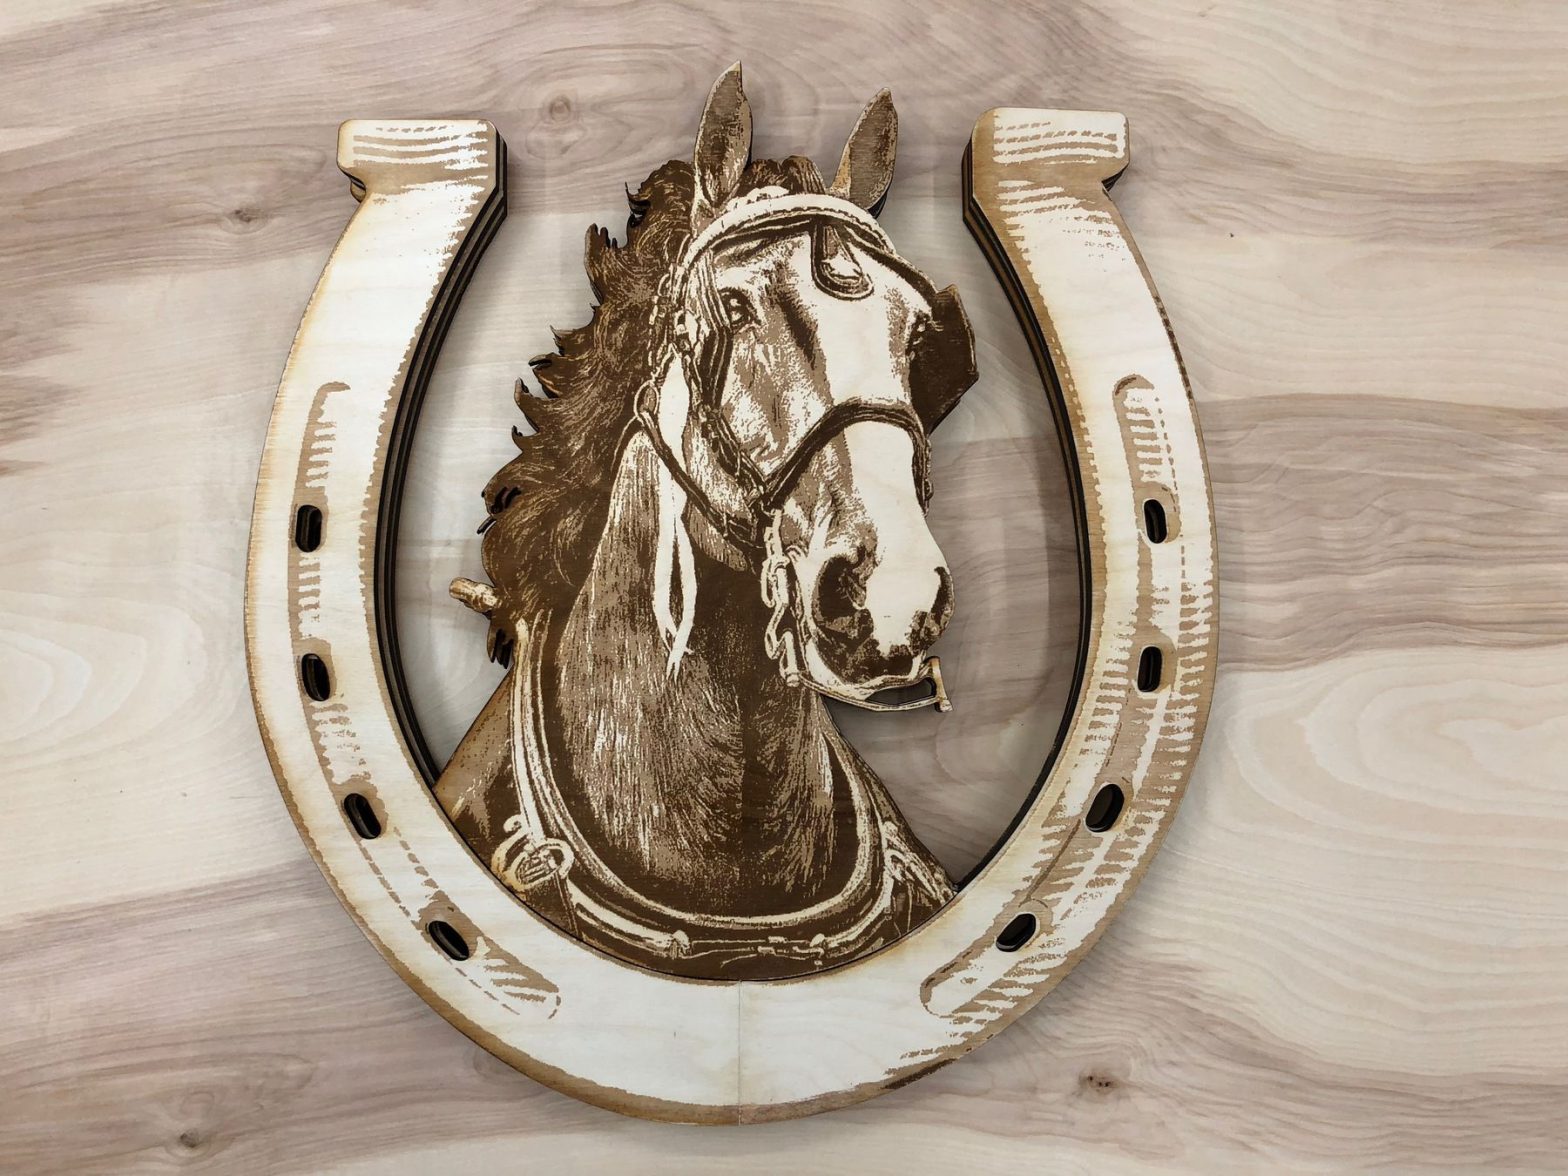
The client provided an image for this project, but it’s wasn’t quite suitable as-is. To change it into something that would look pleasing engraved, I set up a few adjustment layers in photoshop in the following way:
(more…)
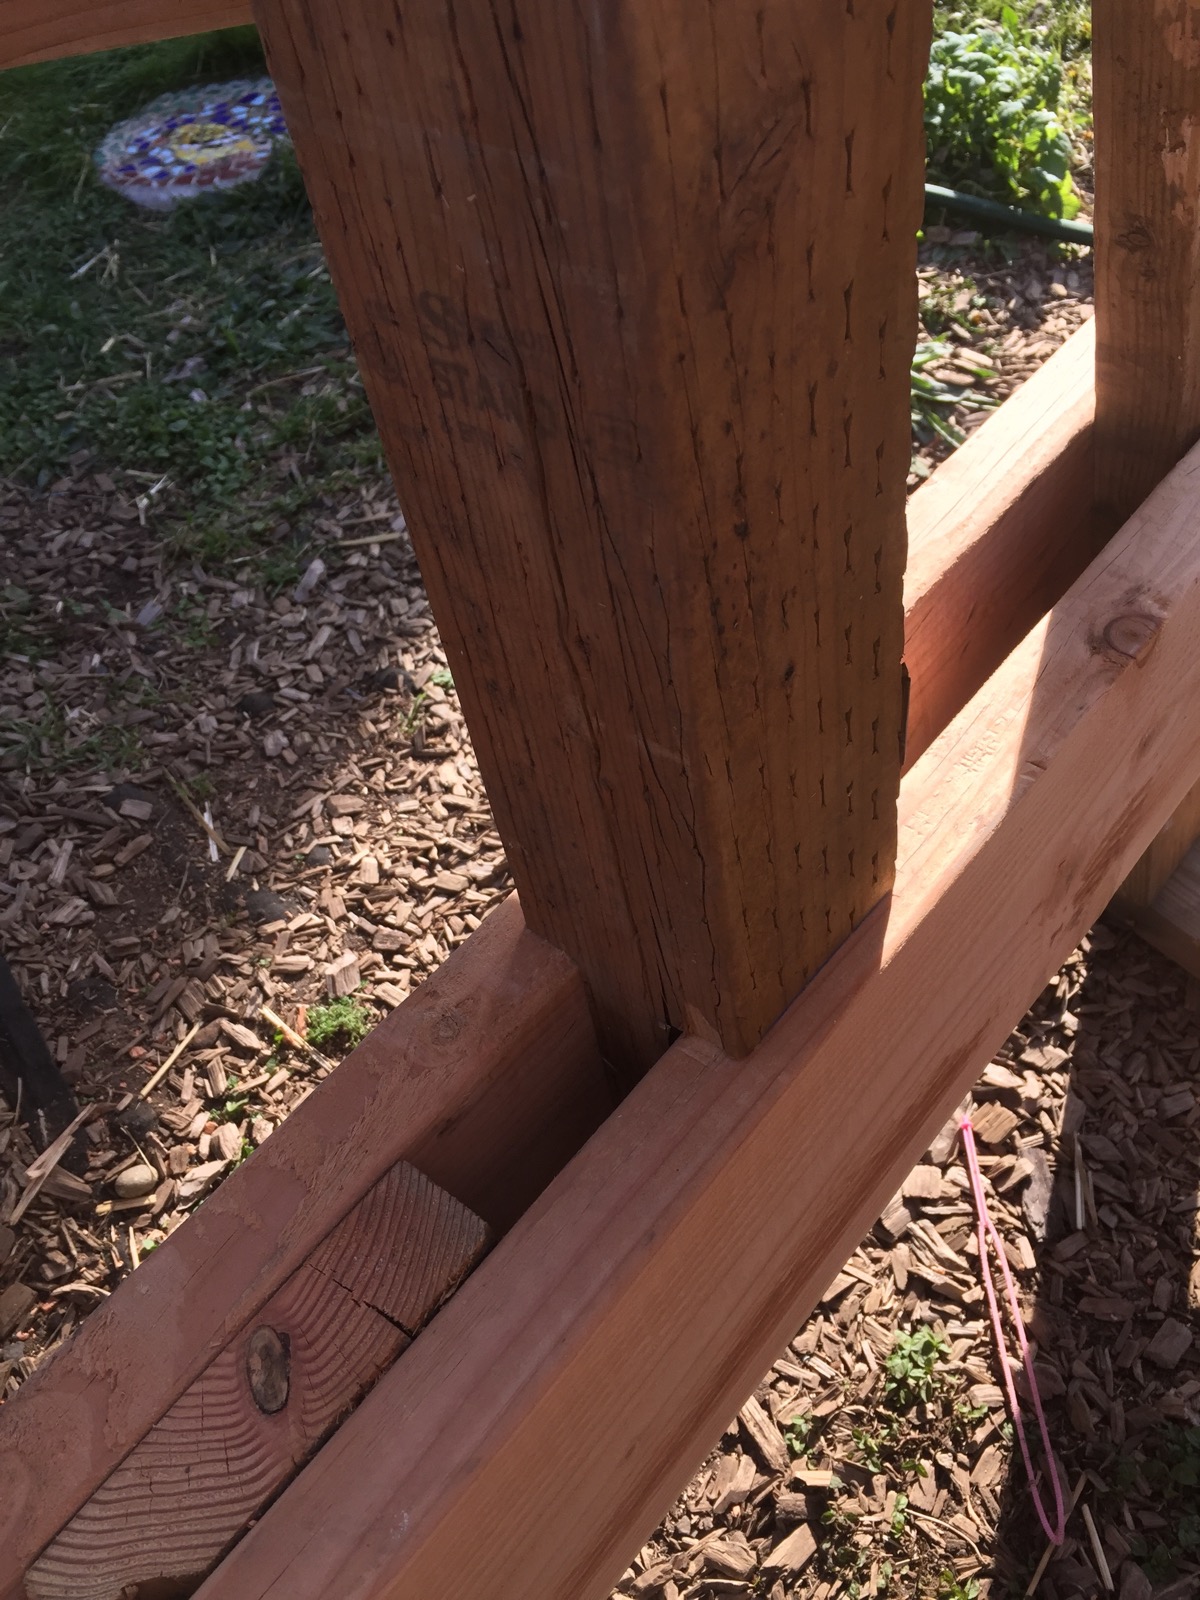
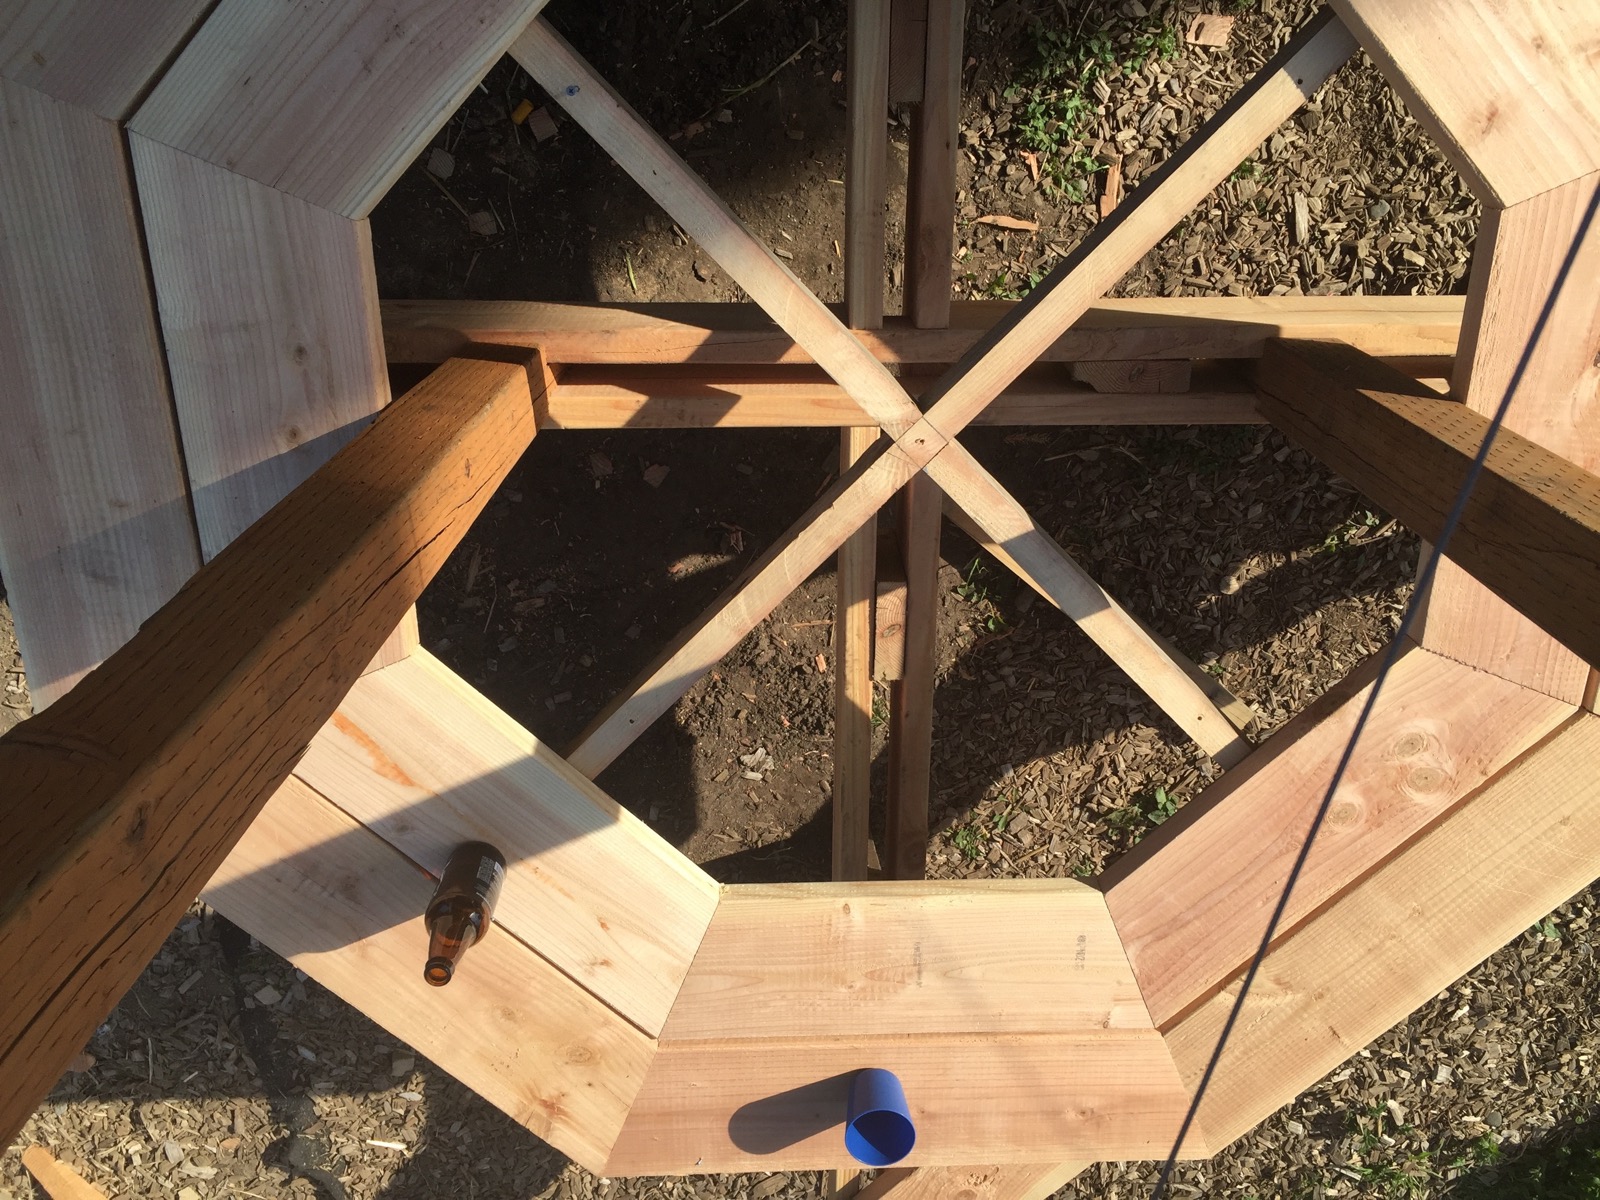
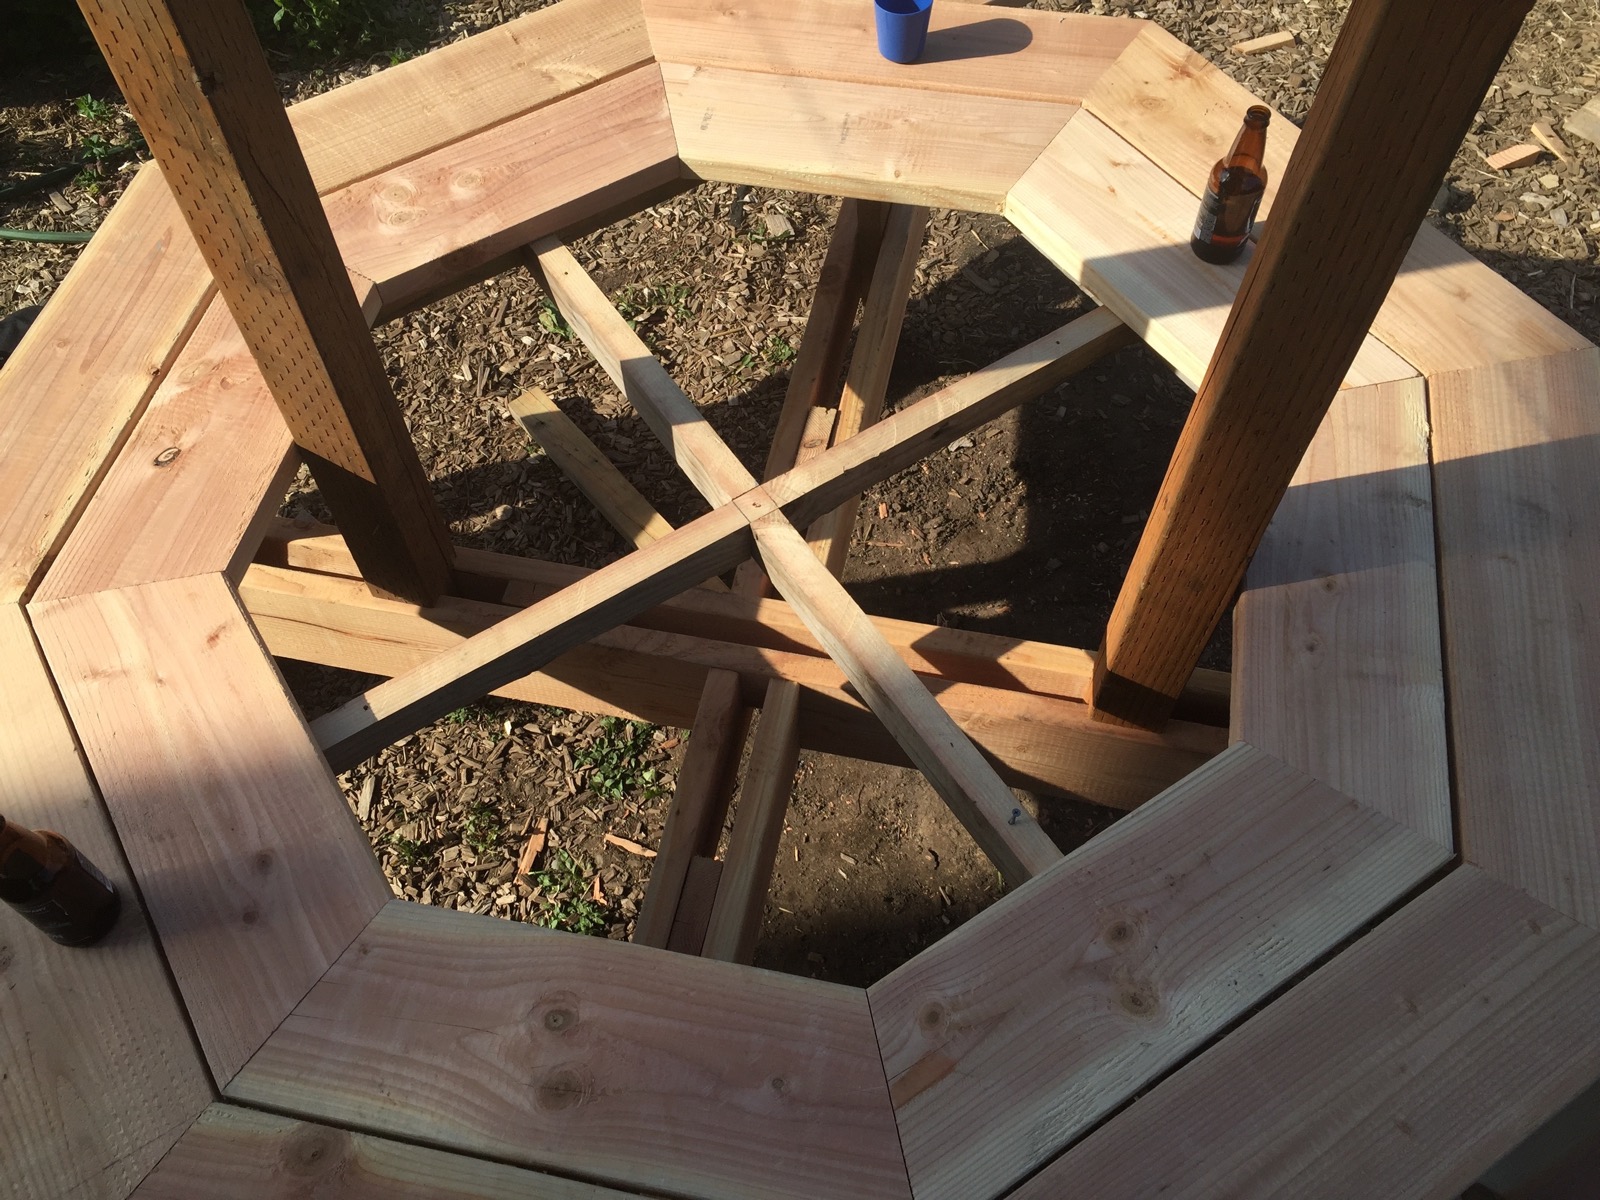
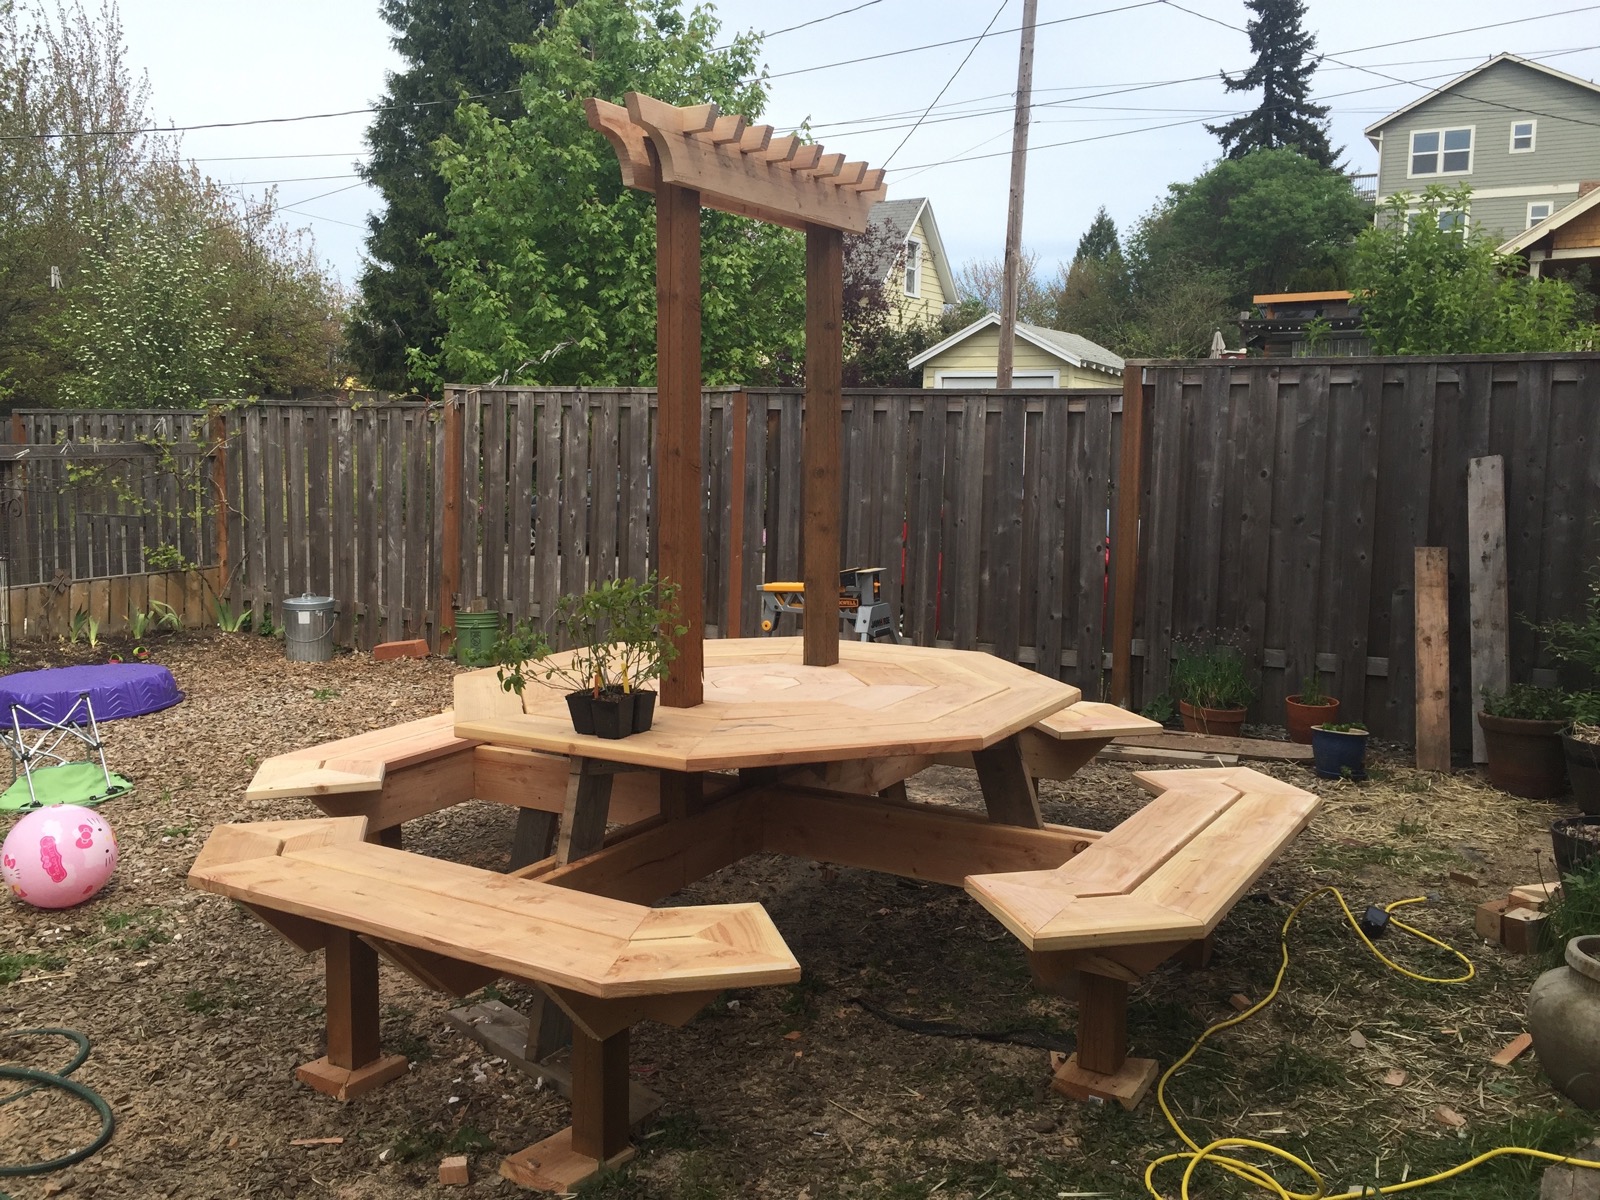
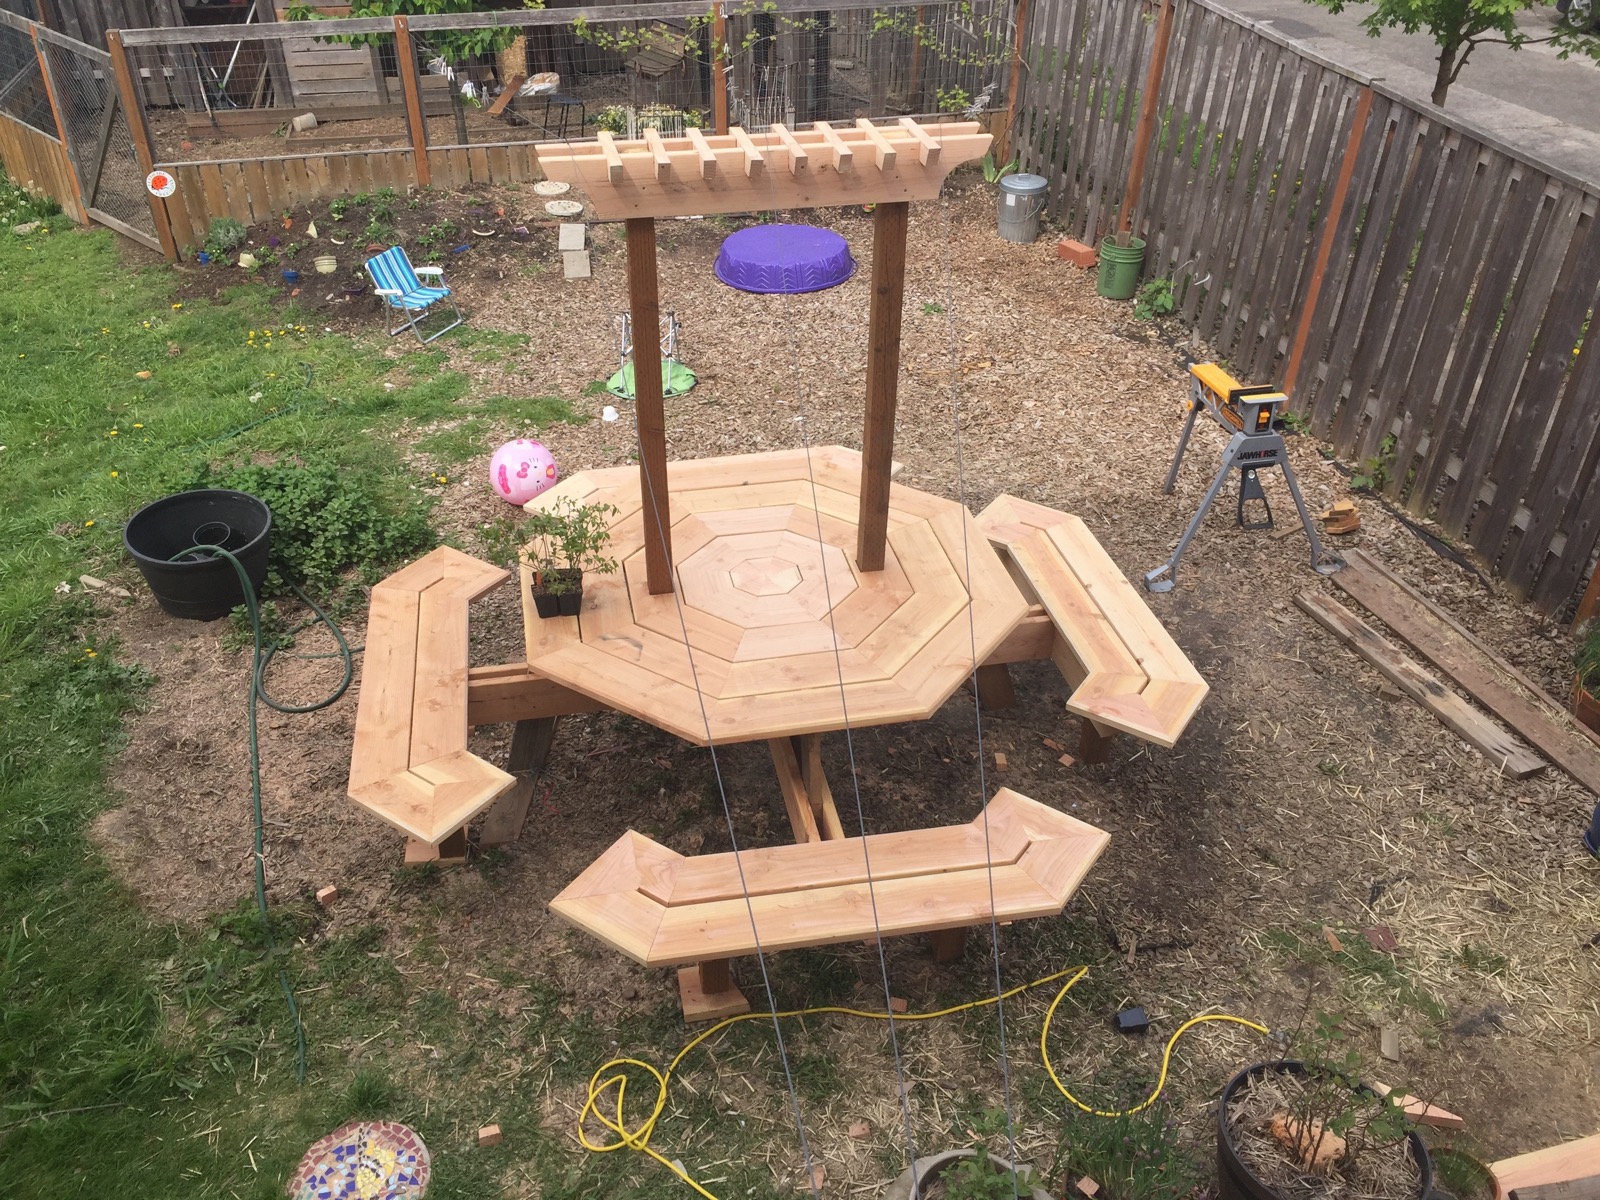
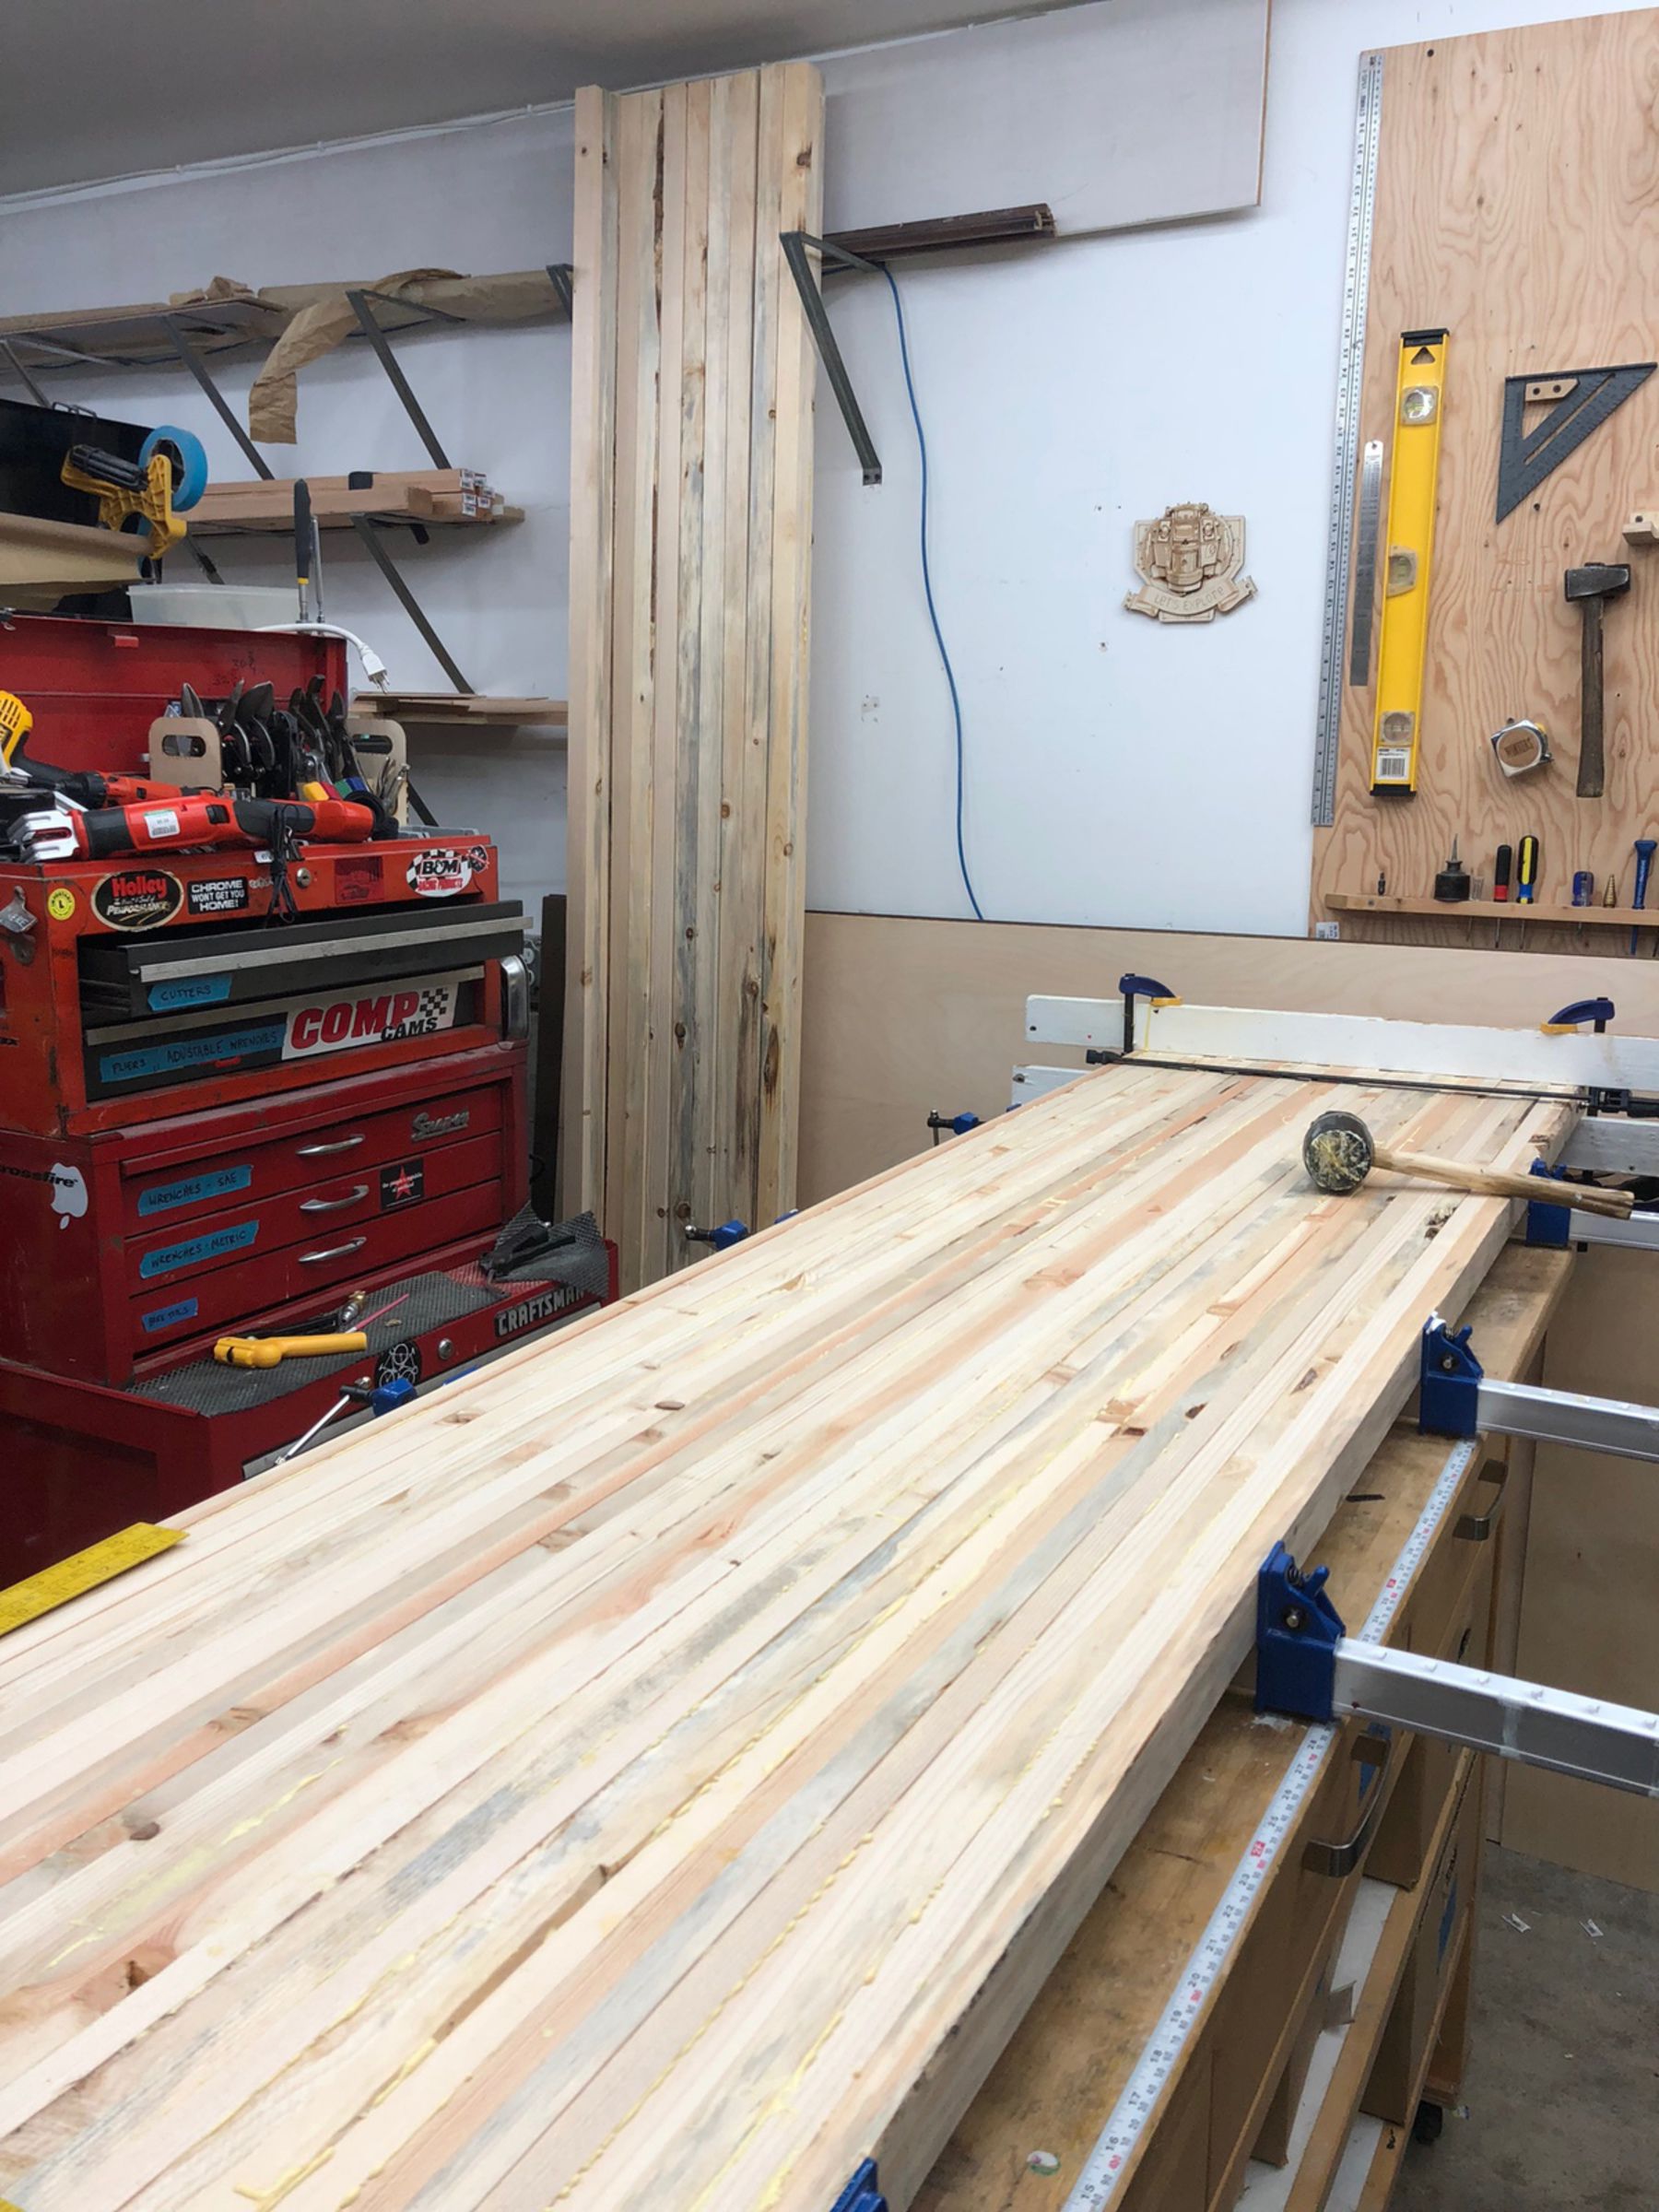
I based this pattern on the dimensions of common cedar fence pickets, which I knew to be cheap, readily available, and have a varied and interesting grain.
See Panel Assembly, Finishing, and more
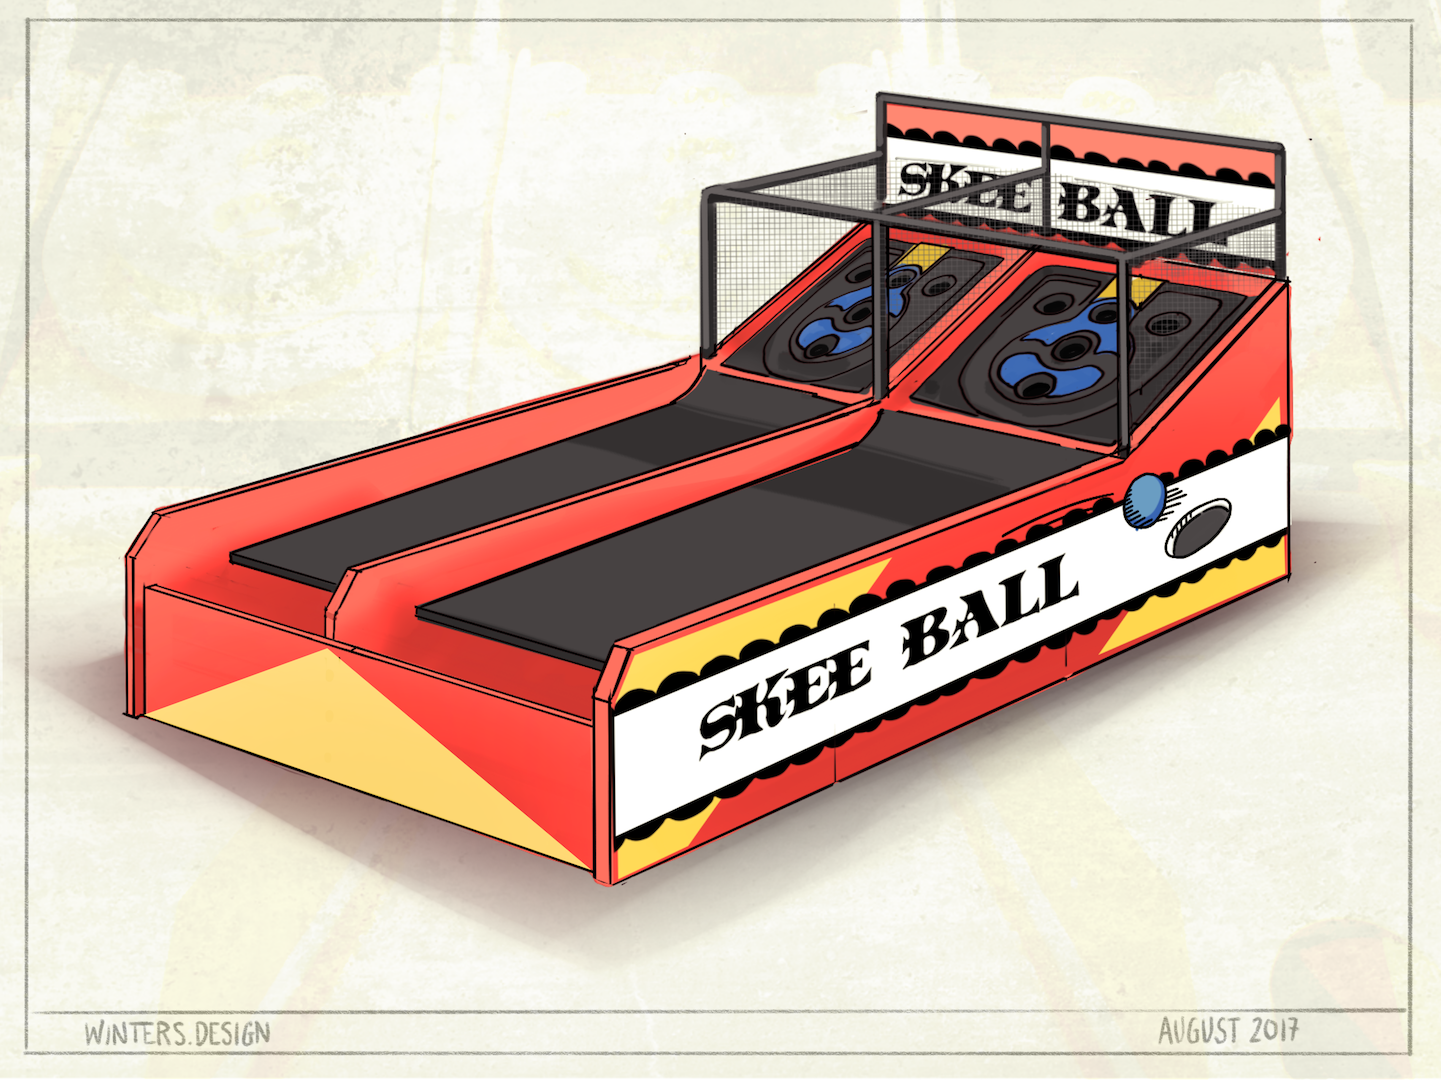
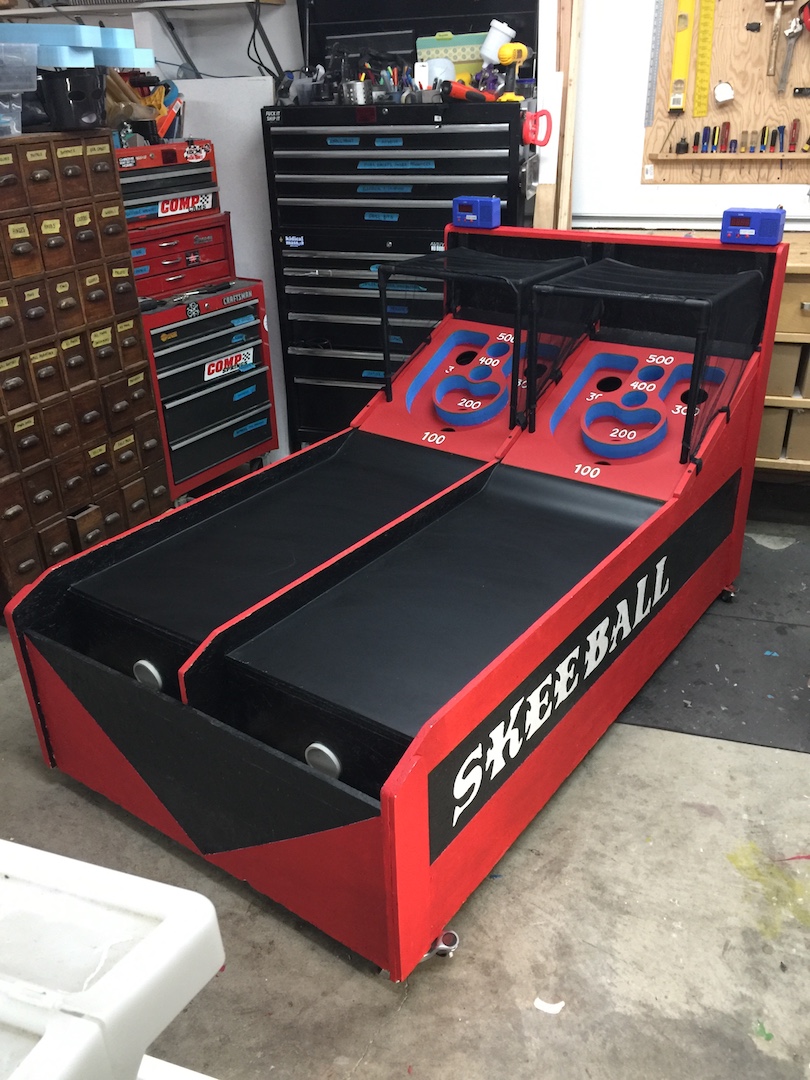
The plan was to repaint and fix a drab old rental skee-ball machine.
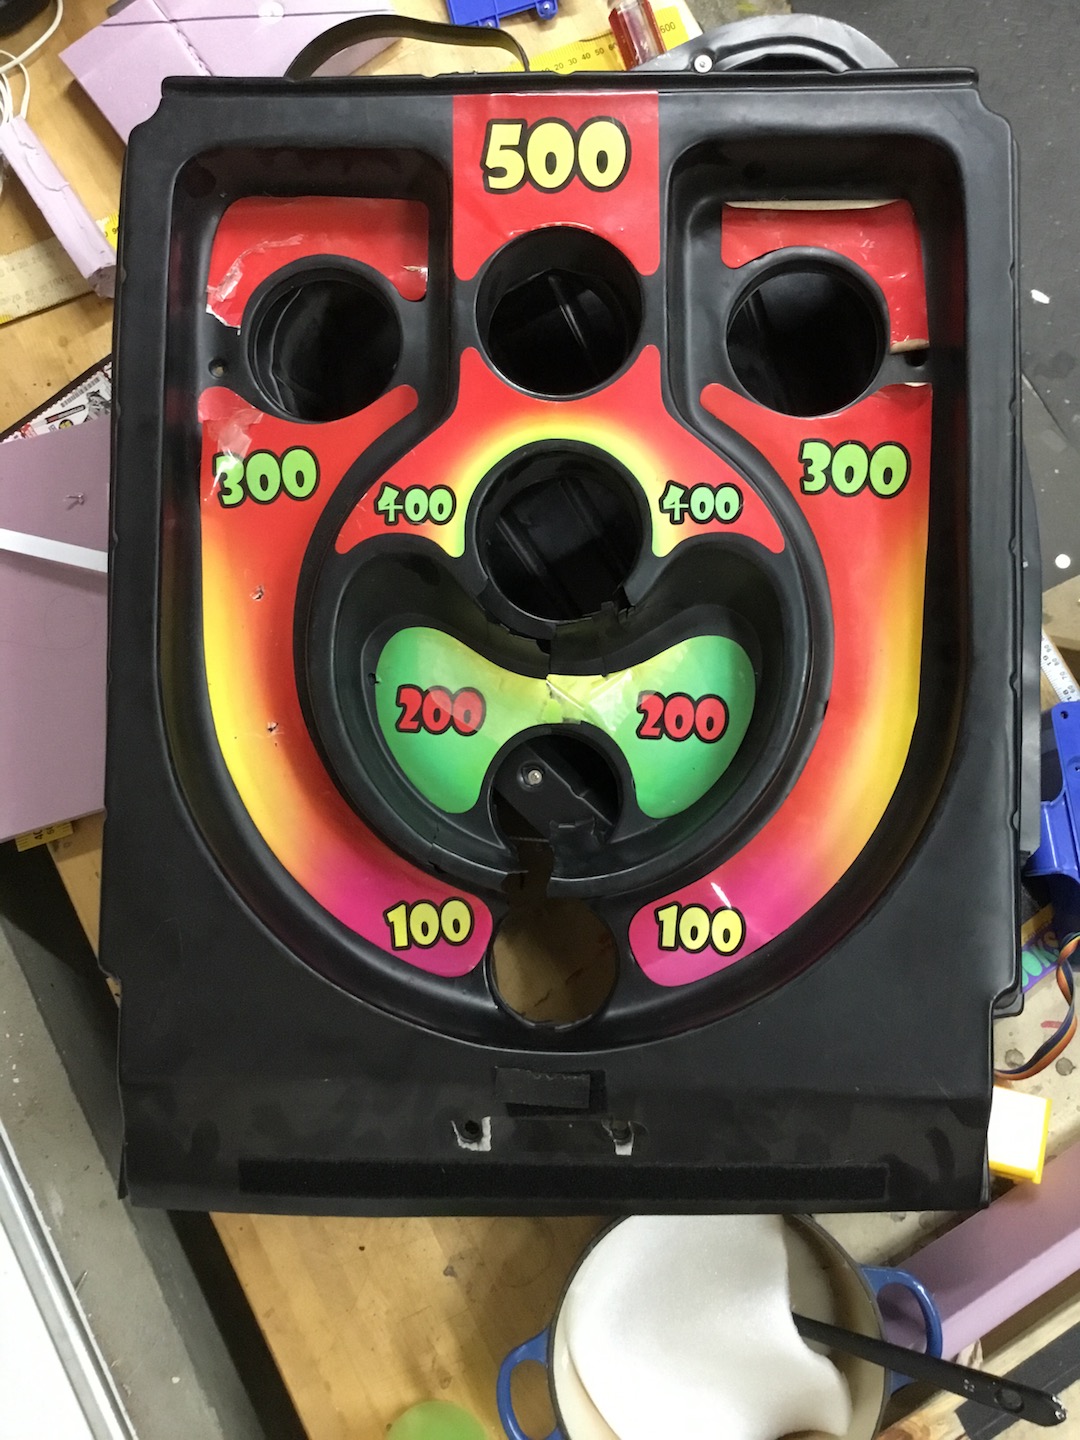
First, I disassembled the machine a bit to assess things. The heart of the machine were plastic targets with integrated ramps and optical sensors. Unfortunately, these were blow-molded and had become brittle and were damaged beyond repair.

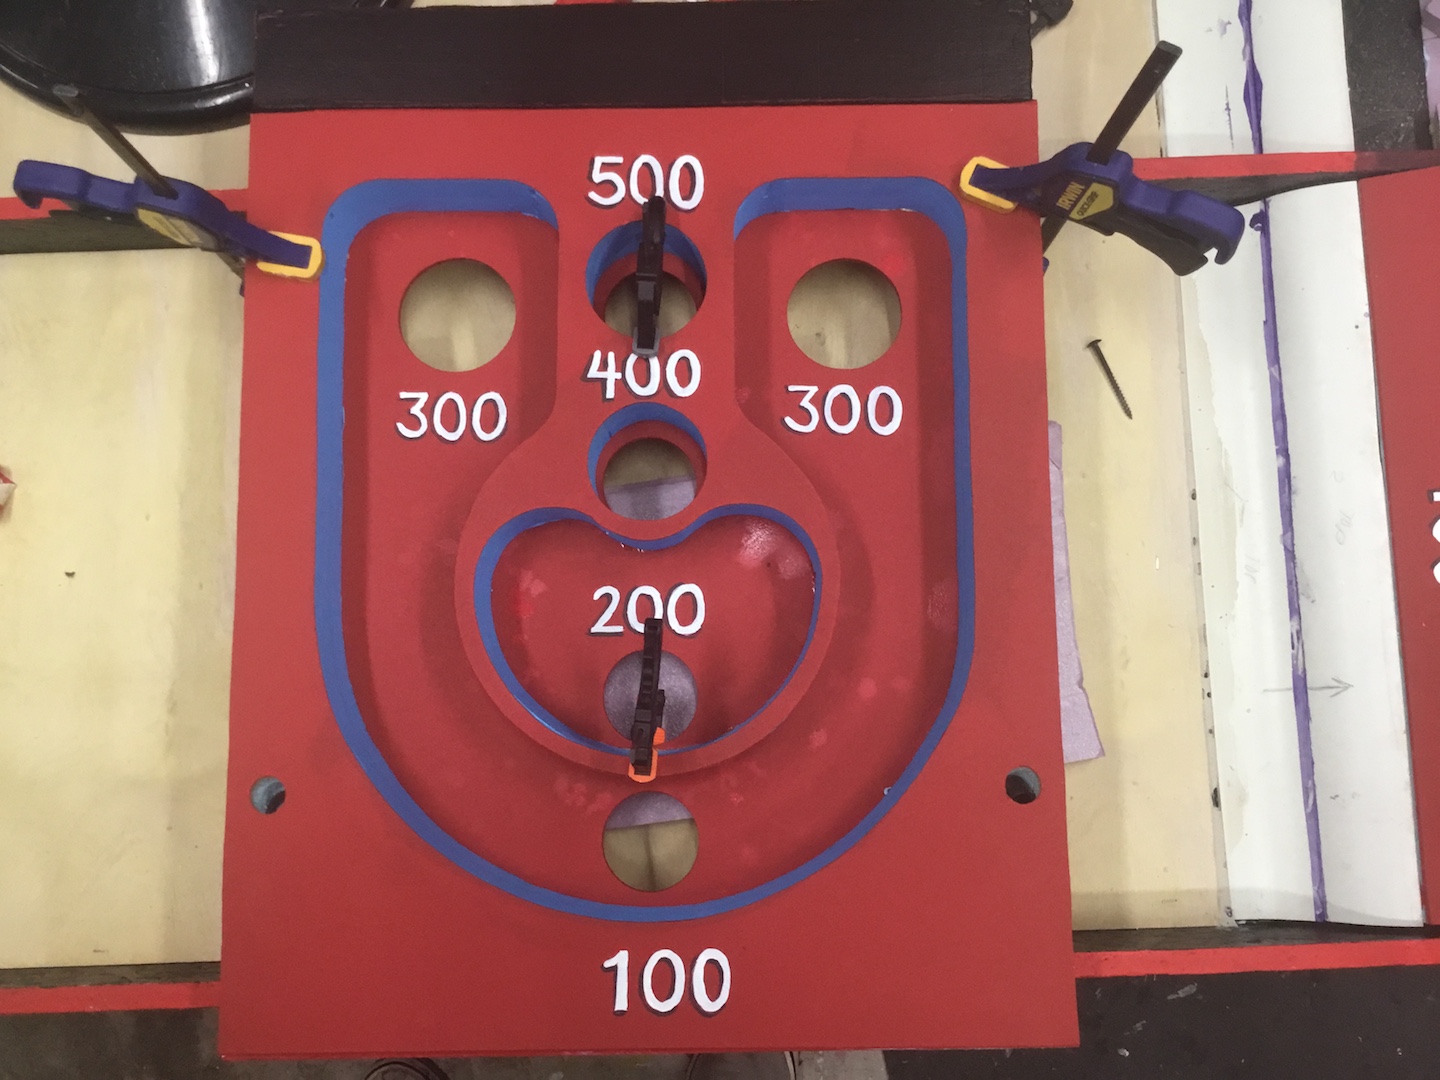
I talked with the client and we decided to fabricate durable new targets and ramps and simplify the planned paint job to keep the overall project within budget.
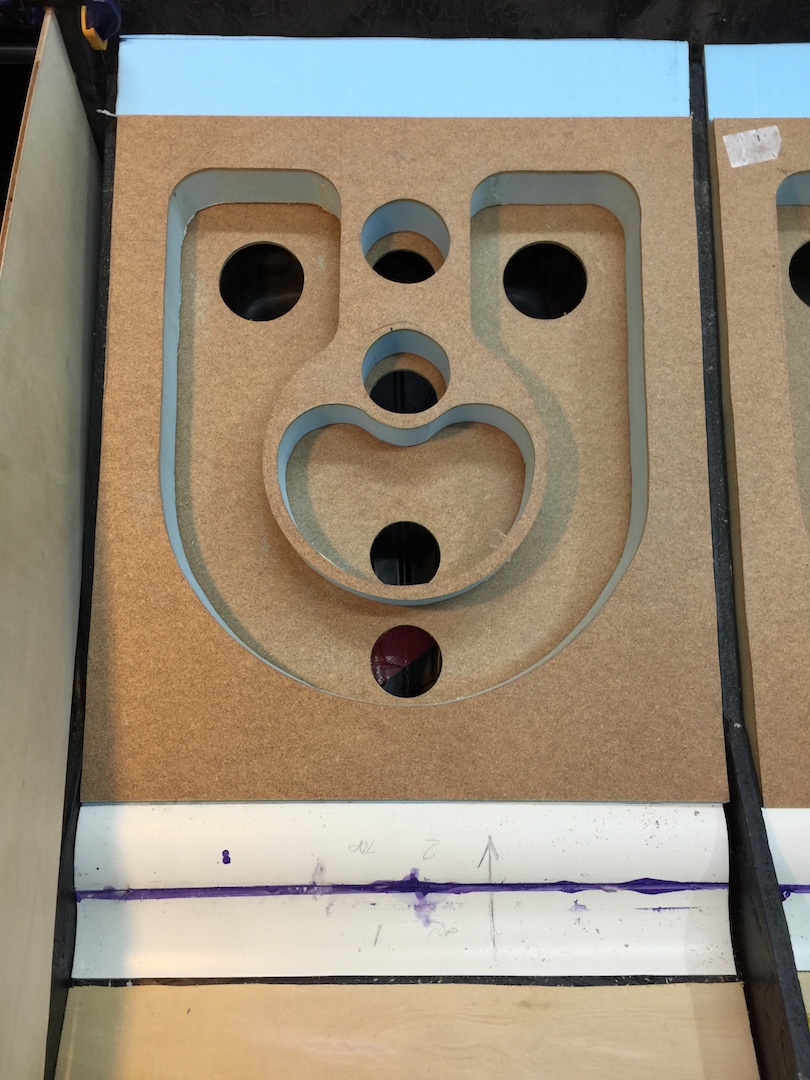
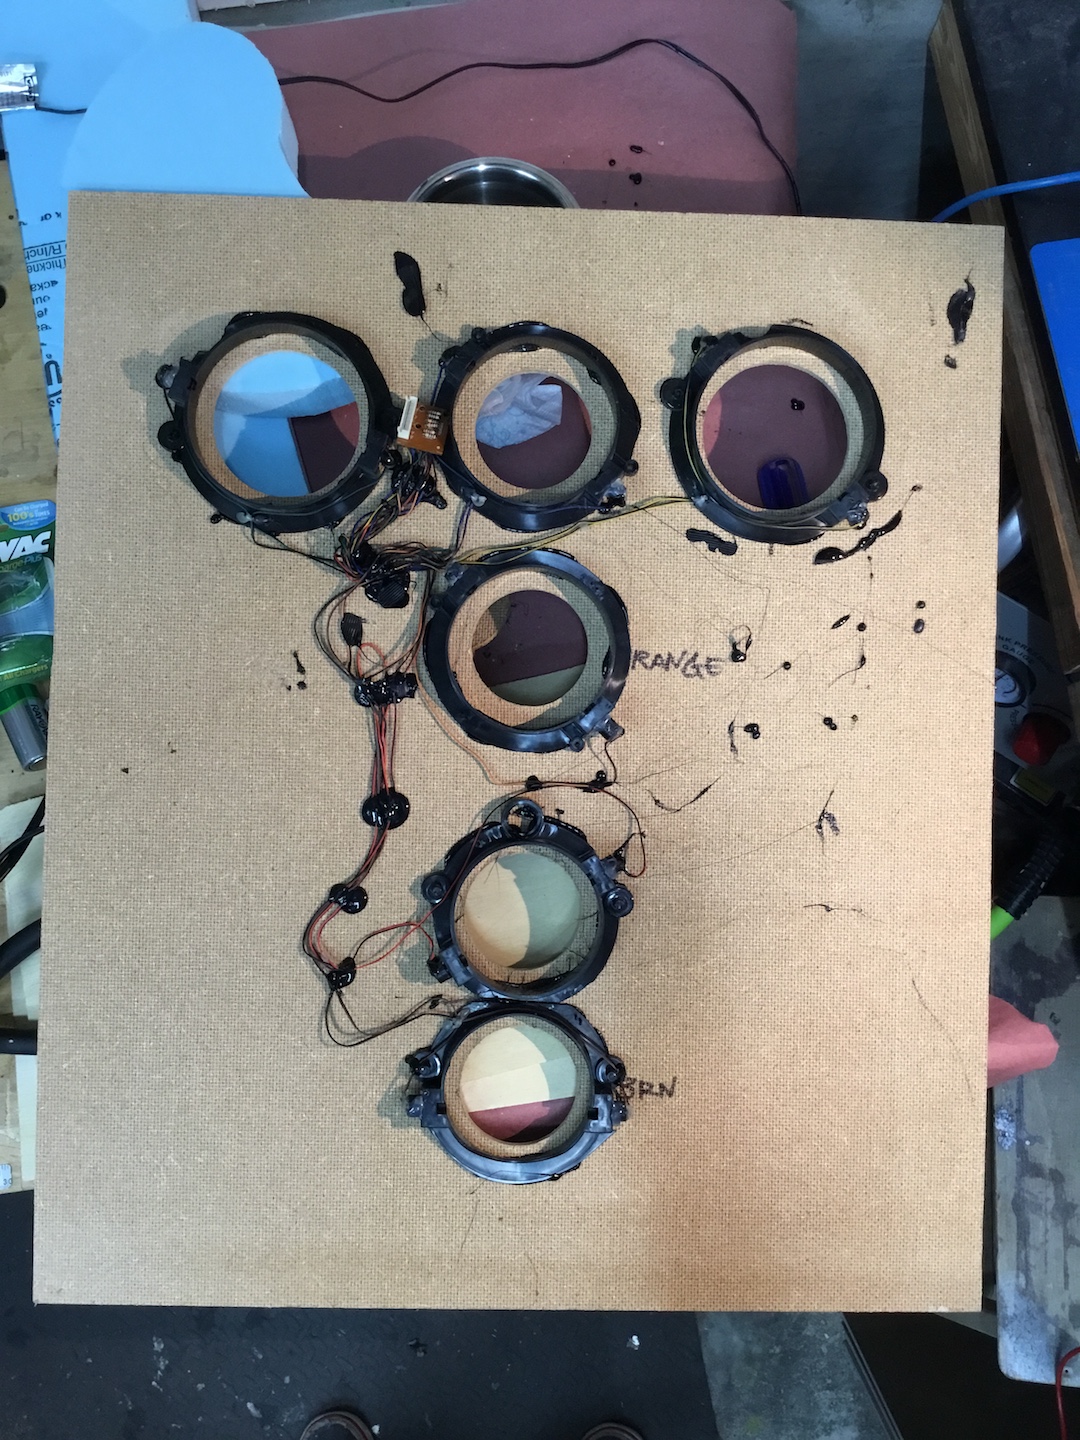
Making new targets and ramps changed the project from one of refurbishment to one of game engineering and design. It took a couple tries to find the ratio of hole size to ball size to get the balls to “circle the drain” in a satisfying way, and I spent a while experimenting to learn the right shape for the ramp to lob the ball at the target without skittering across it.
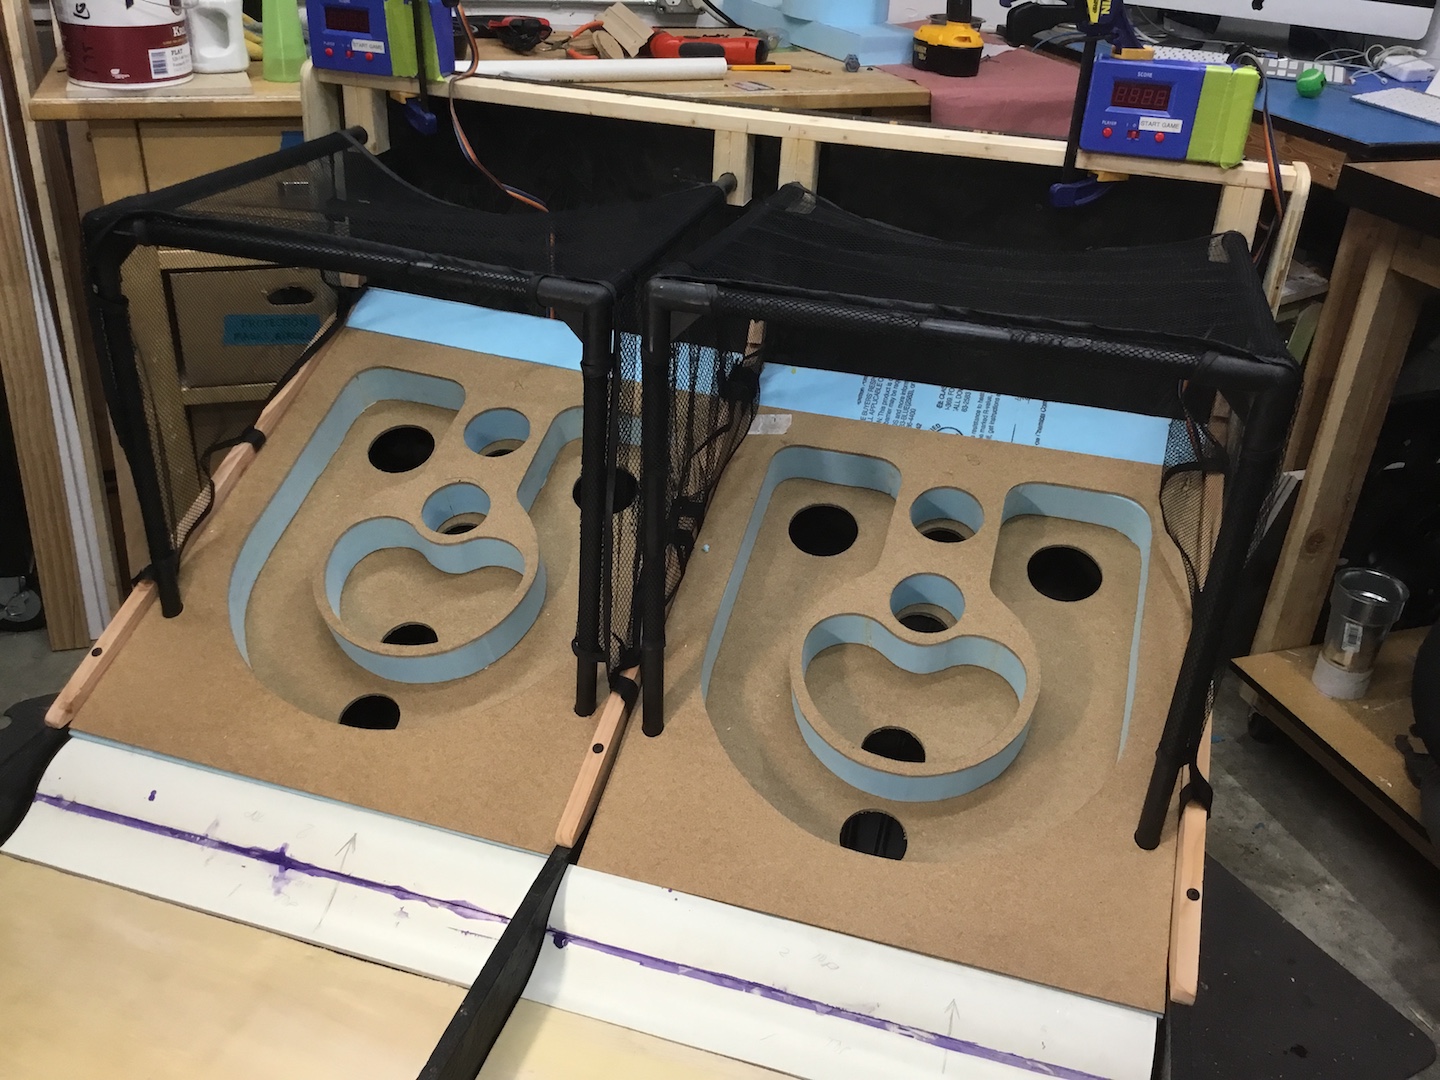


The finished machine looked snappy, if a little plain for a carnival machine. But it’s durable enough to last years and it played, counted, and sounded great.


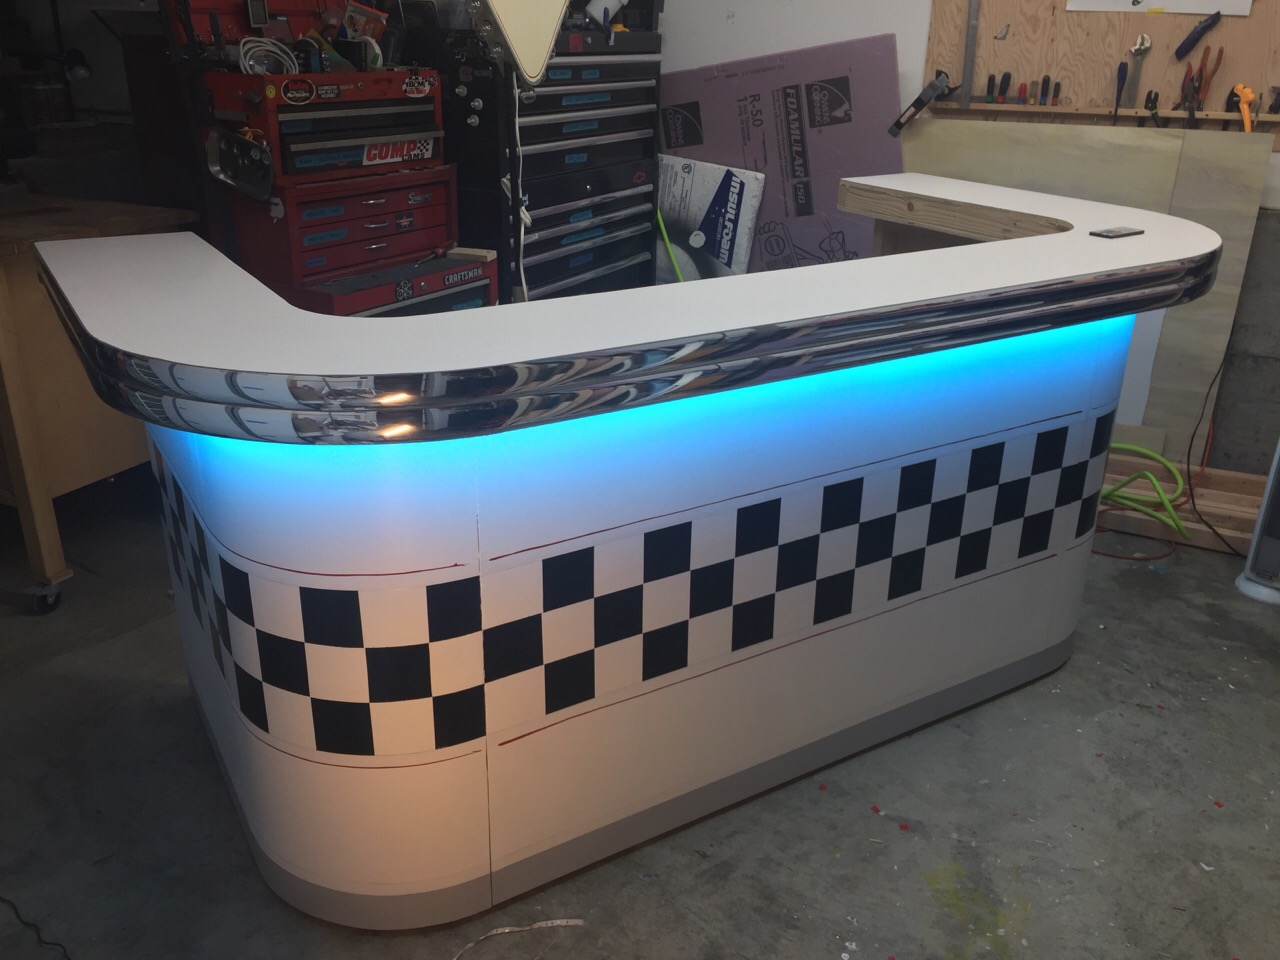
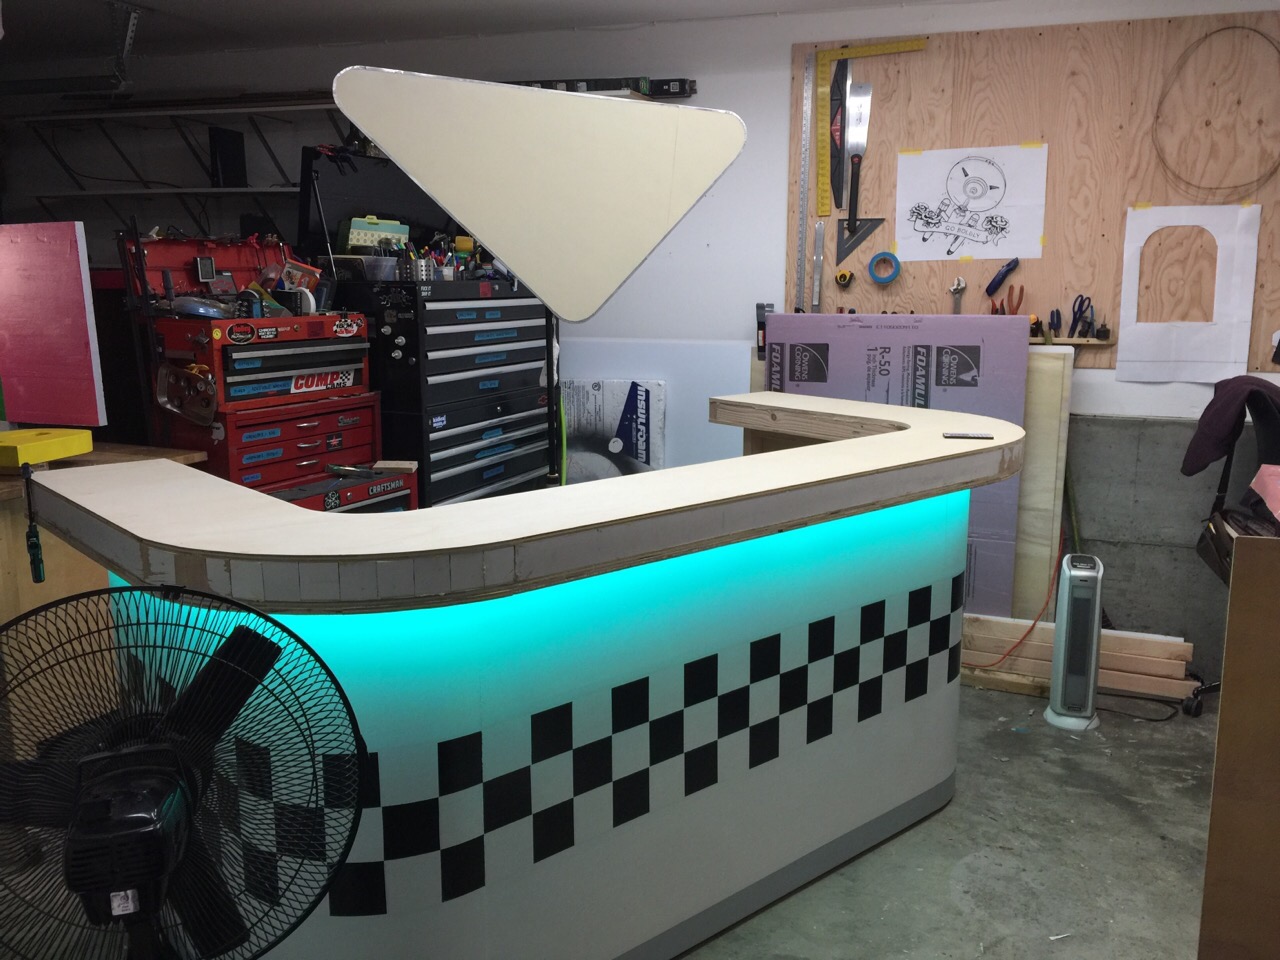
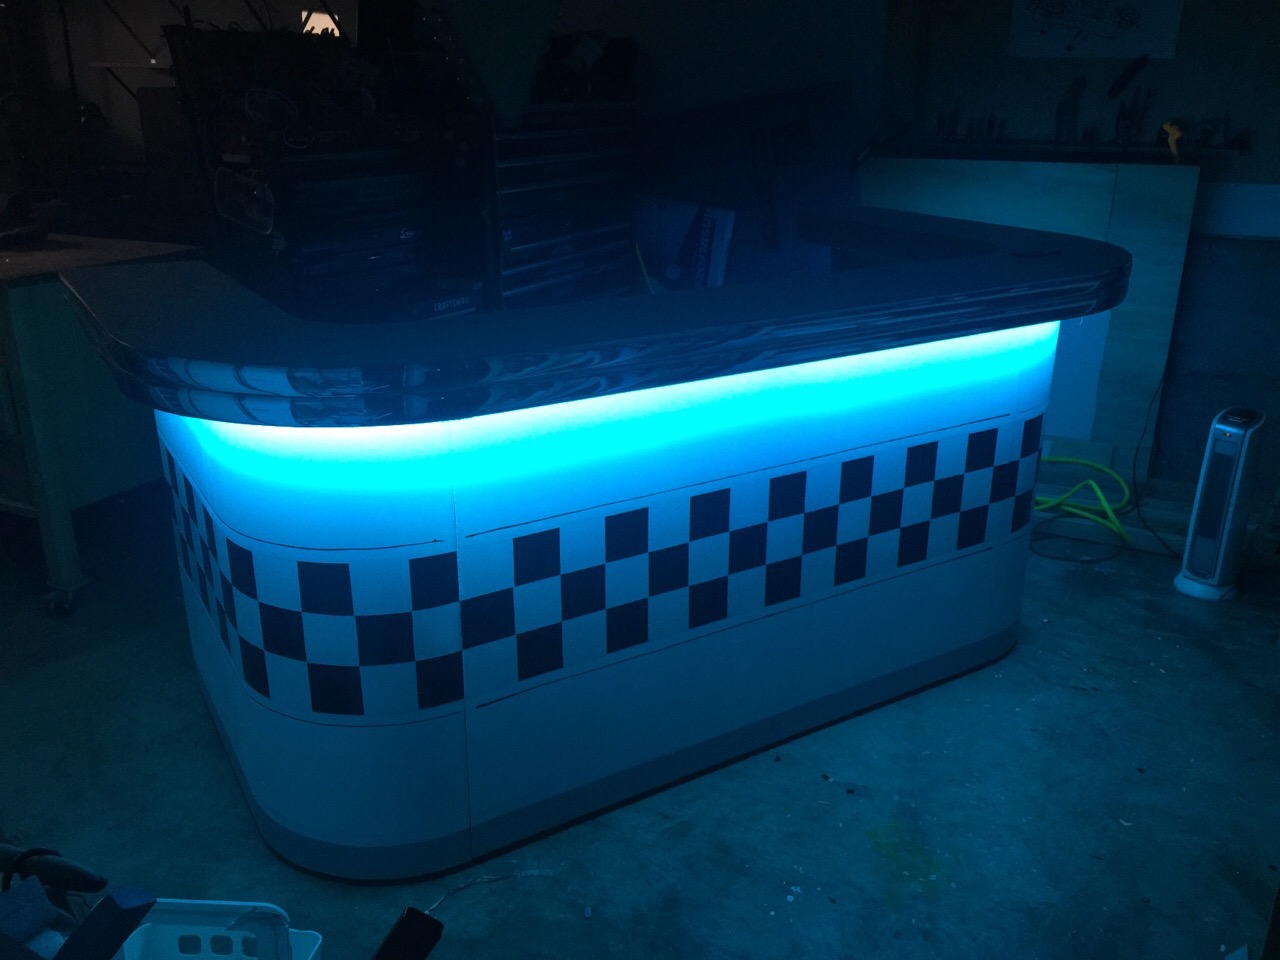
This bar was designed as four pieces: the top, left and right ends, and the center panel. Pictured above is a rendering from SketchUp I made to verify my figures for general proportions and the corner radius.


The center and end pieces attach to each other with latches, so one person can assemble this bar in about three minutes.


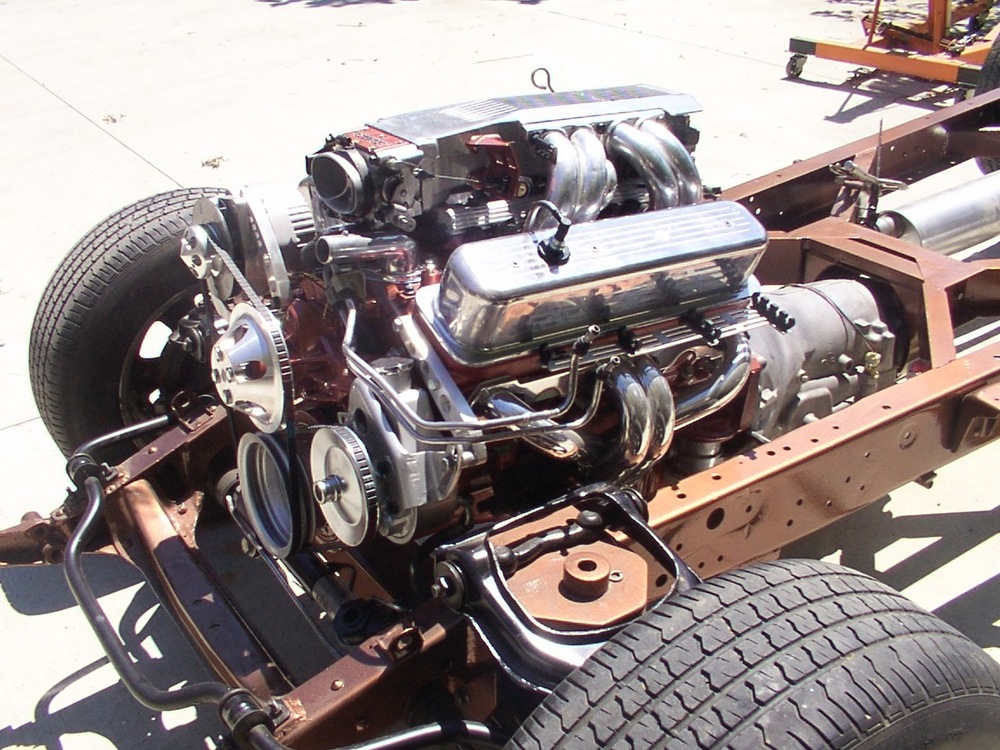
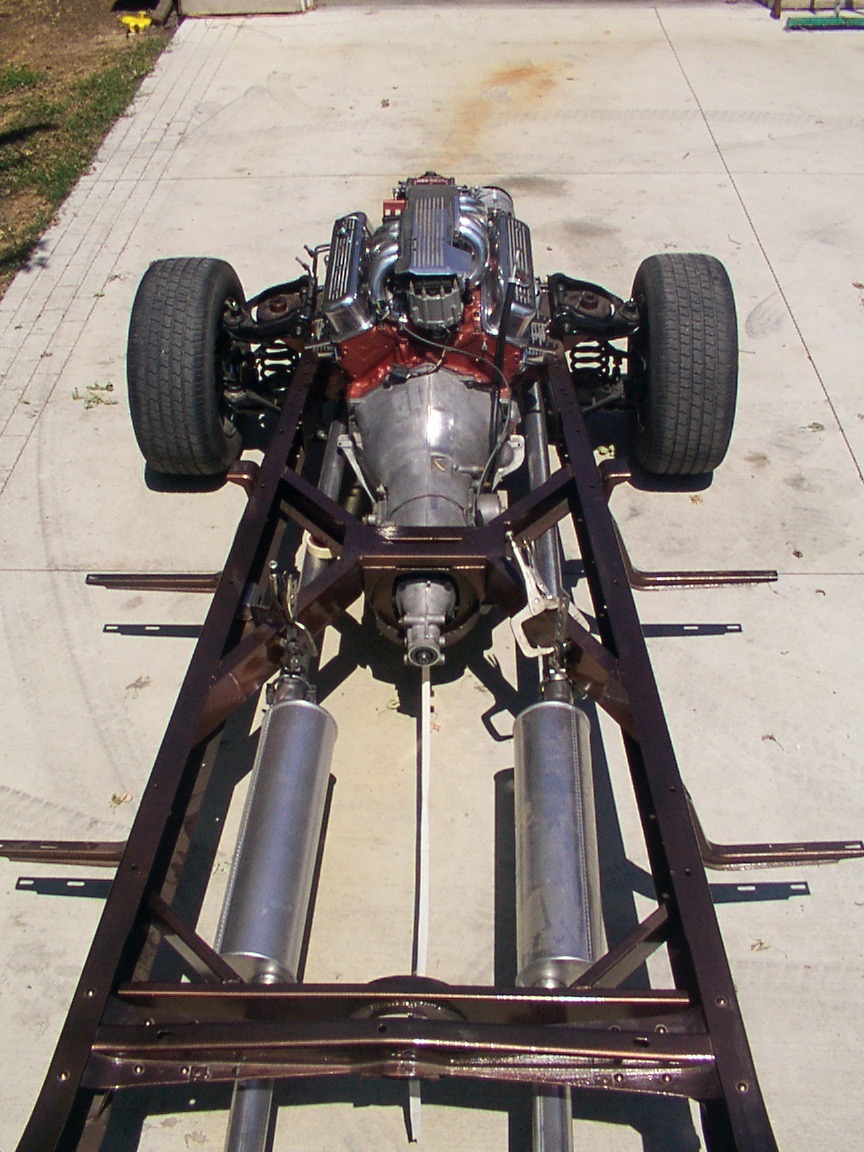
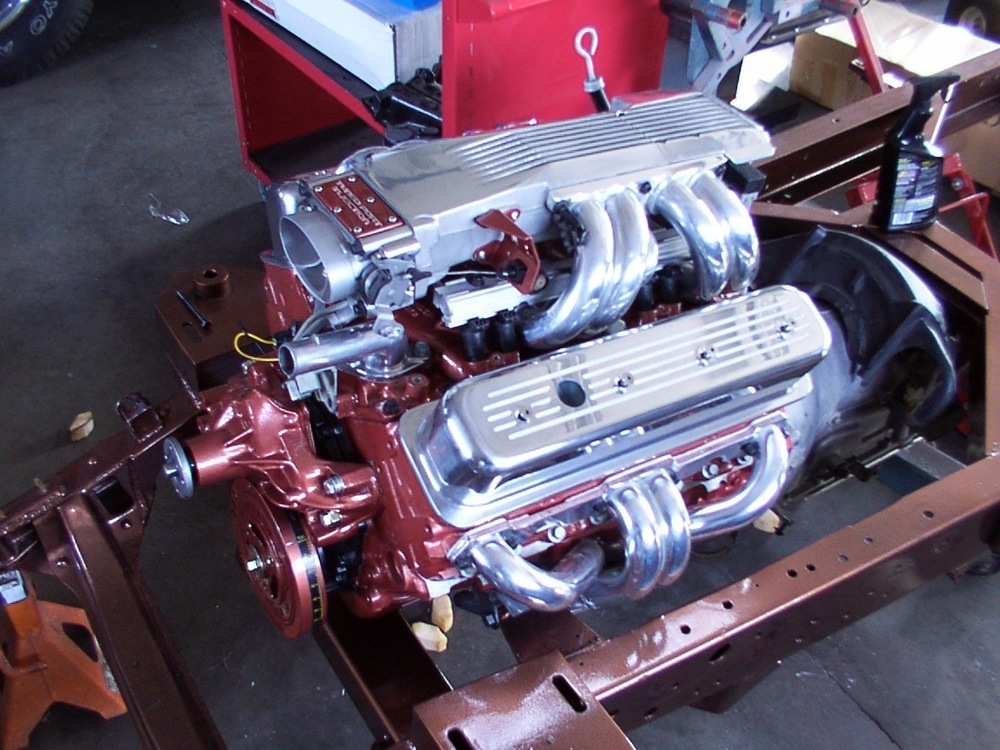
Chassis and Drivetrain:
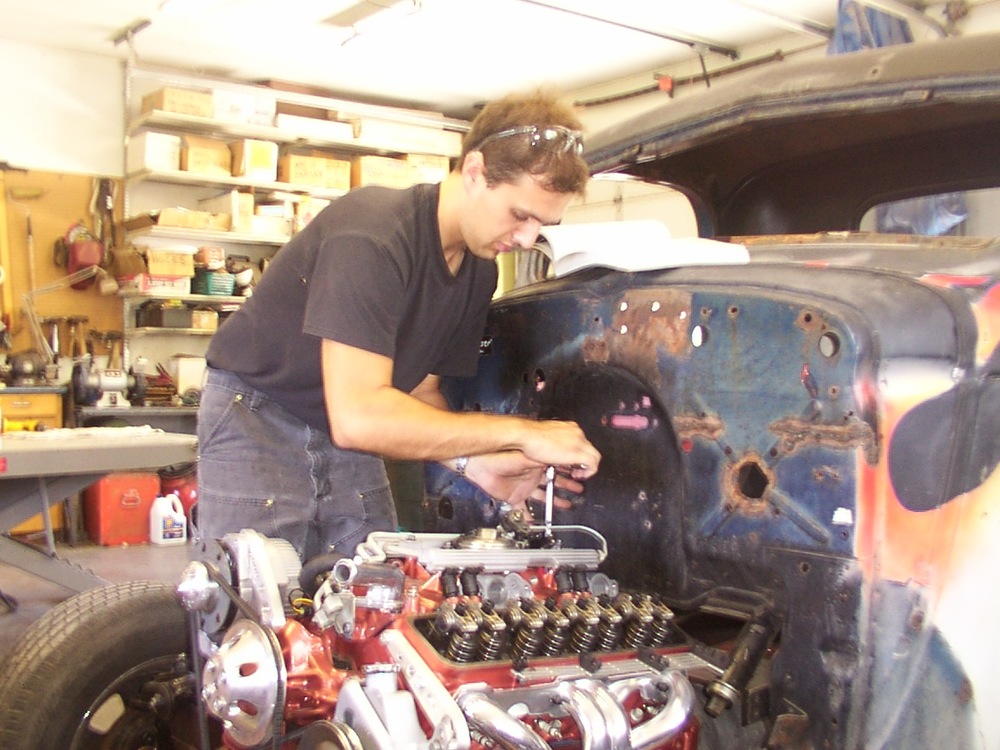
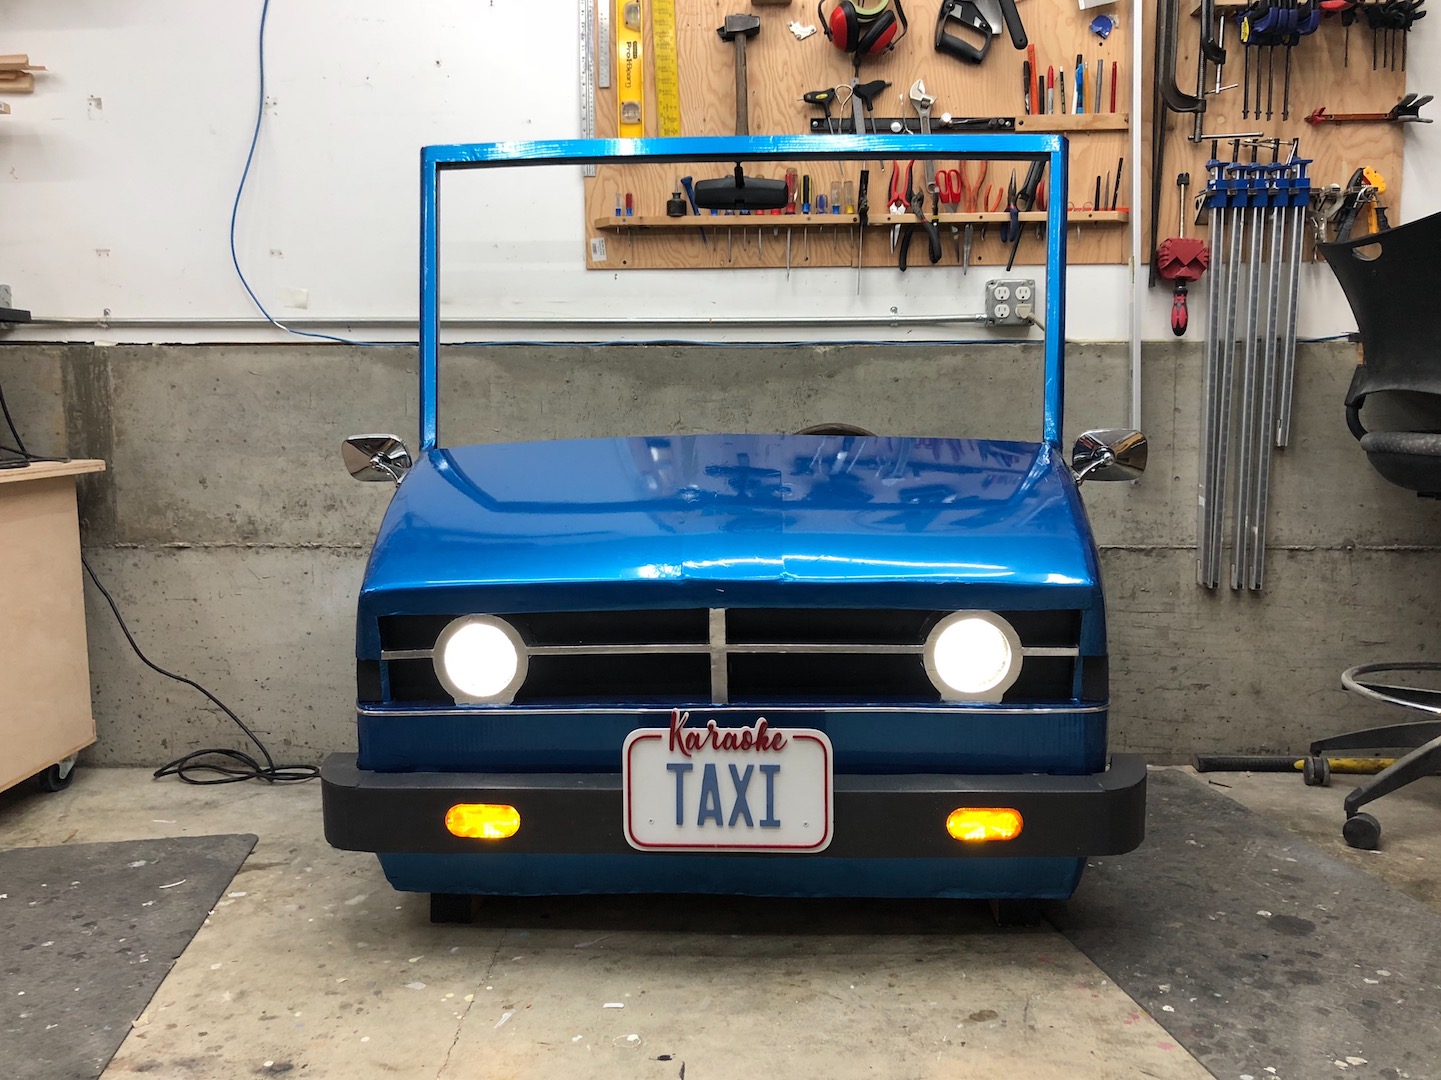
Bodywork:
Interior:
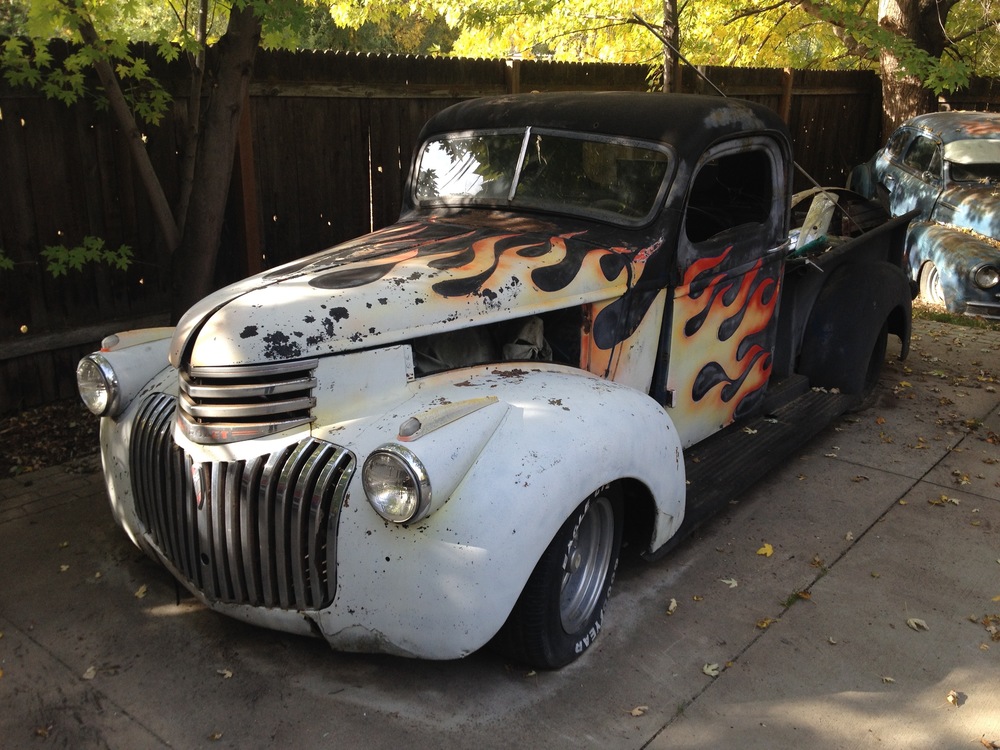
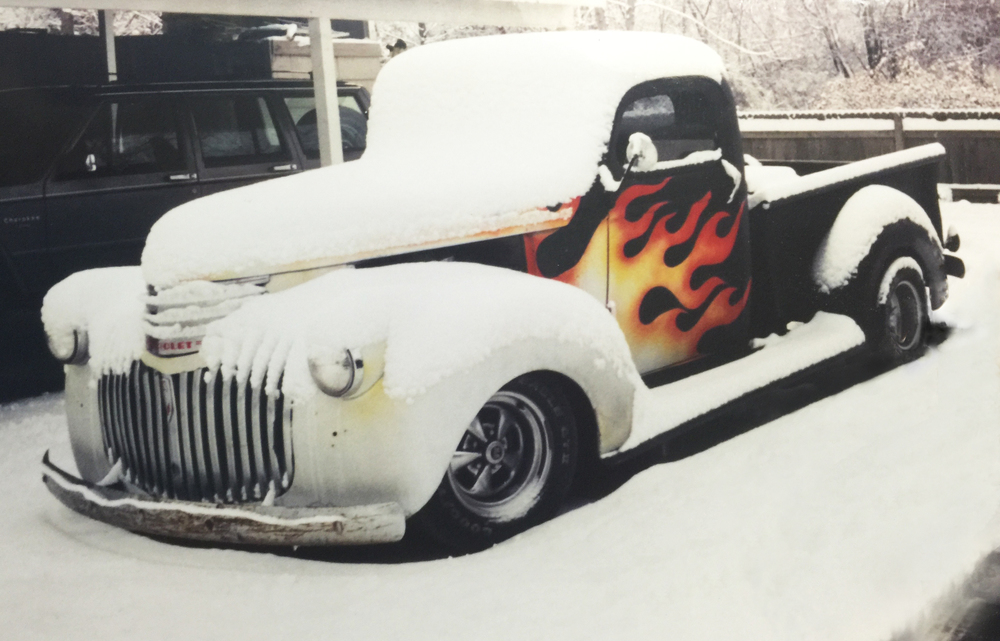
I built this truck during my last years of high school and early college. An early version took second place in the Twin Falls Moonshine Run.